Internet Box
Installation GuideBefore you begin
Required components for the installation
- The Internet Box
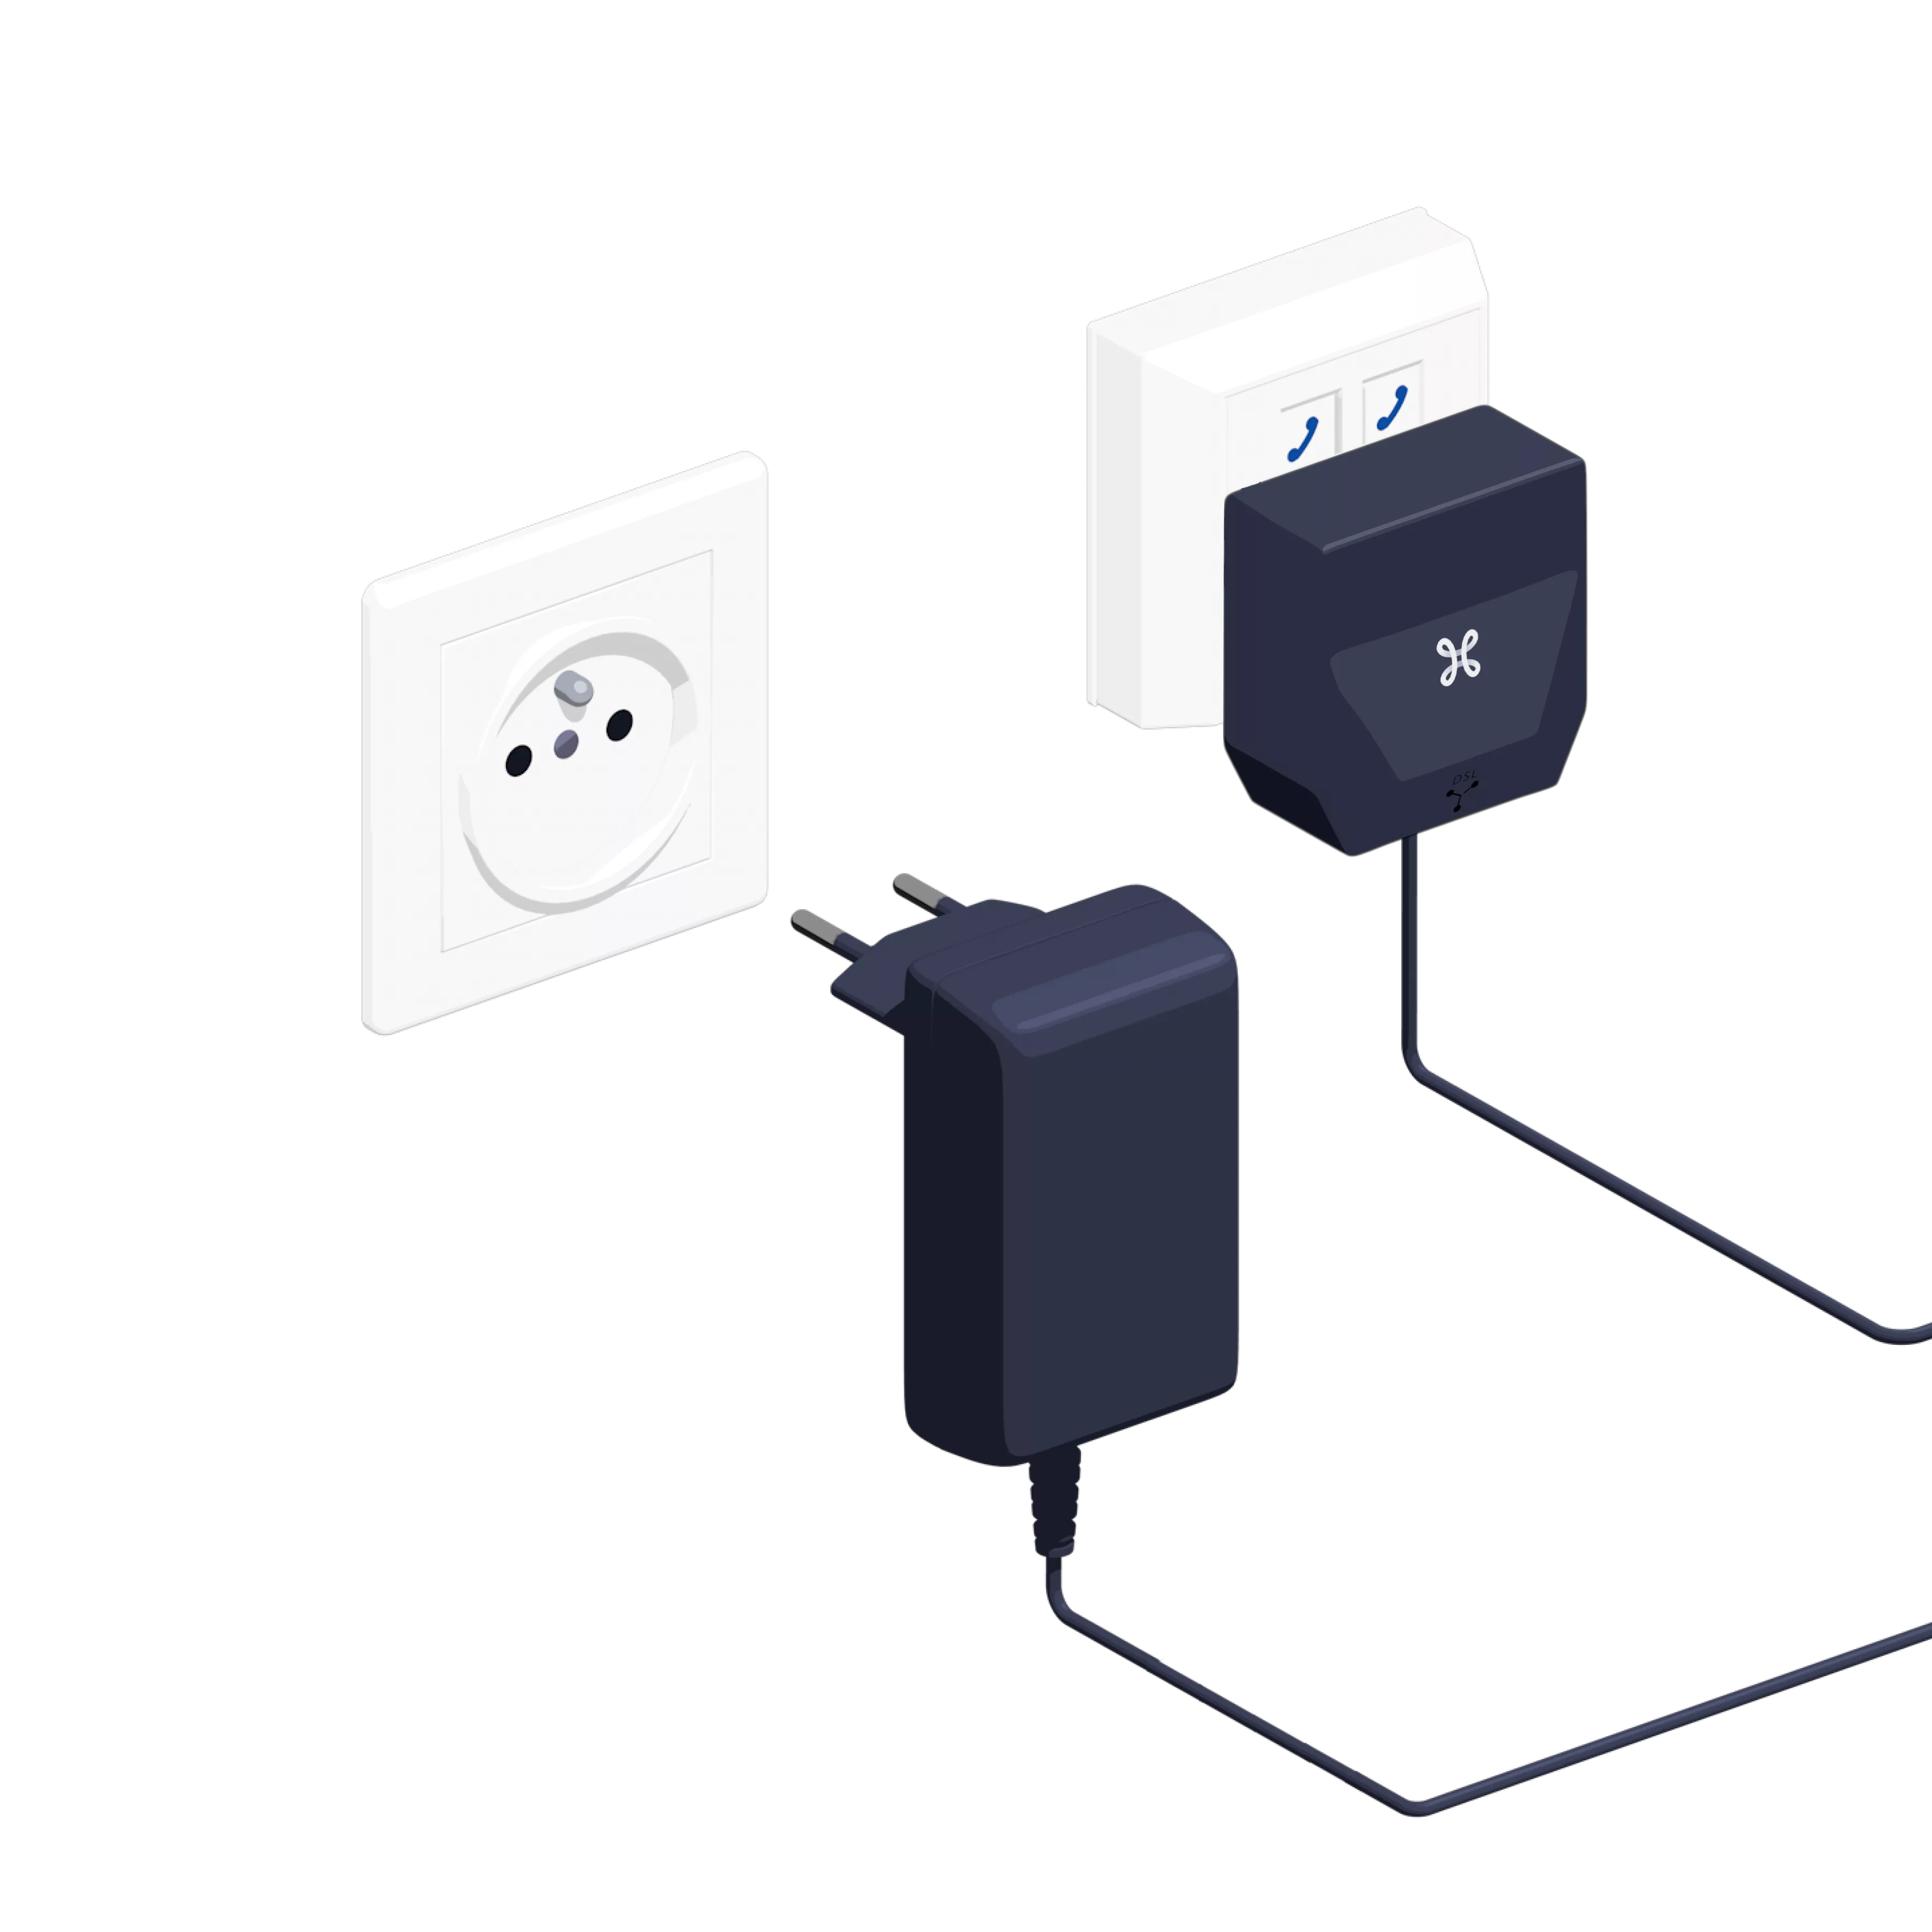
- The power supply cable
- The DSL splitter
- The DSL cable
- The Ethernet cable
-
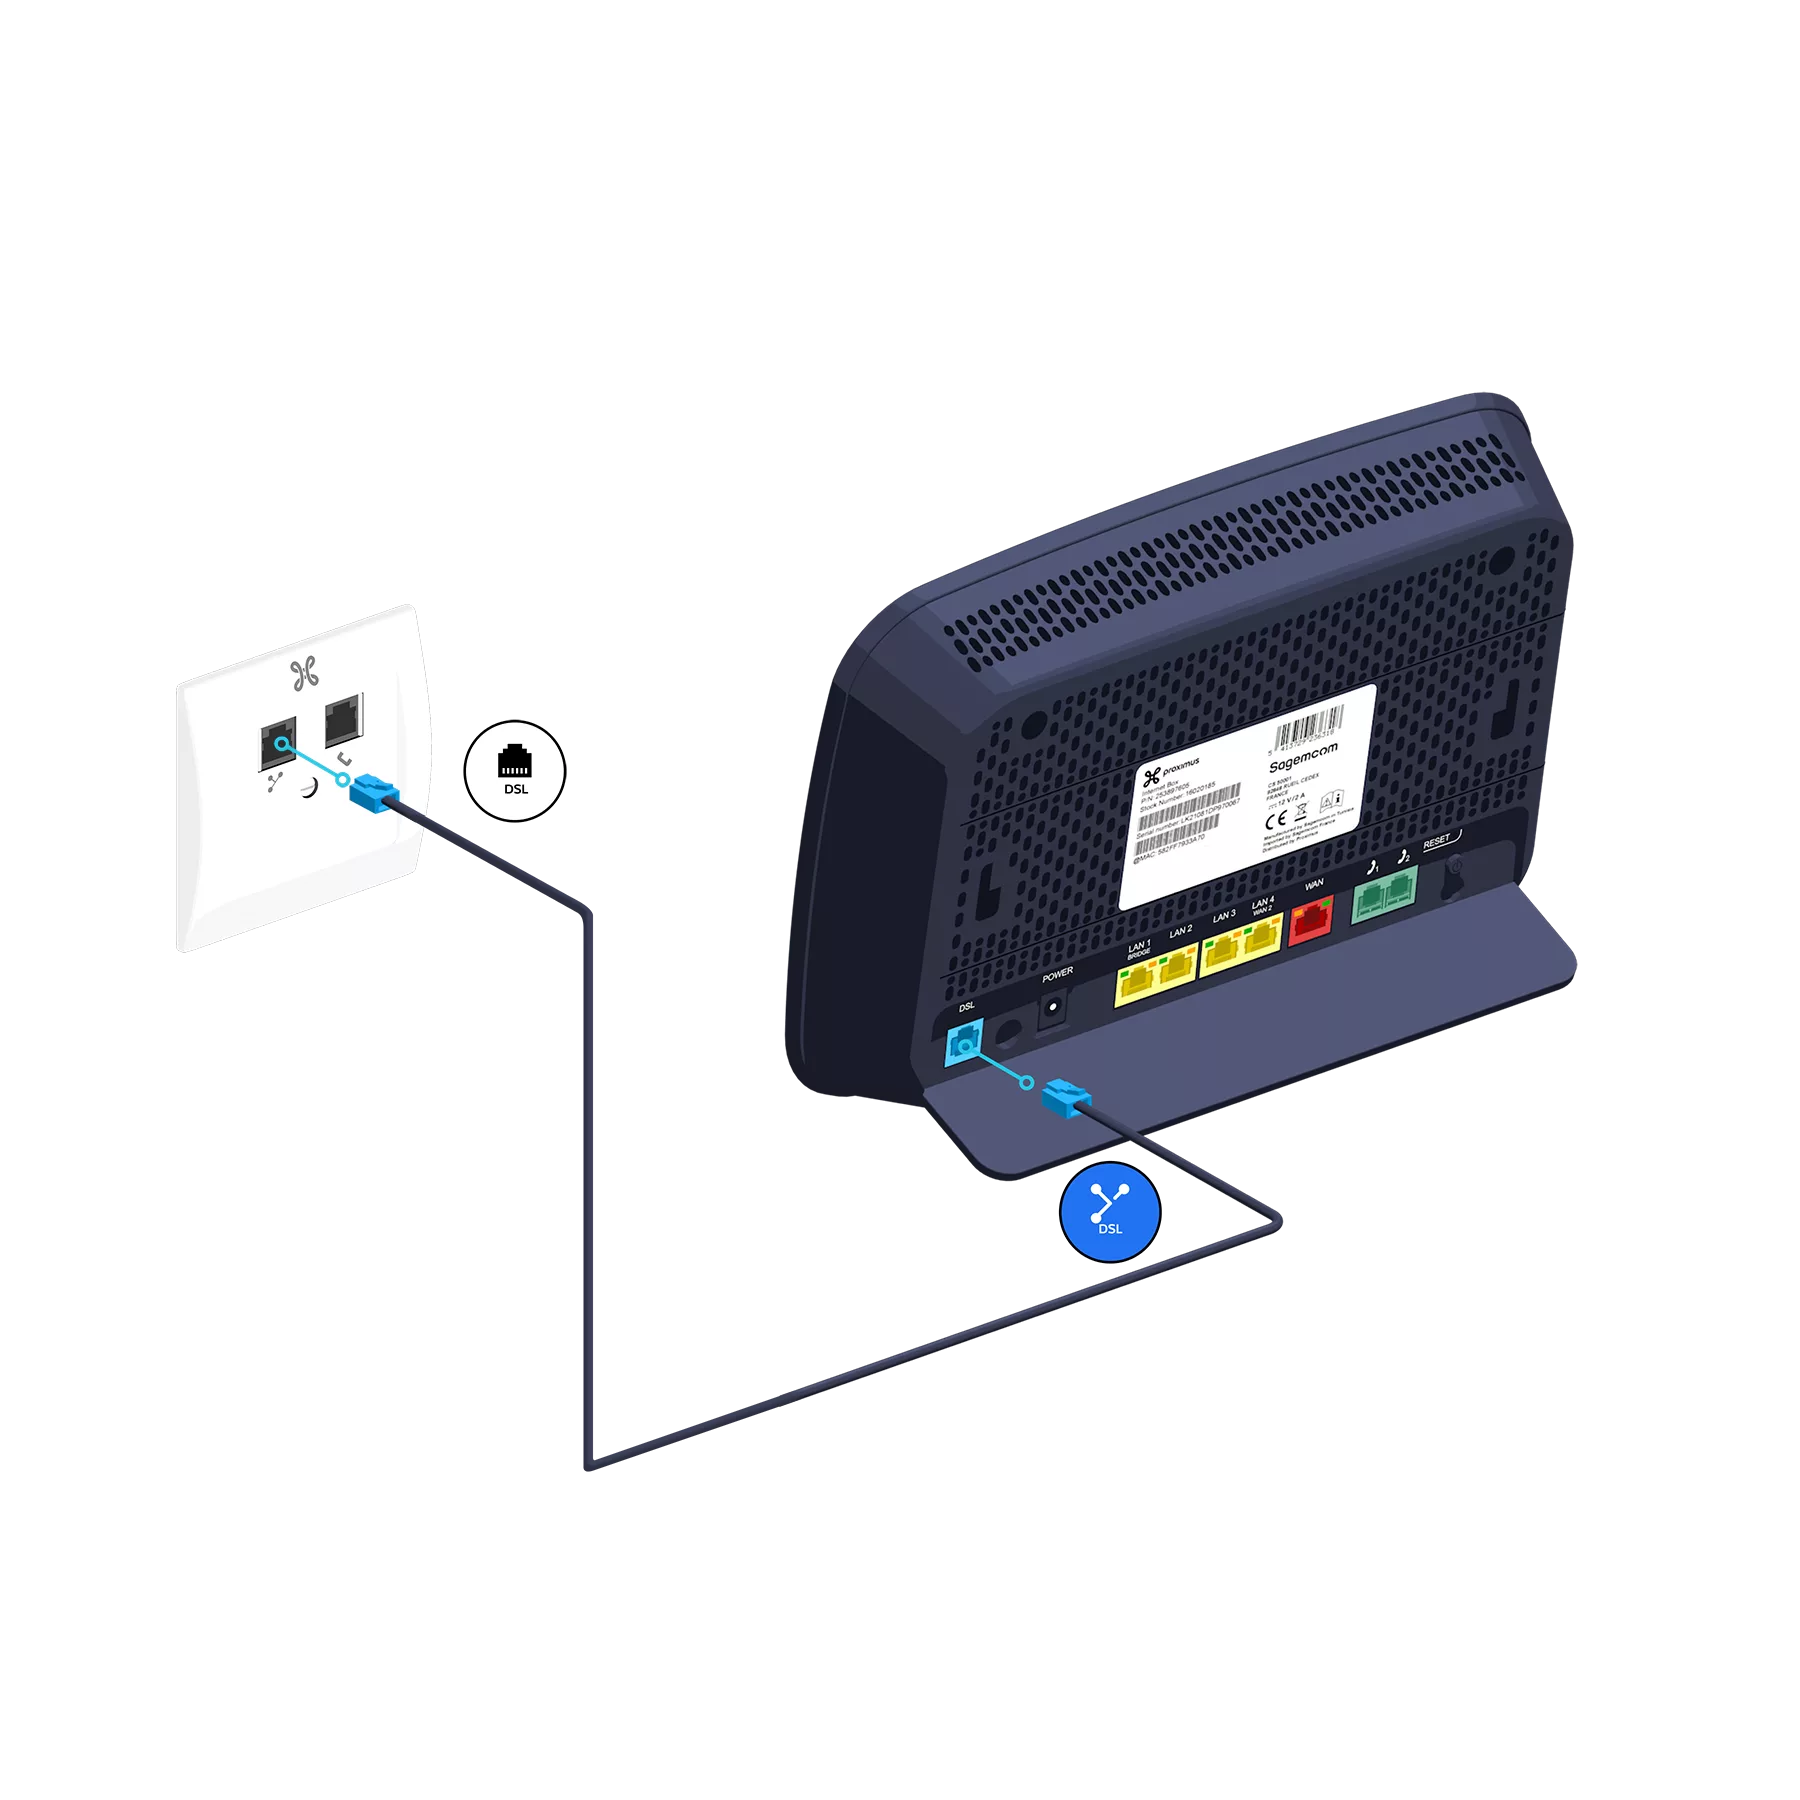
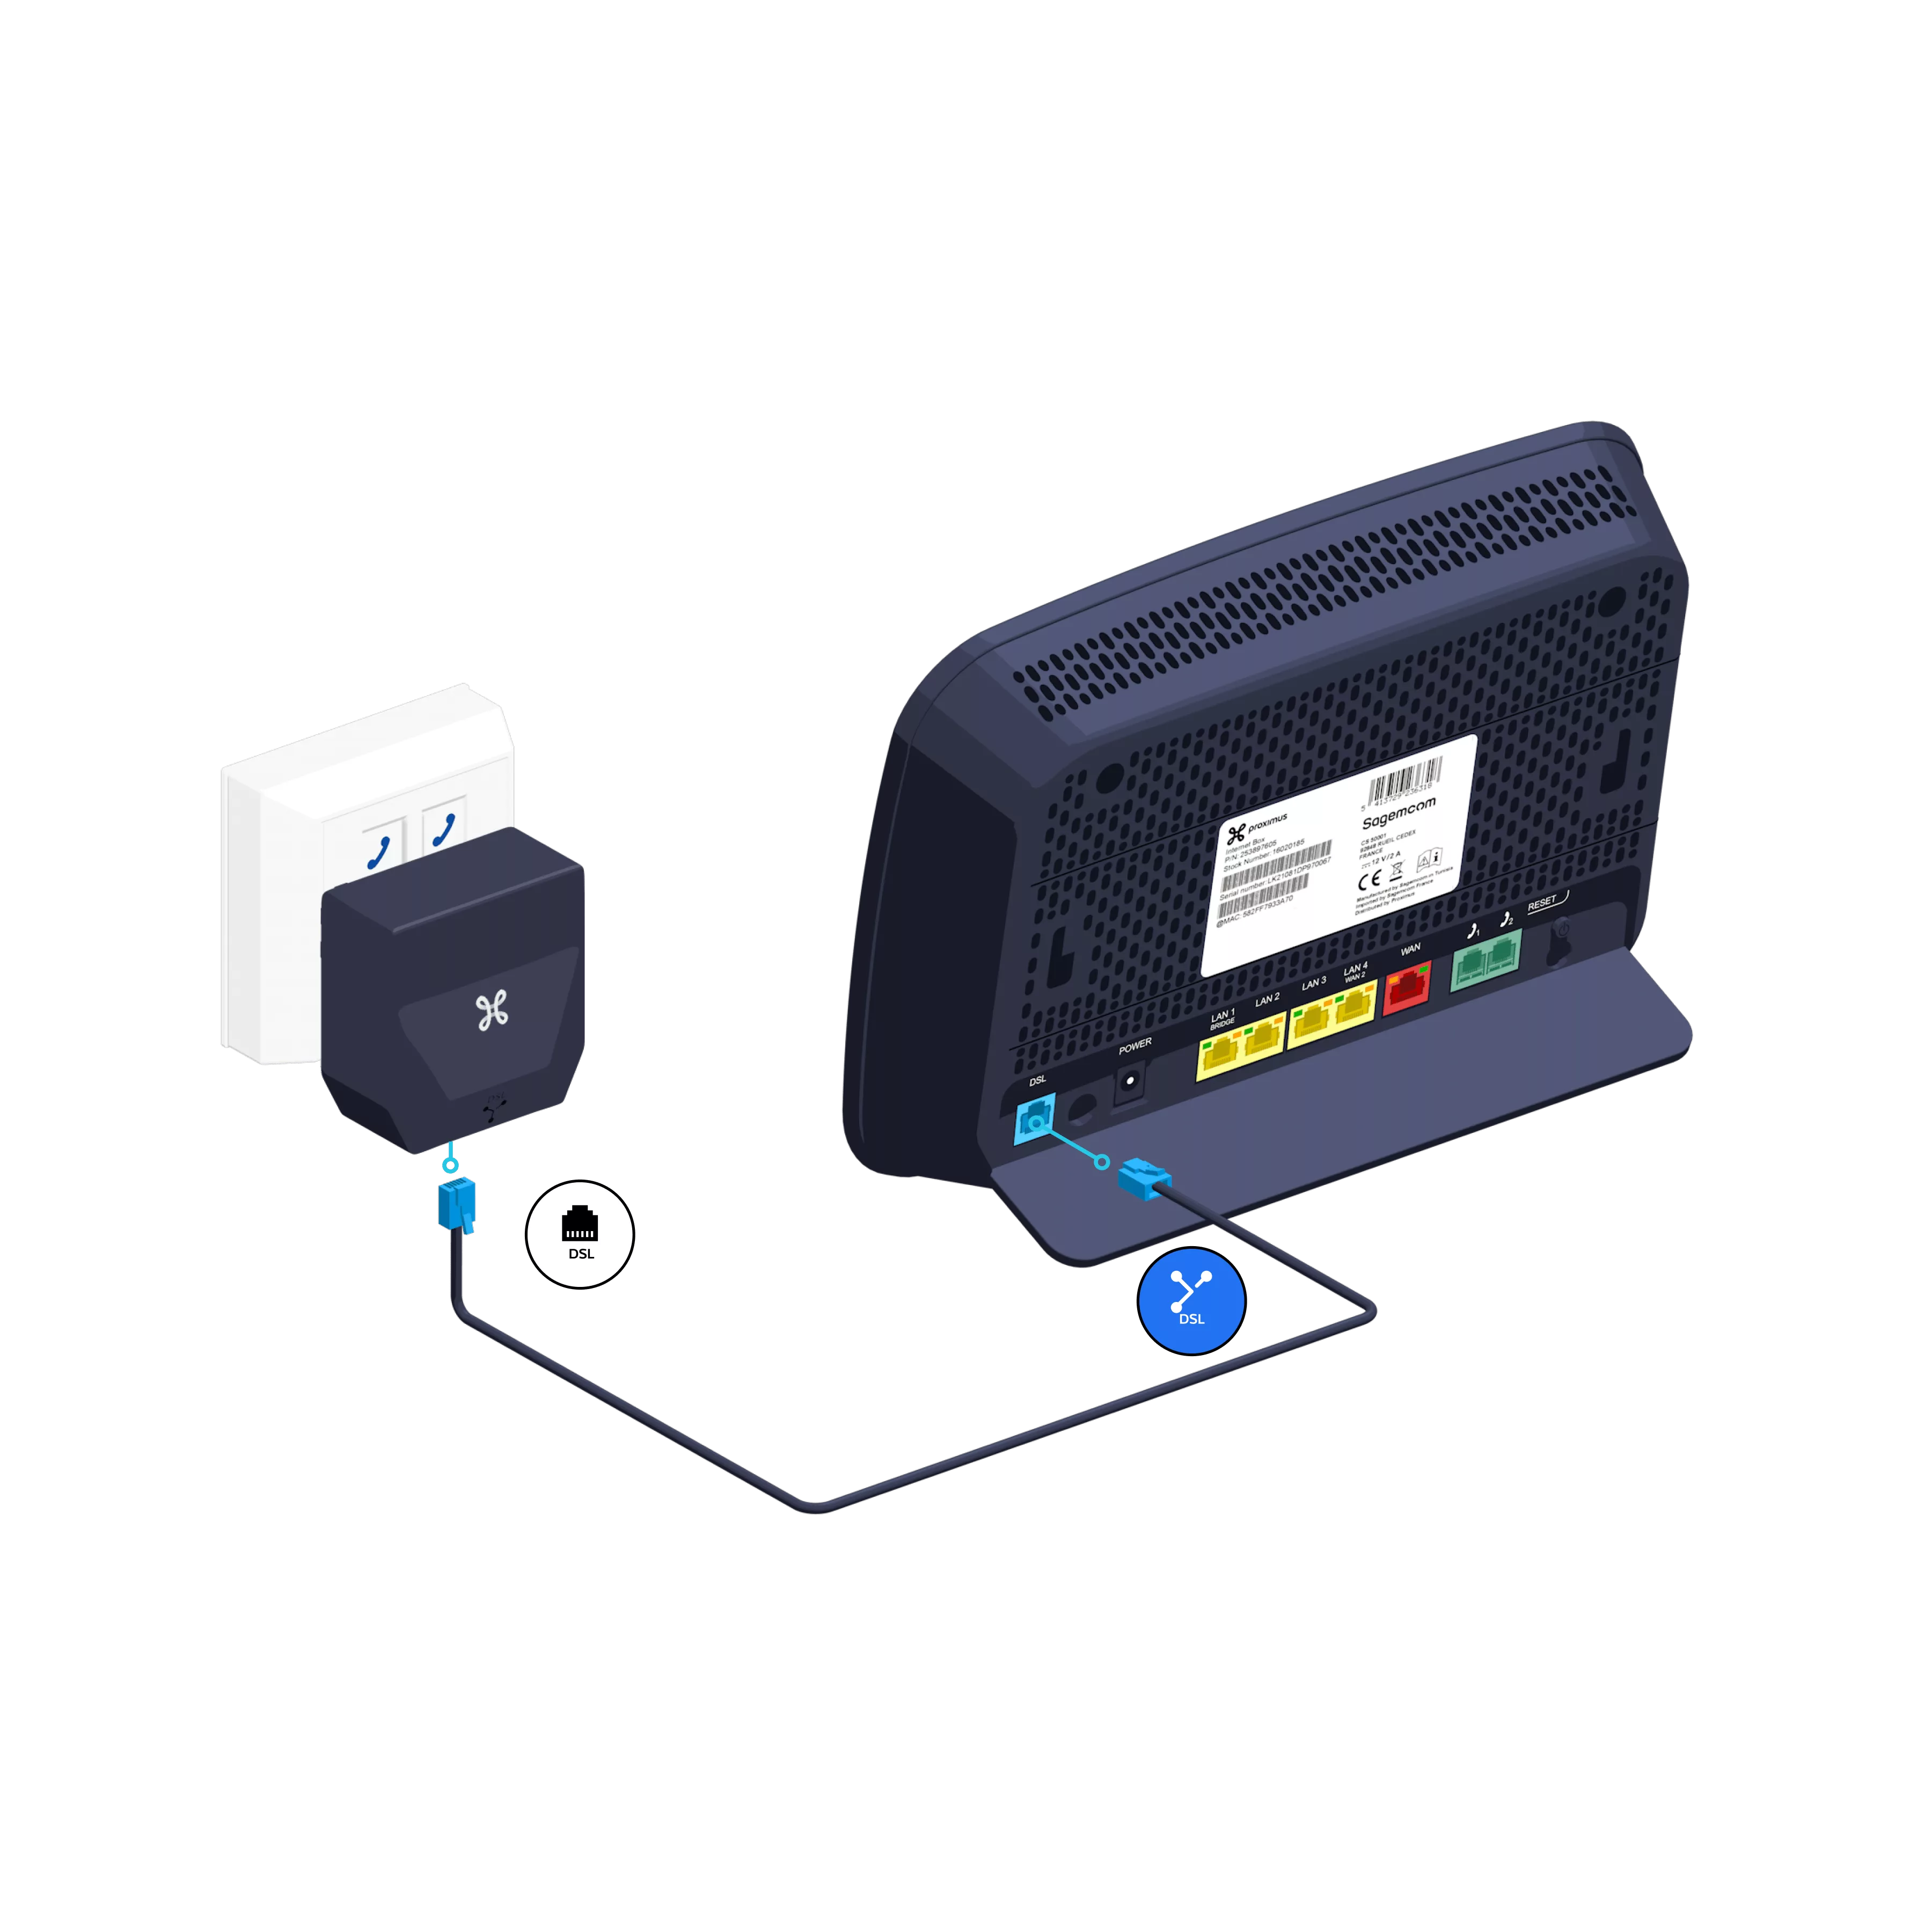
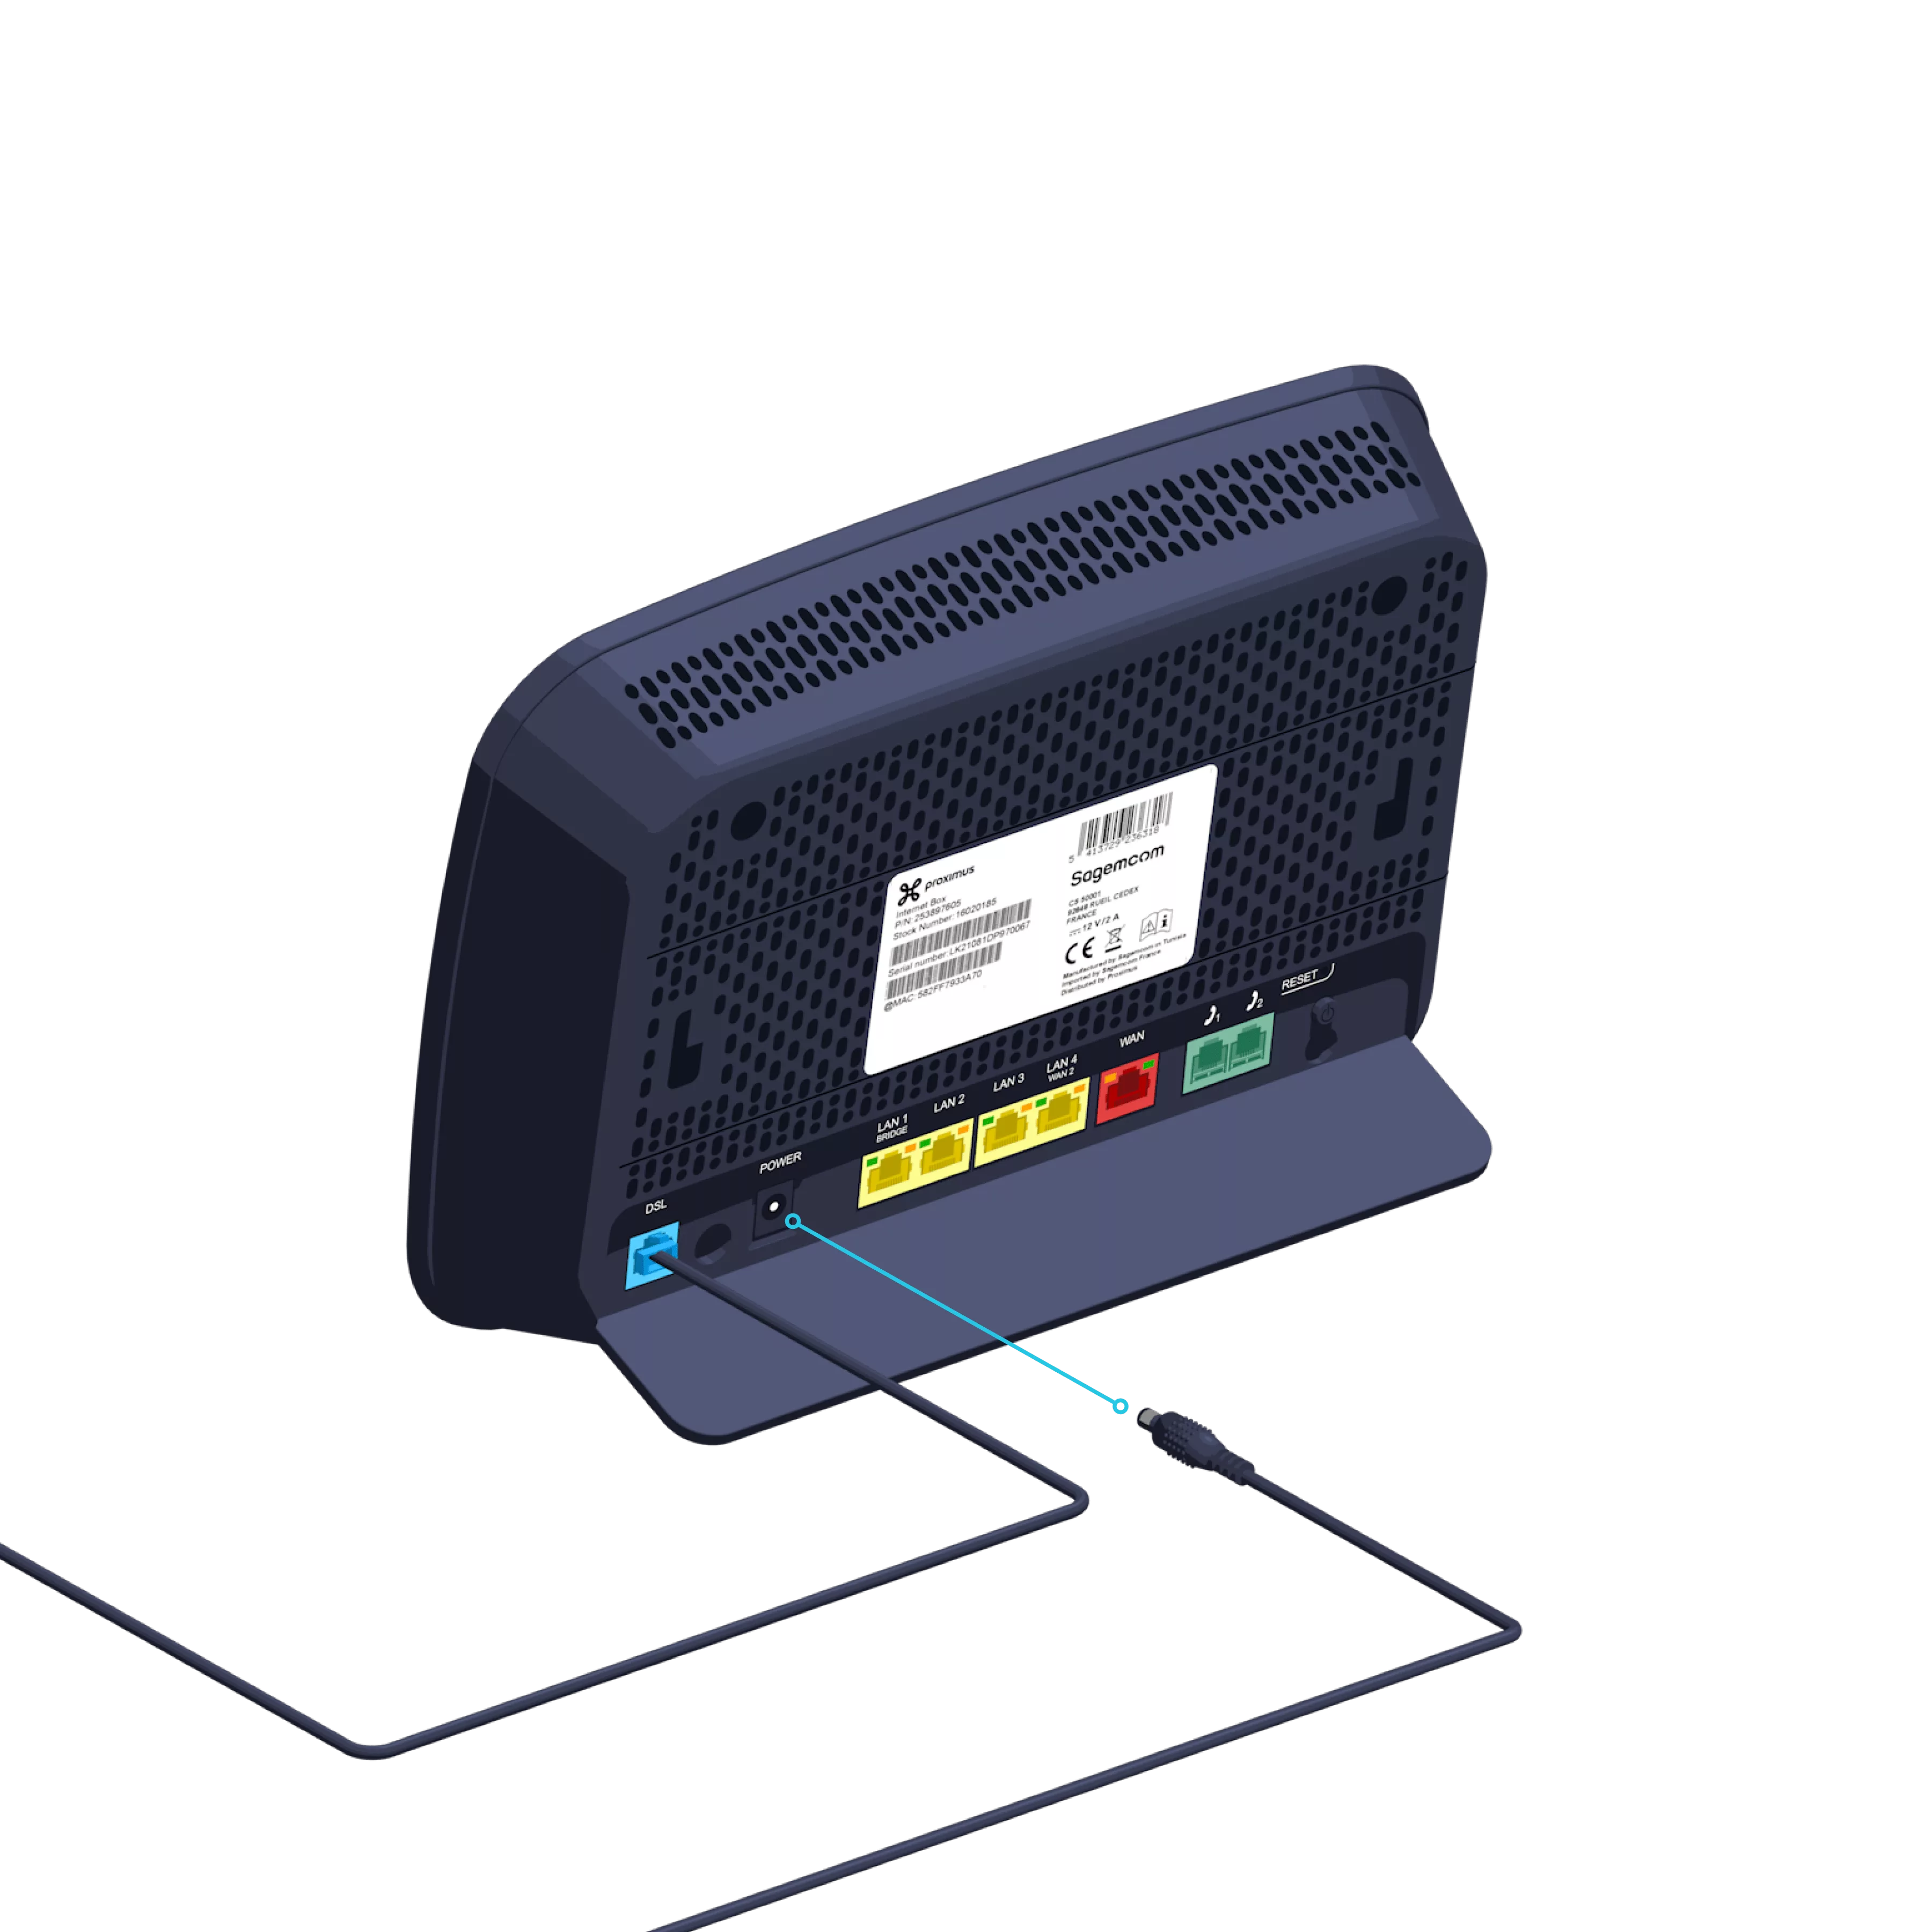
Skip steps 2 and 3 and connect the DSL cable to the blue DSL port on the back of the Internet Box.
Connect the filter
-
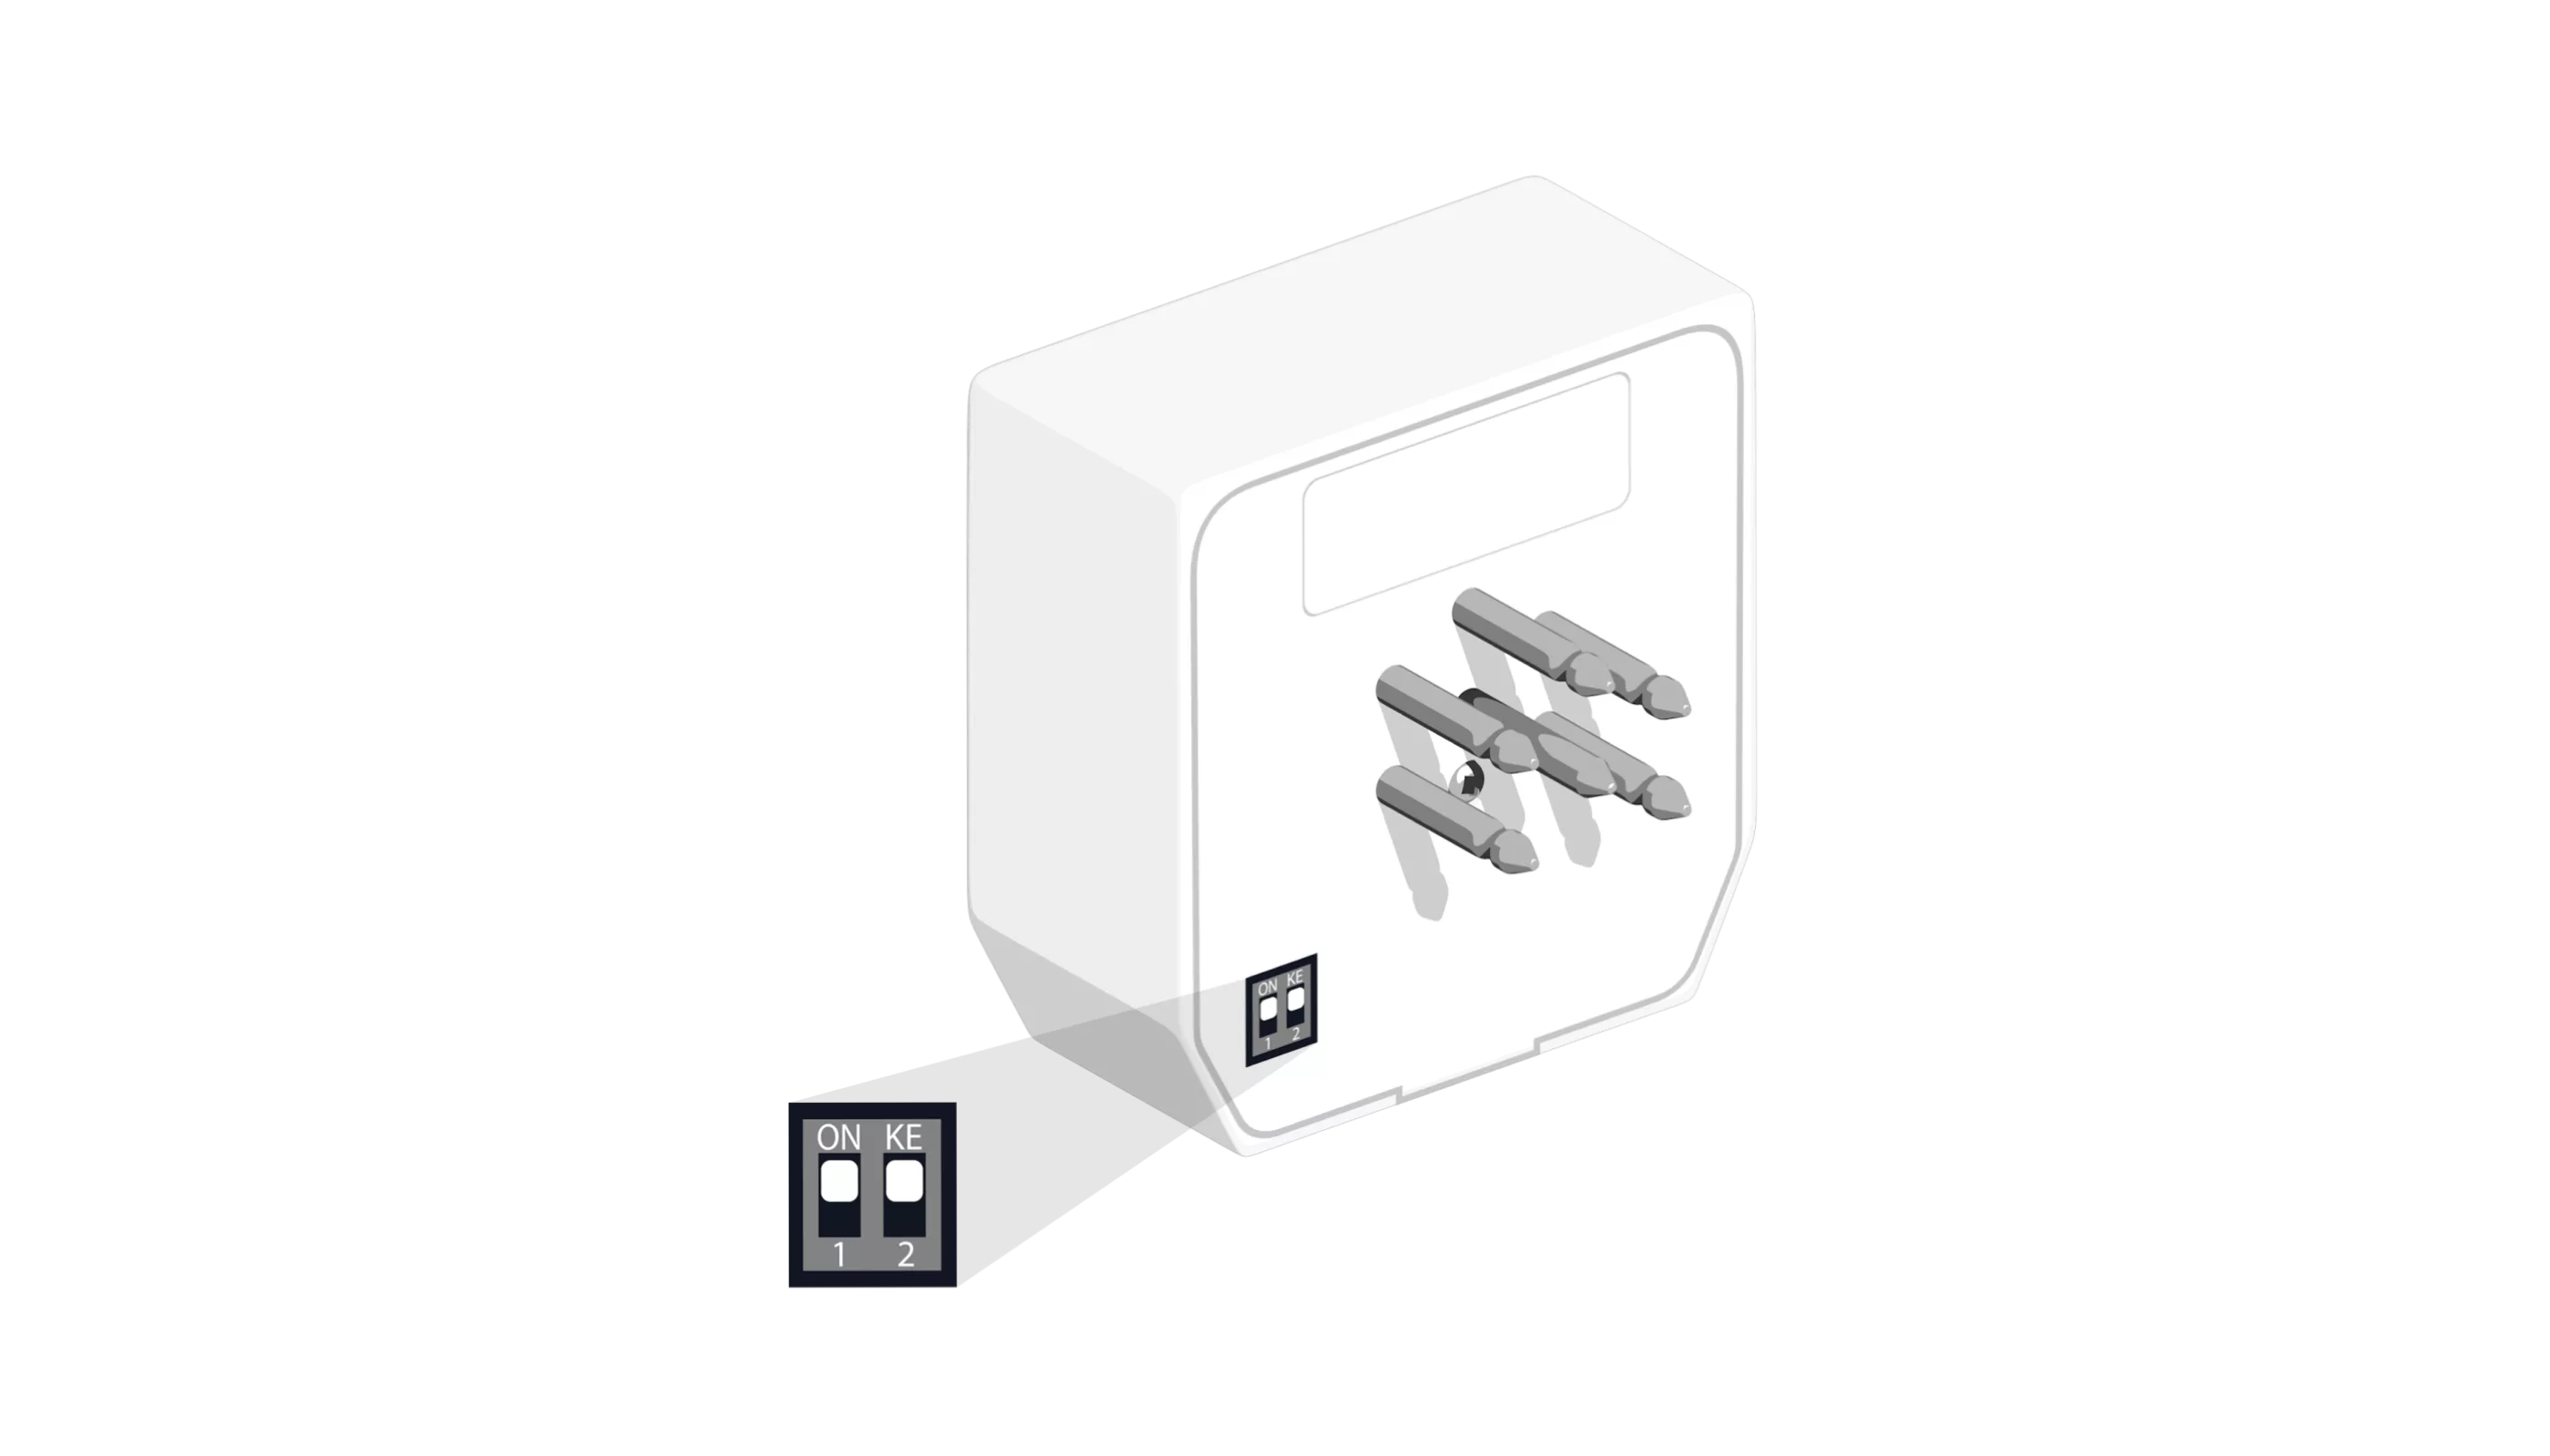
In this case, check the position of the buttons on the back of the DSL splitter: they must be positioned fully upwards.
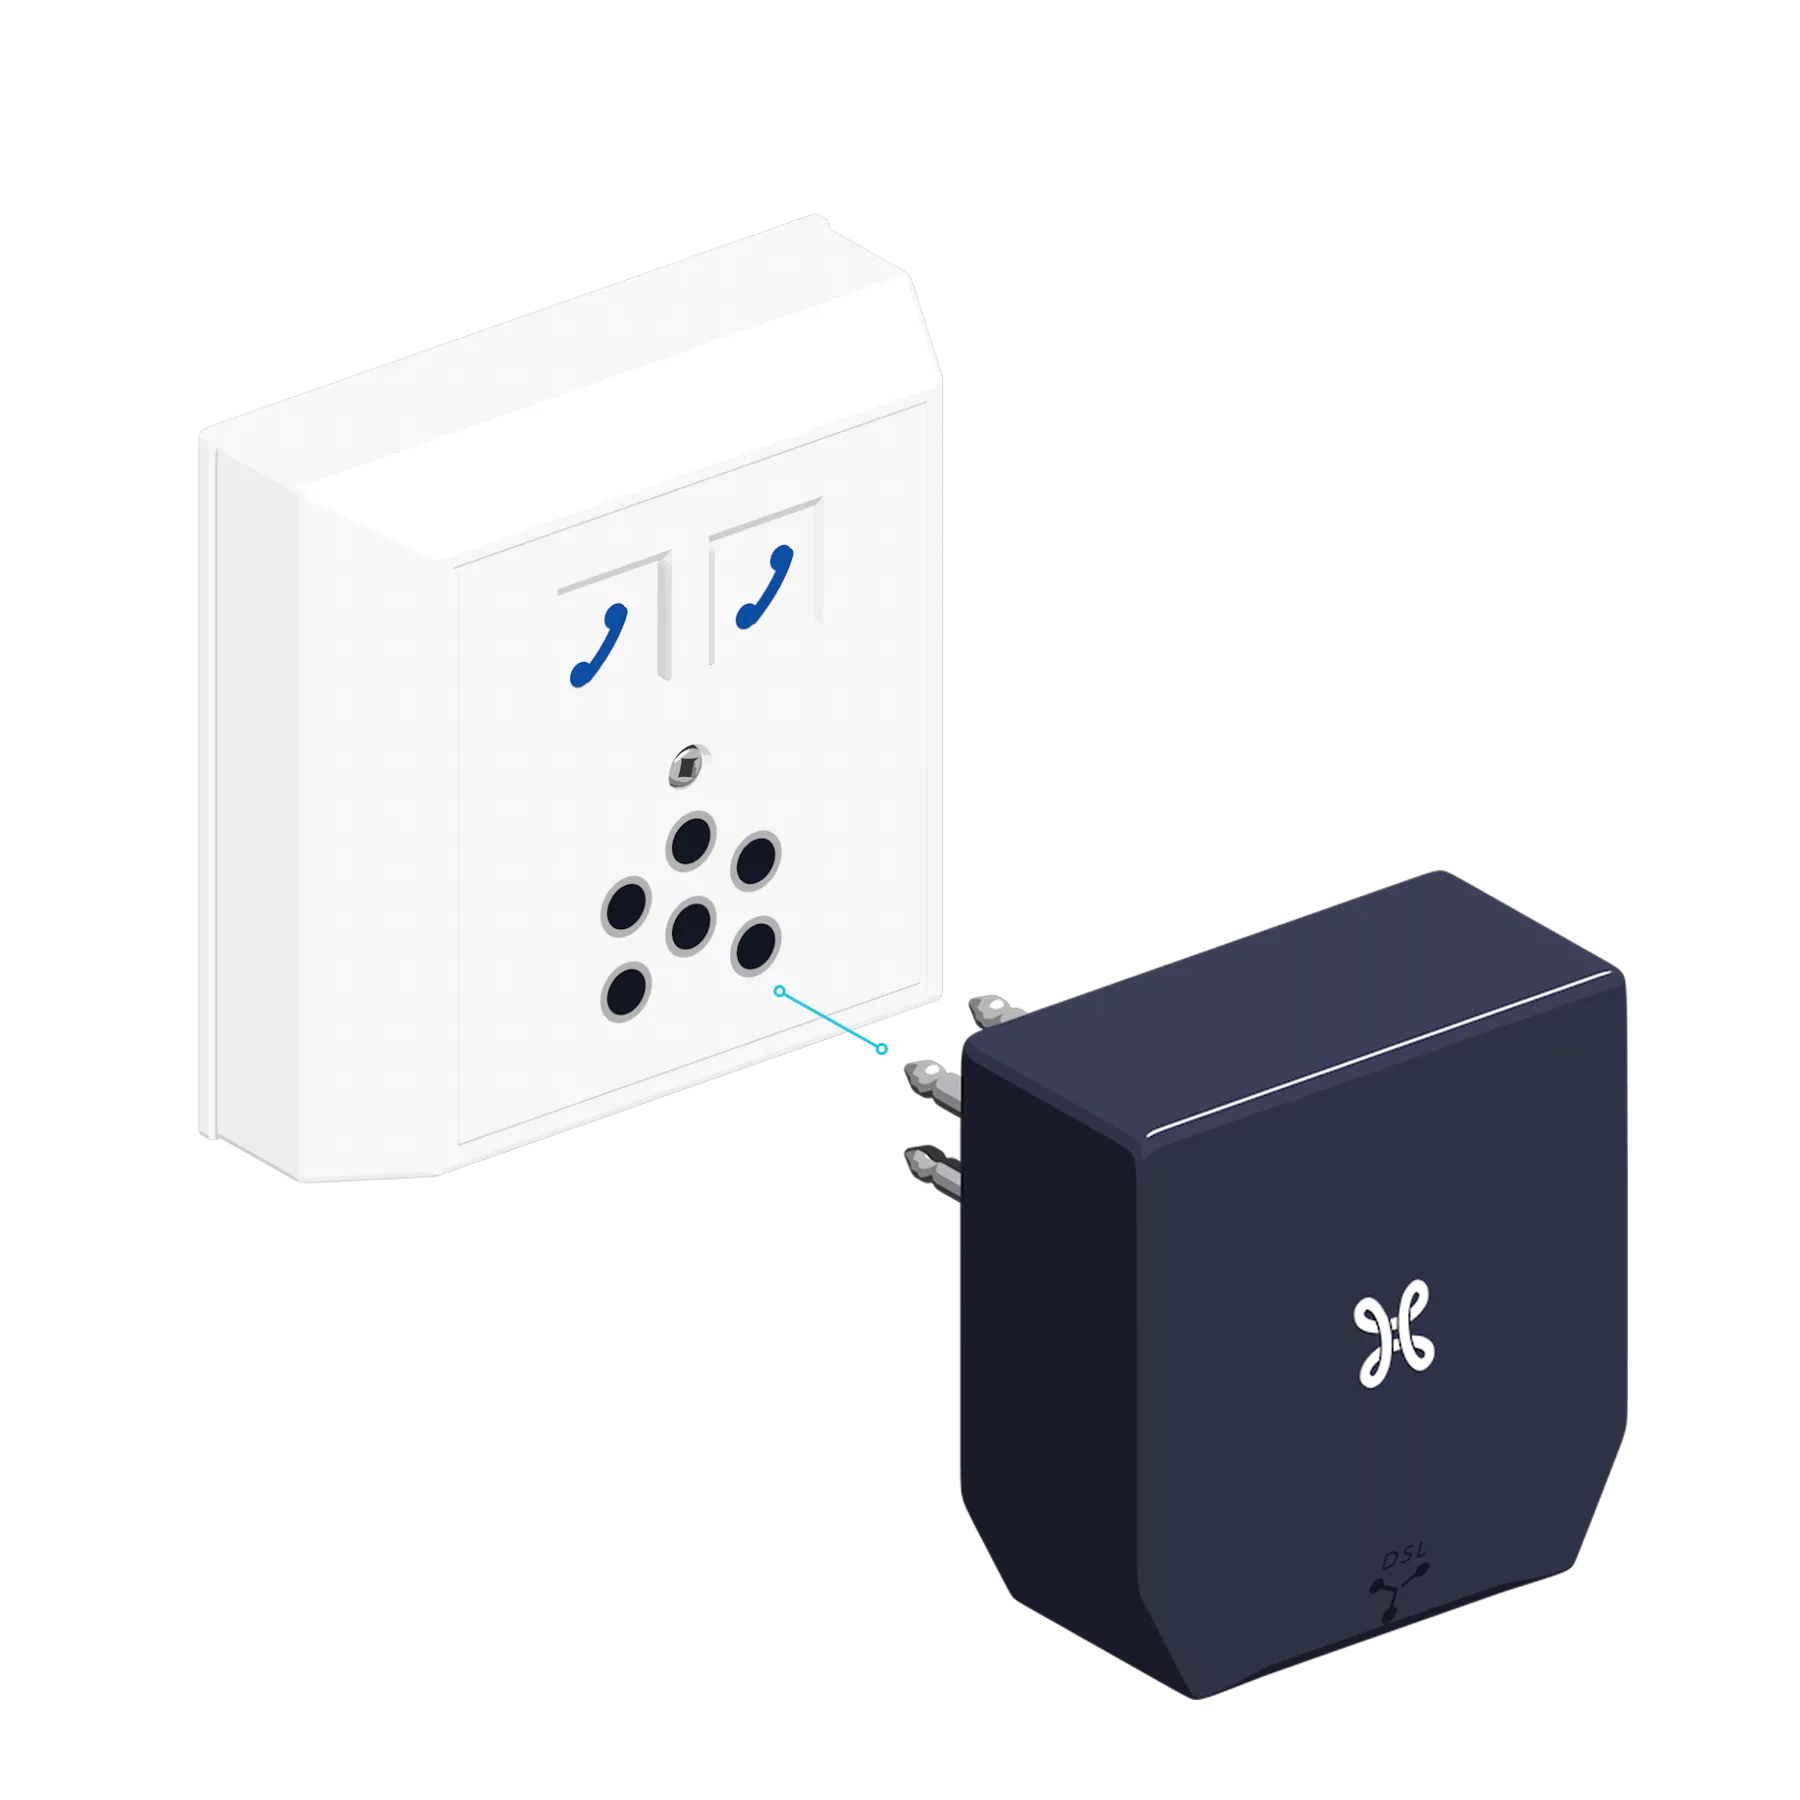
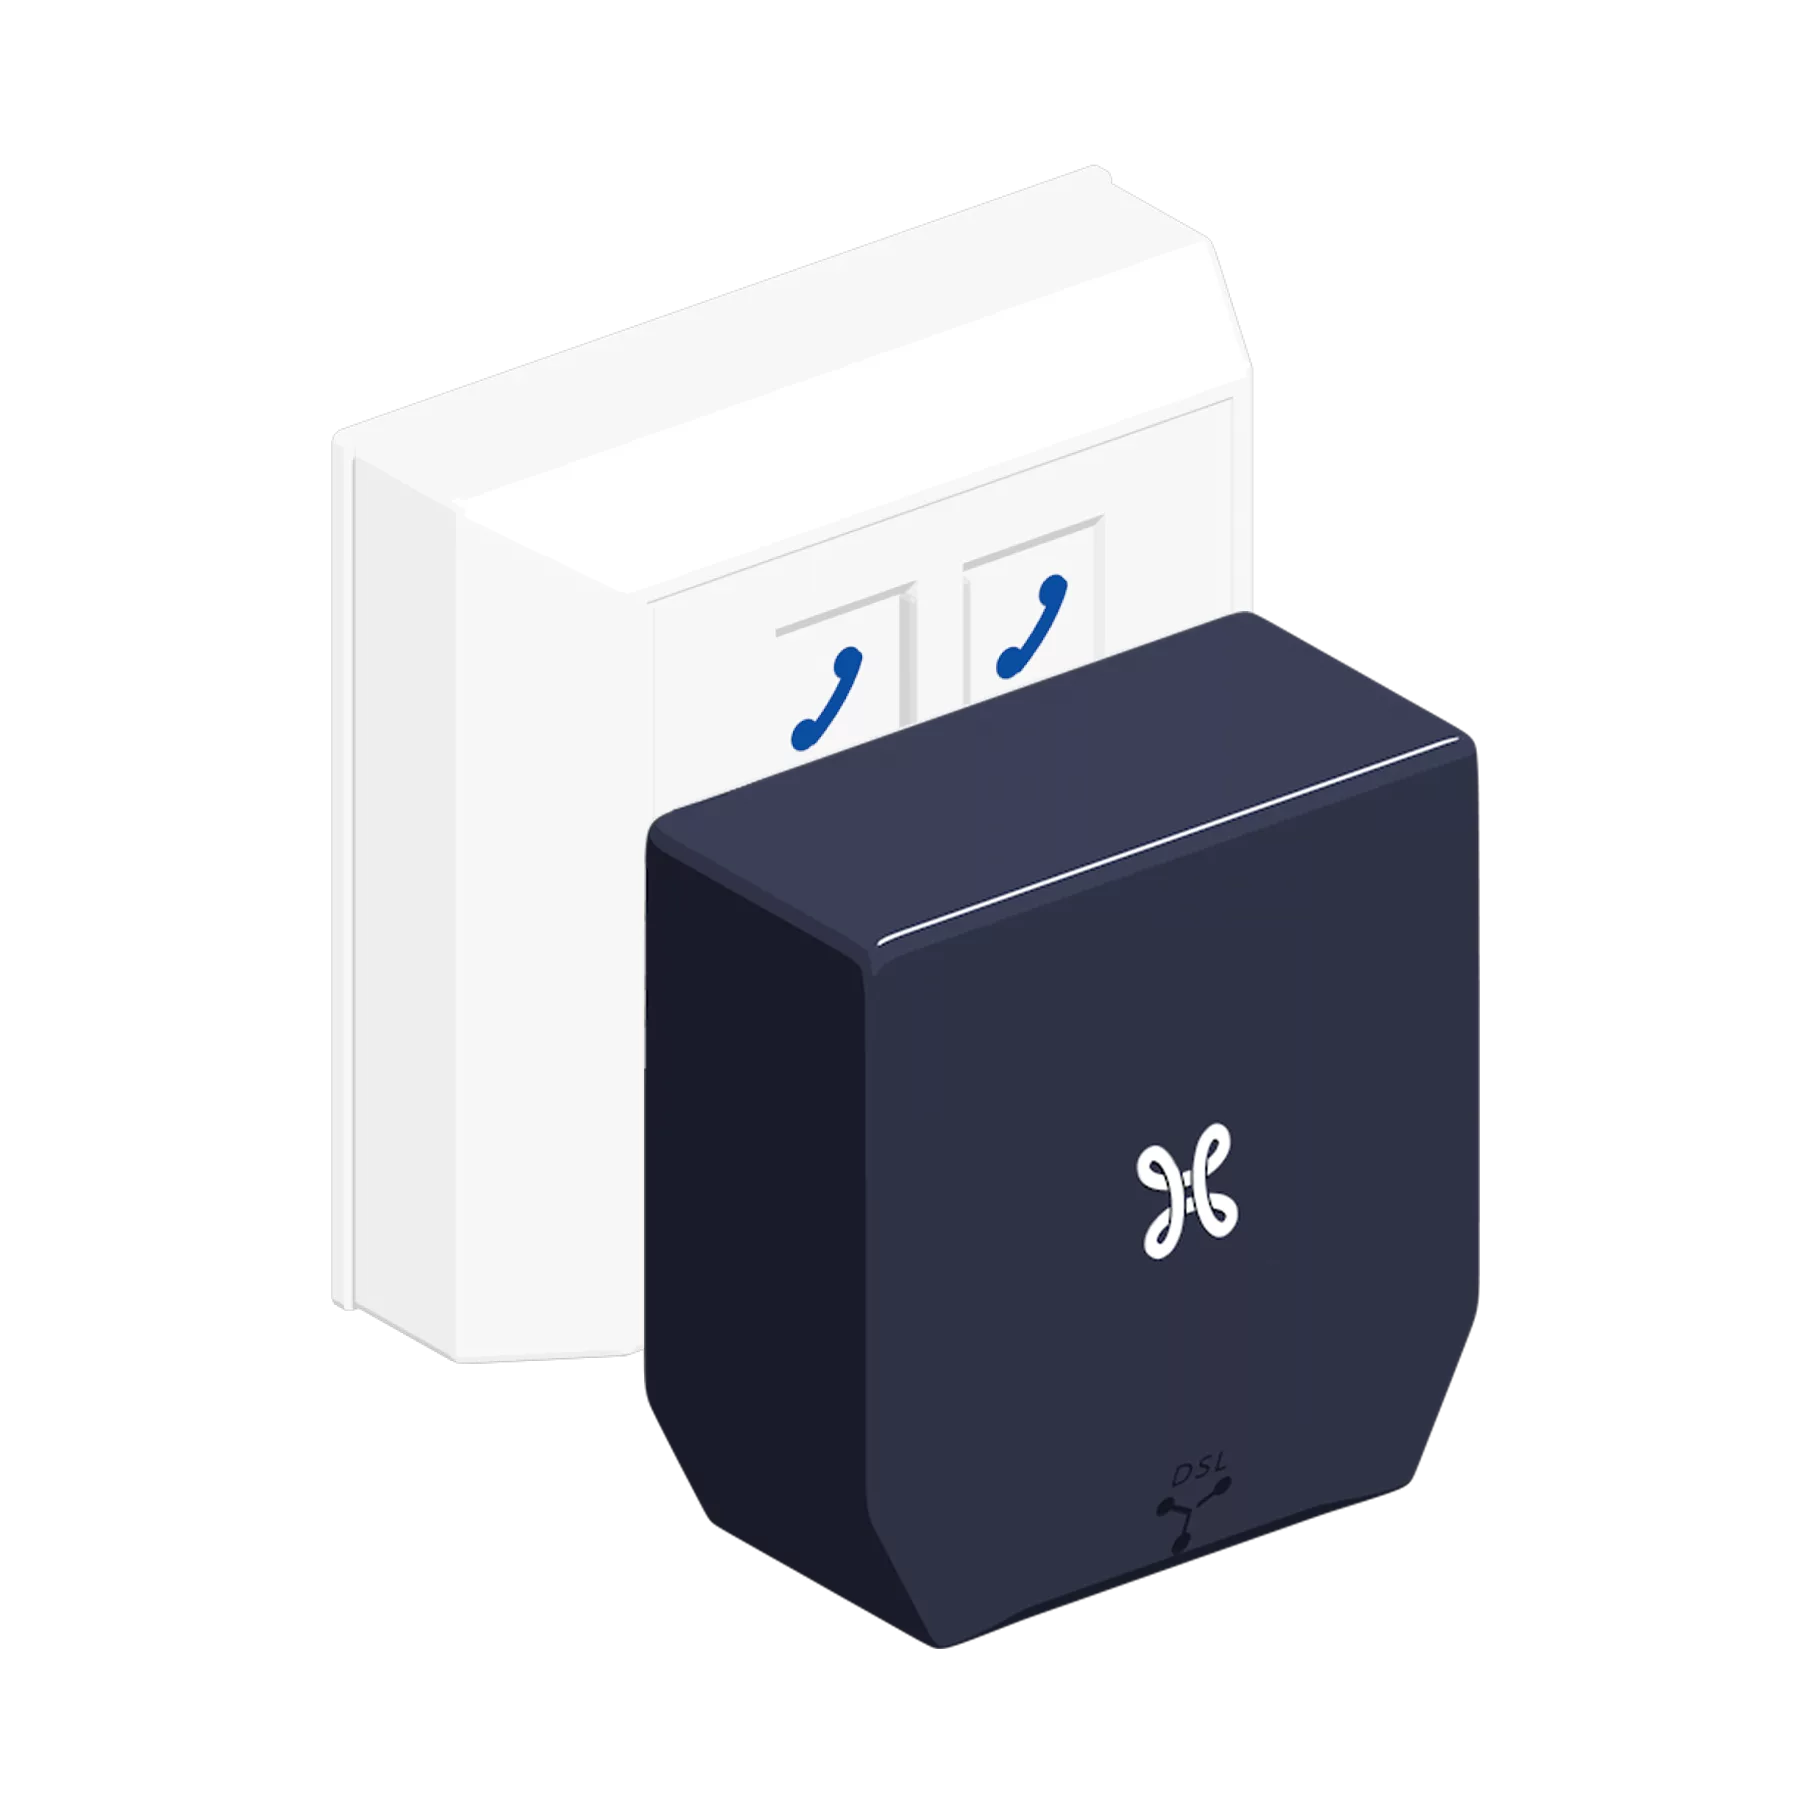
Connect the Internet Box to the filter
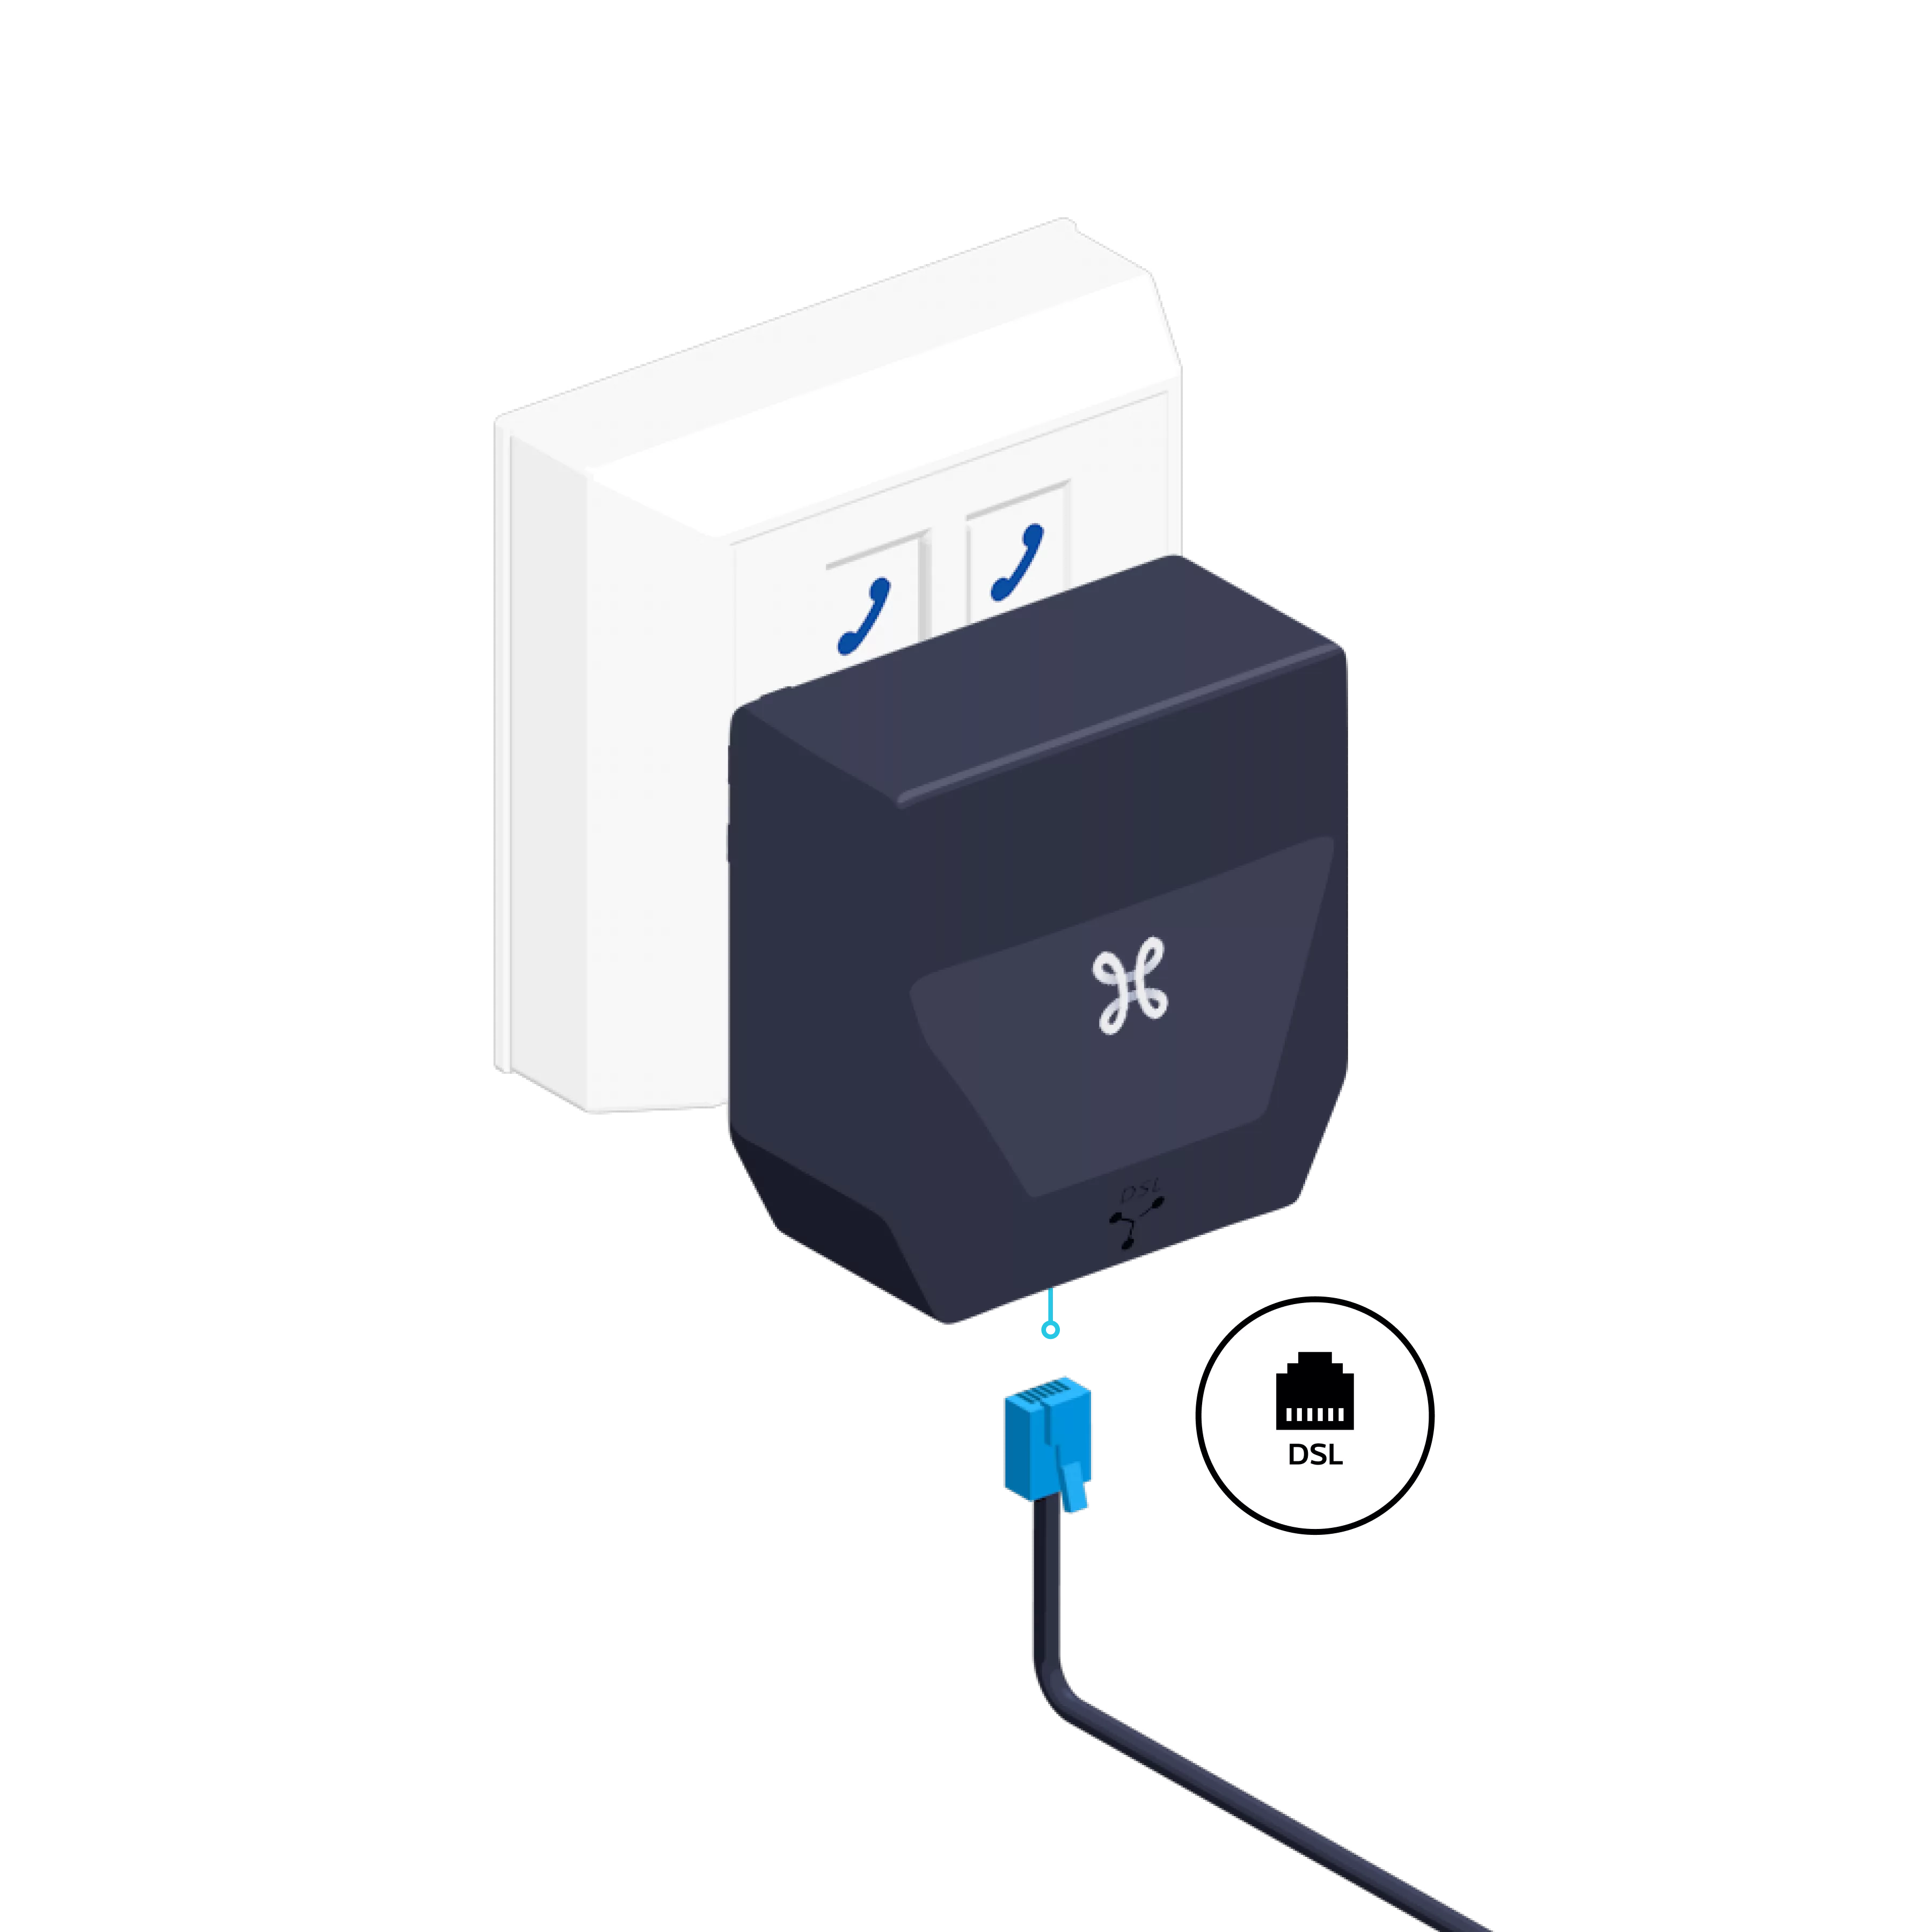
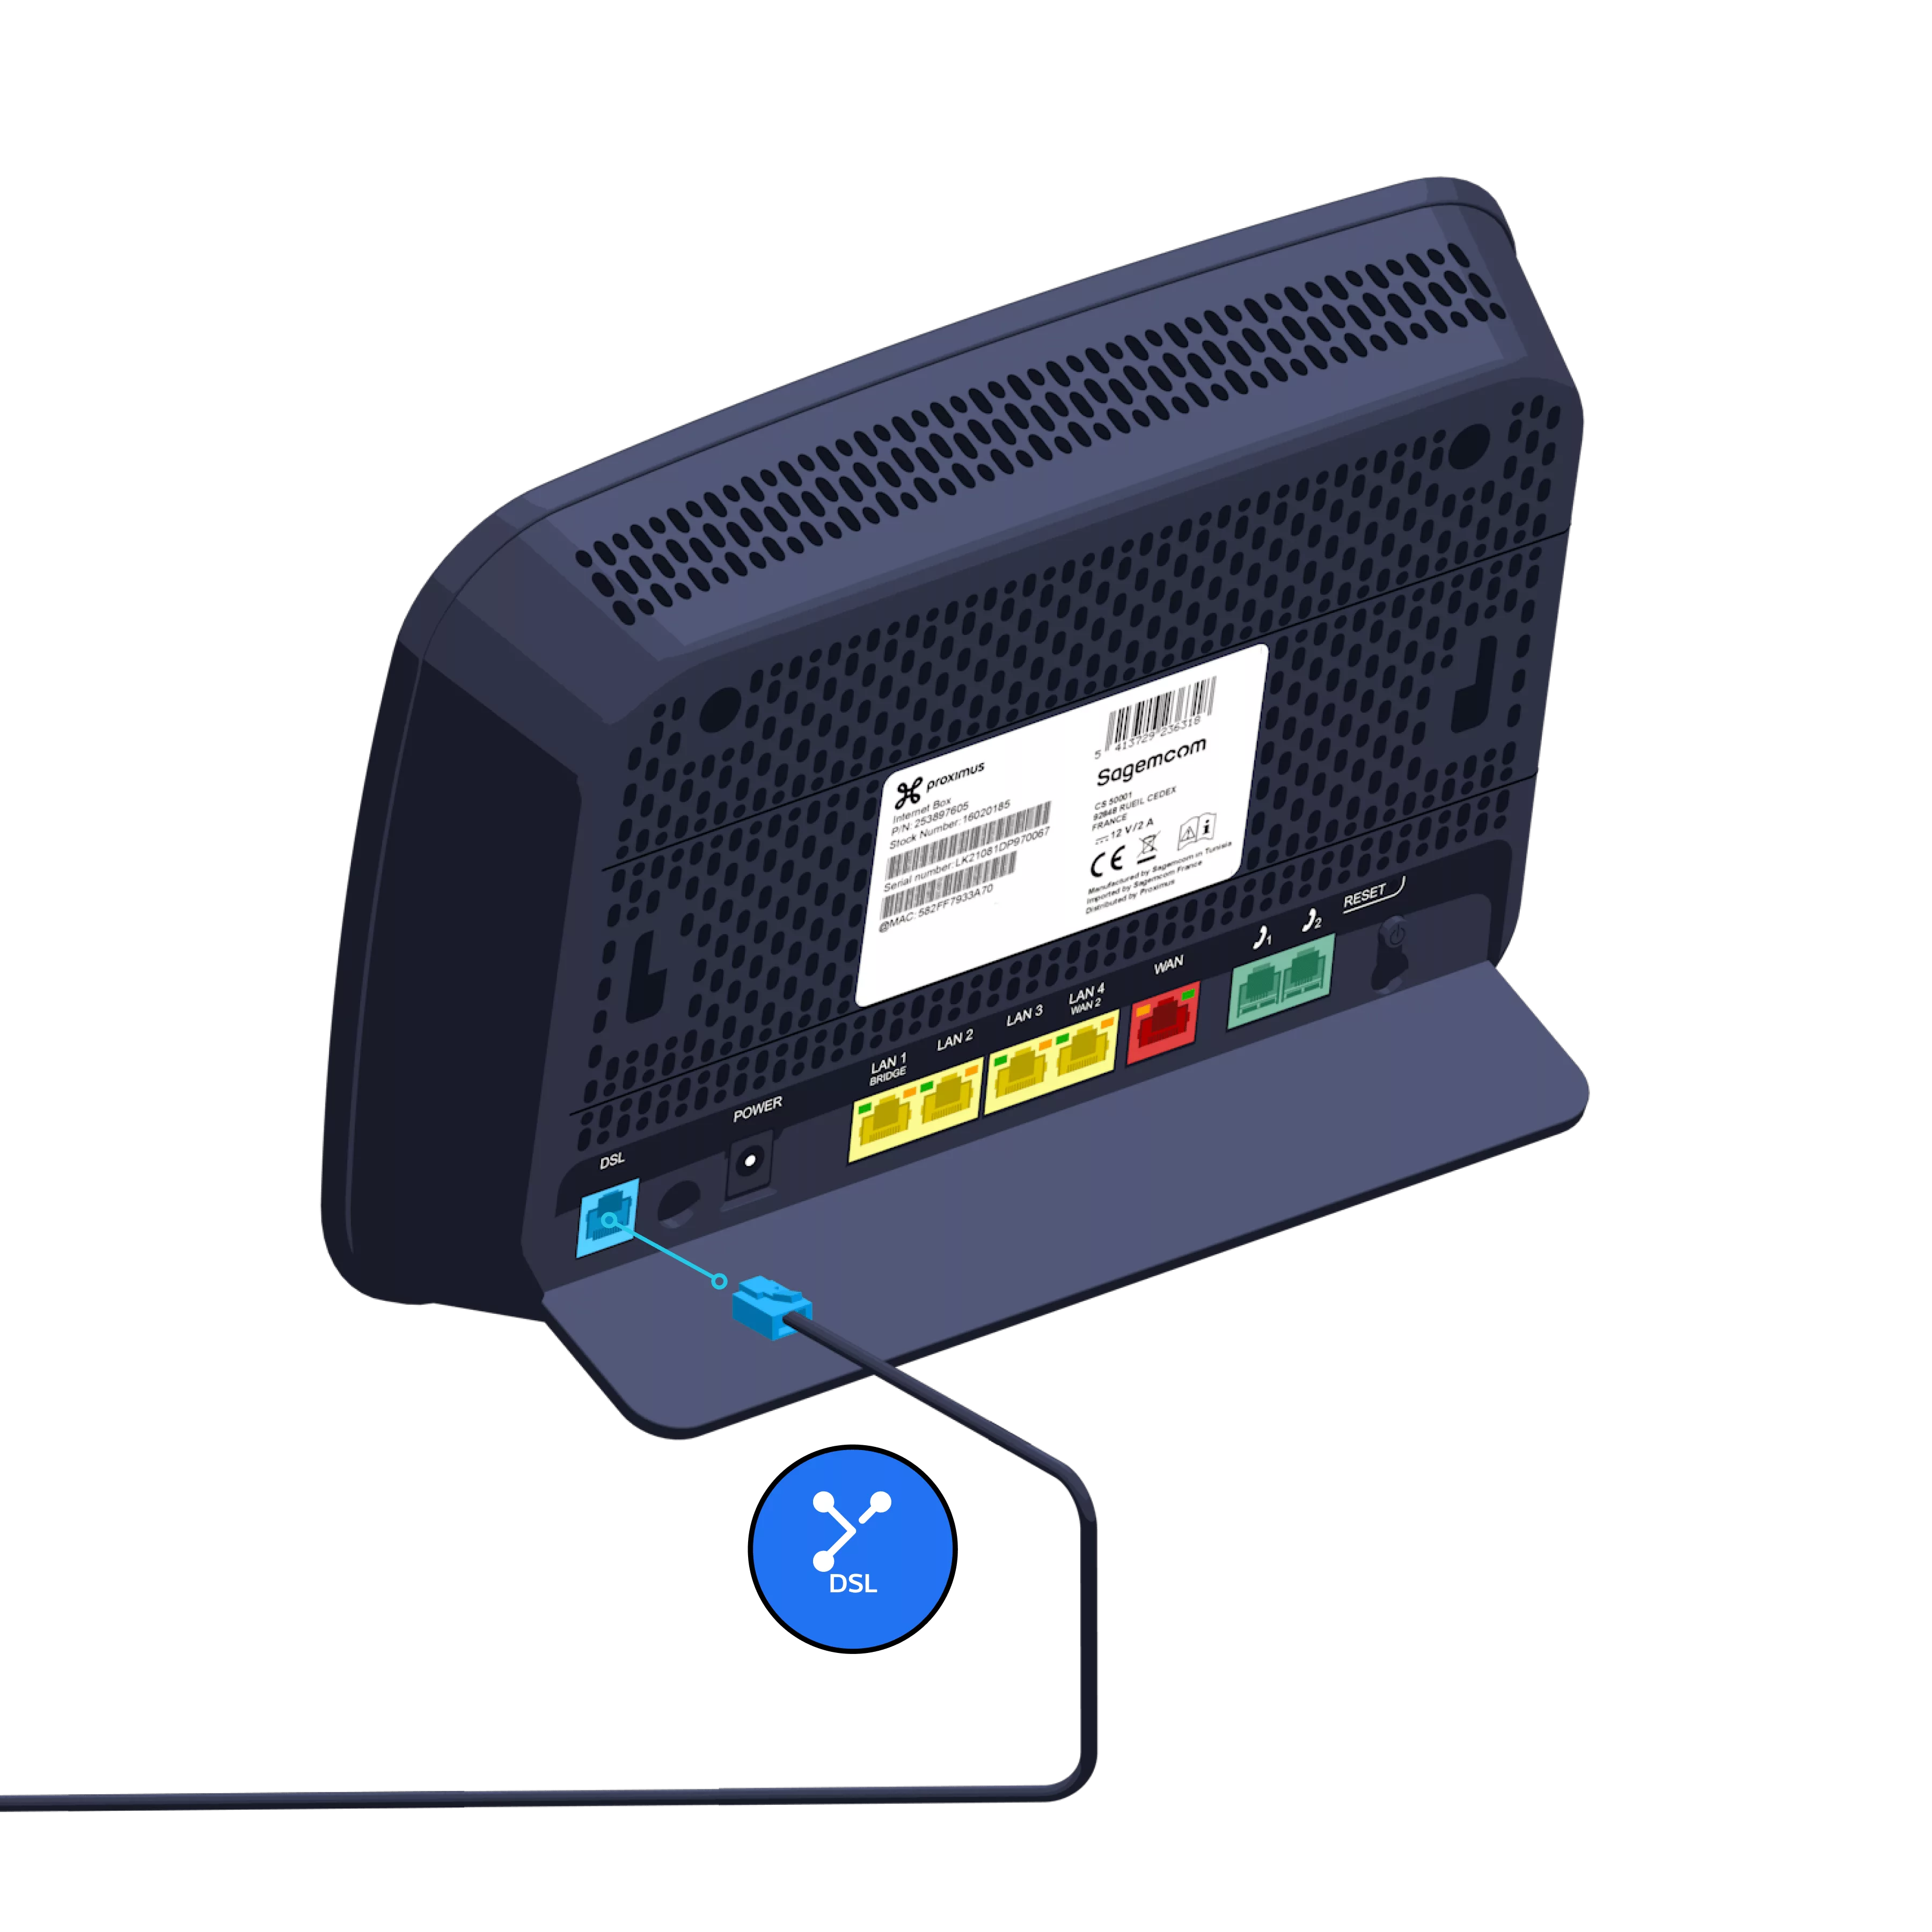
-
-
Use a dedicated cable to connect the Internet Box between the DSL connection socket
and the telephone socket.
- Connect the telephone plug to the Internet Box using the DSL cable.
- Connect it to the blue DSL port at the back of the Internet Box.
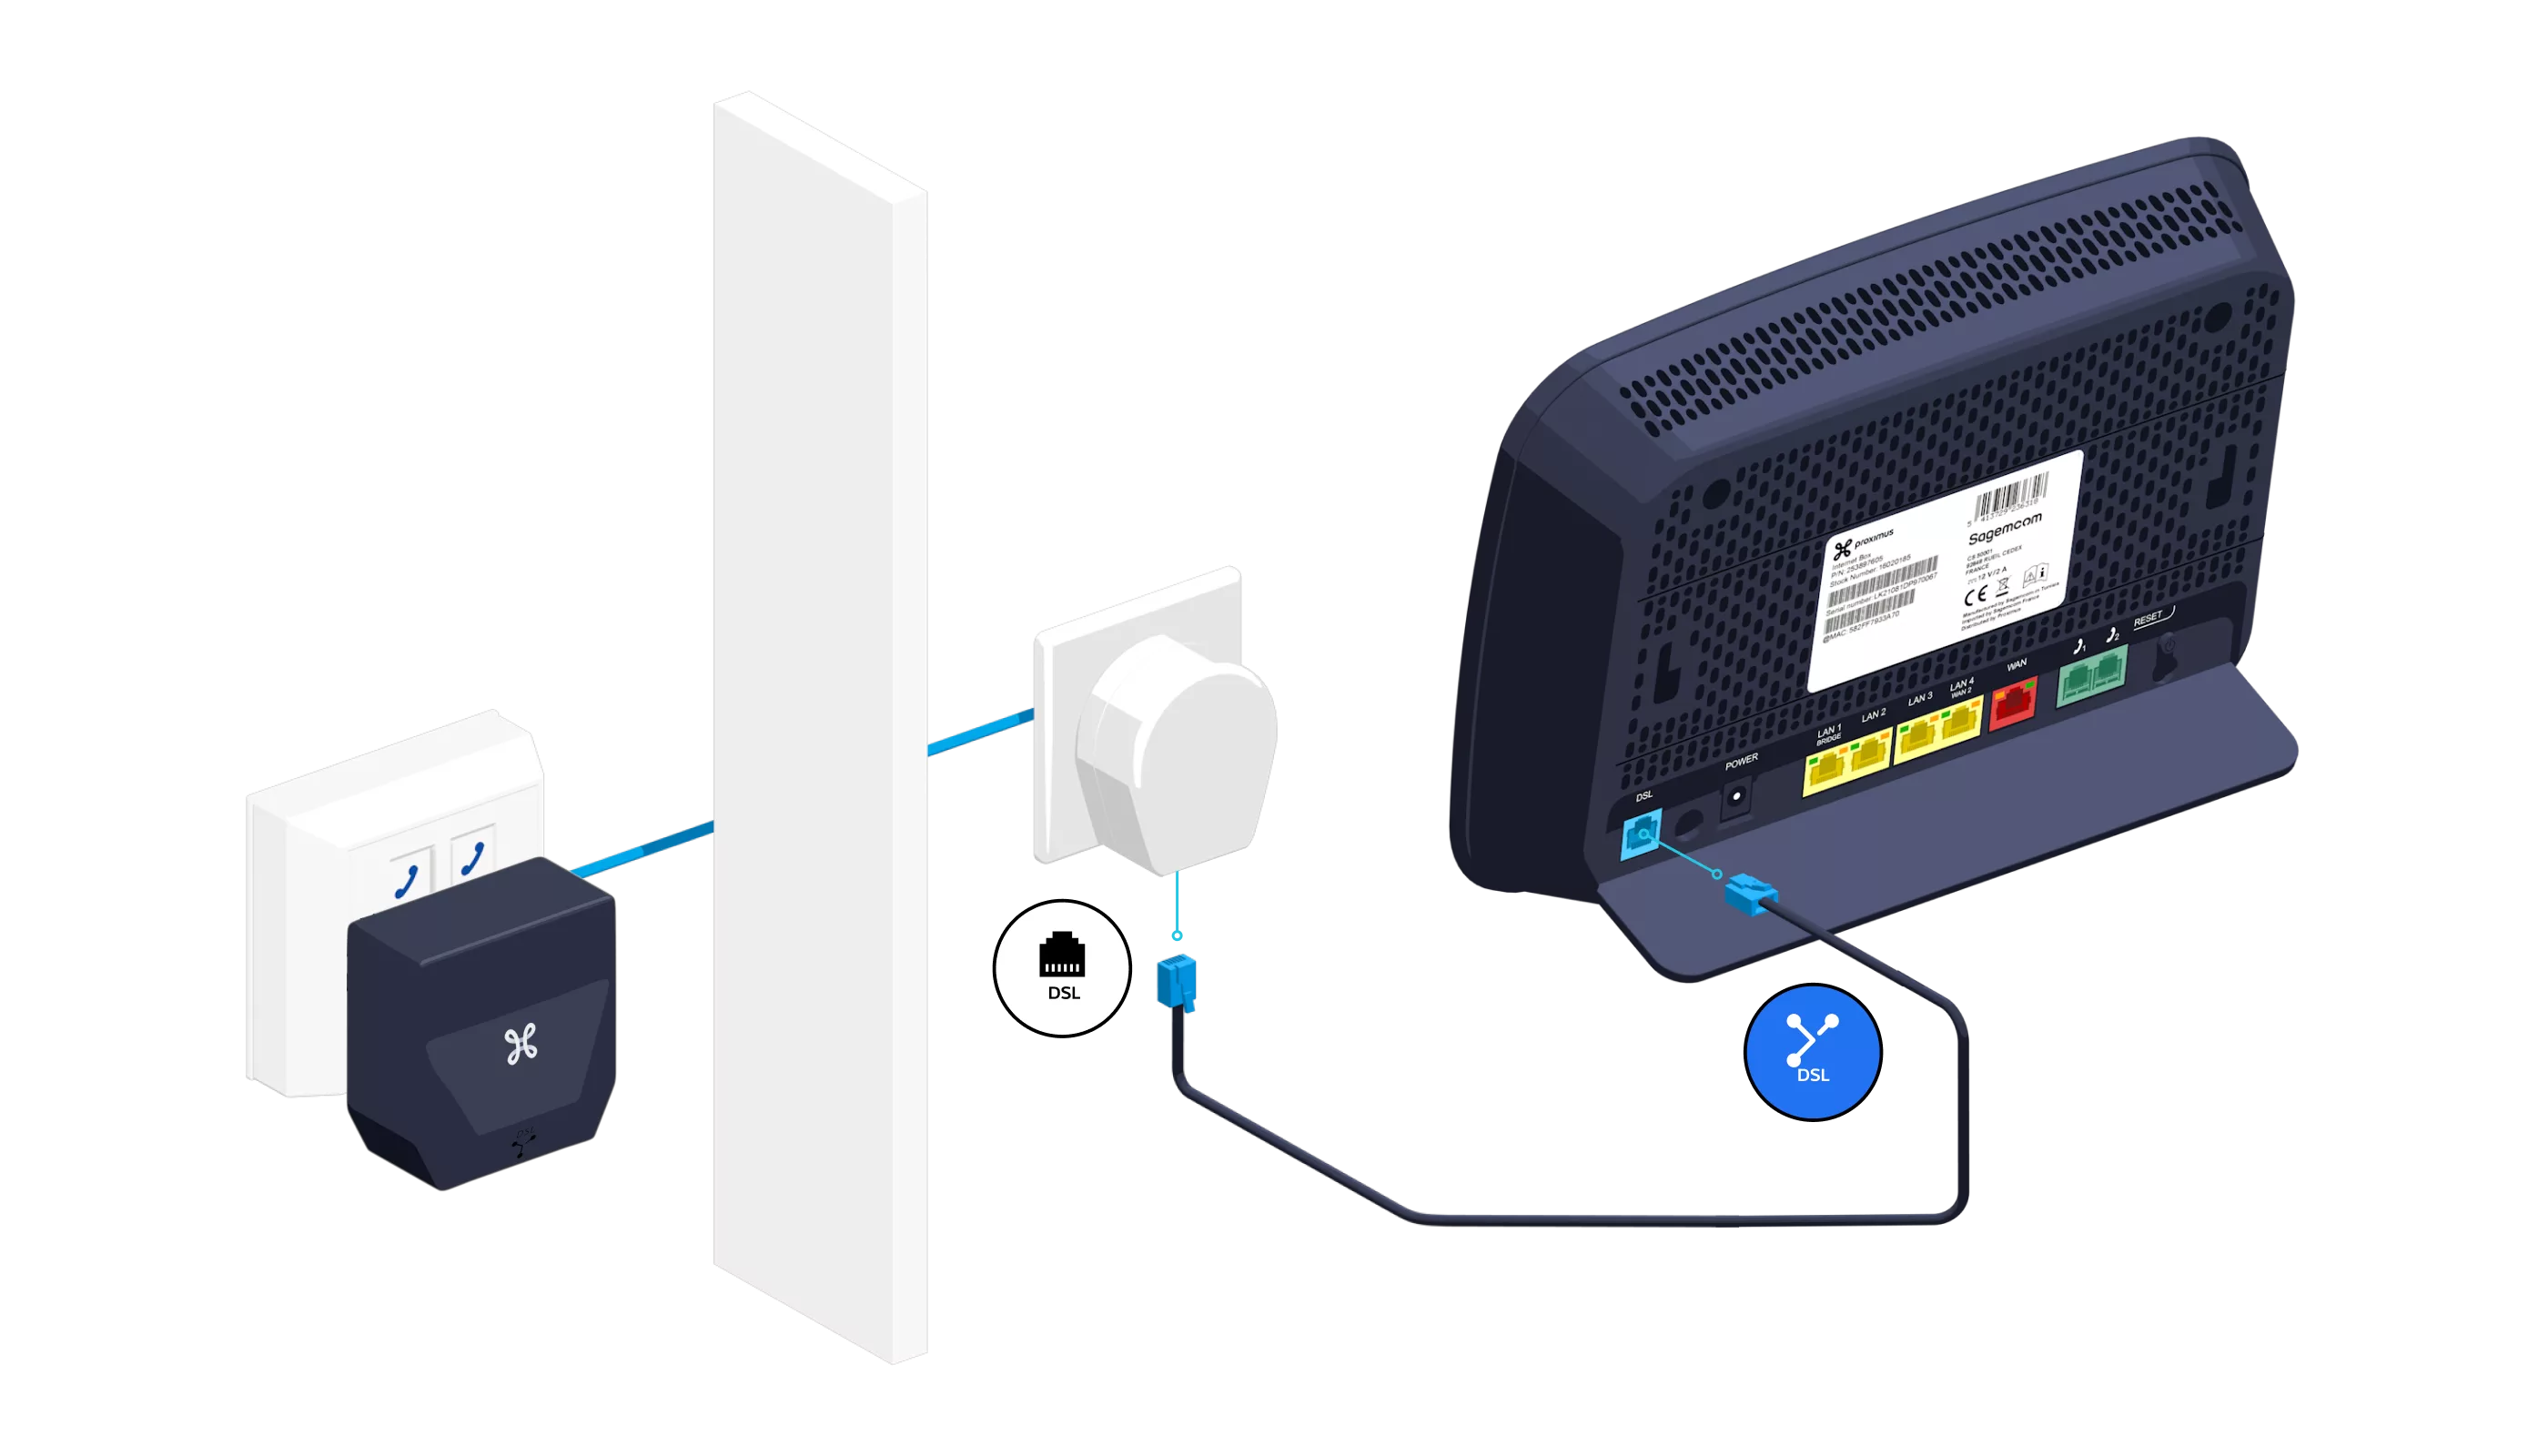
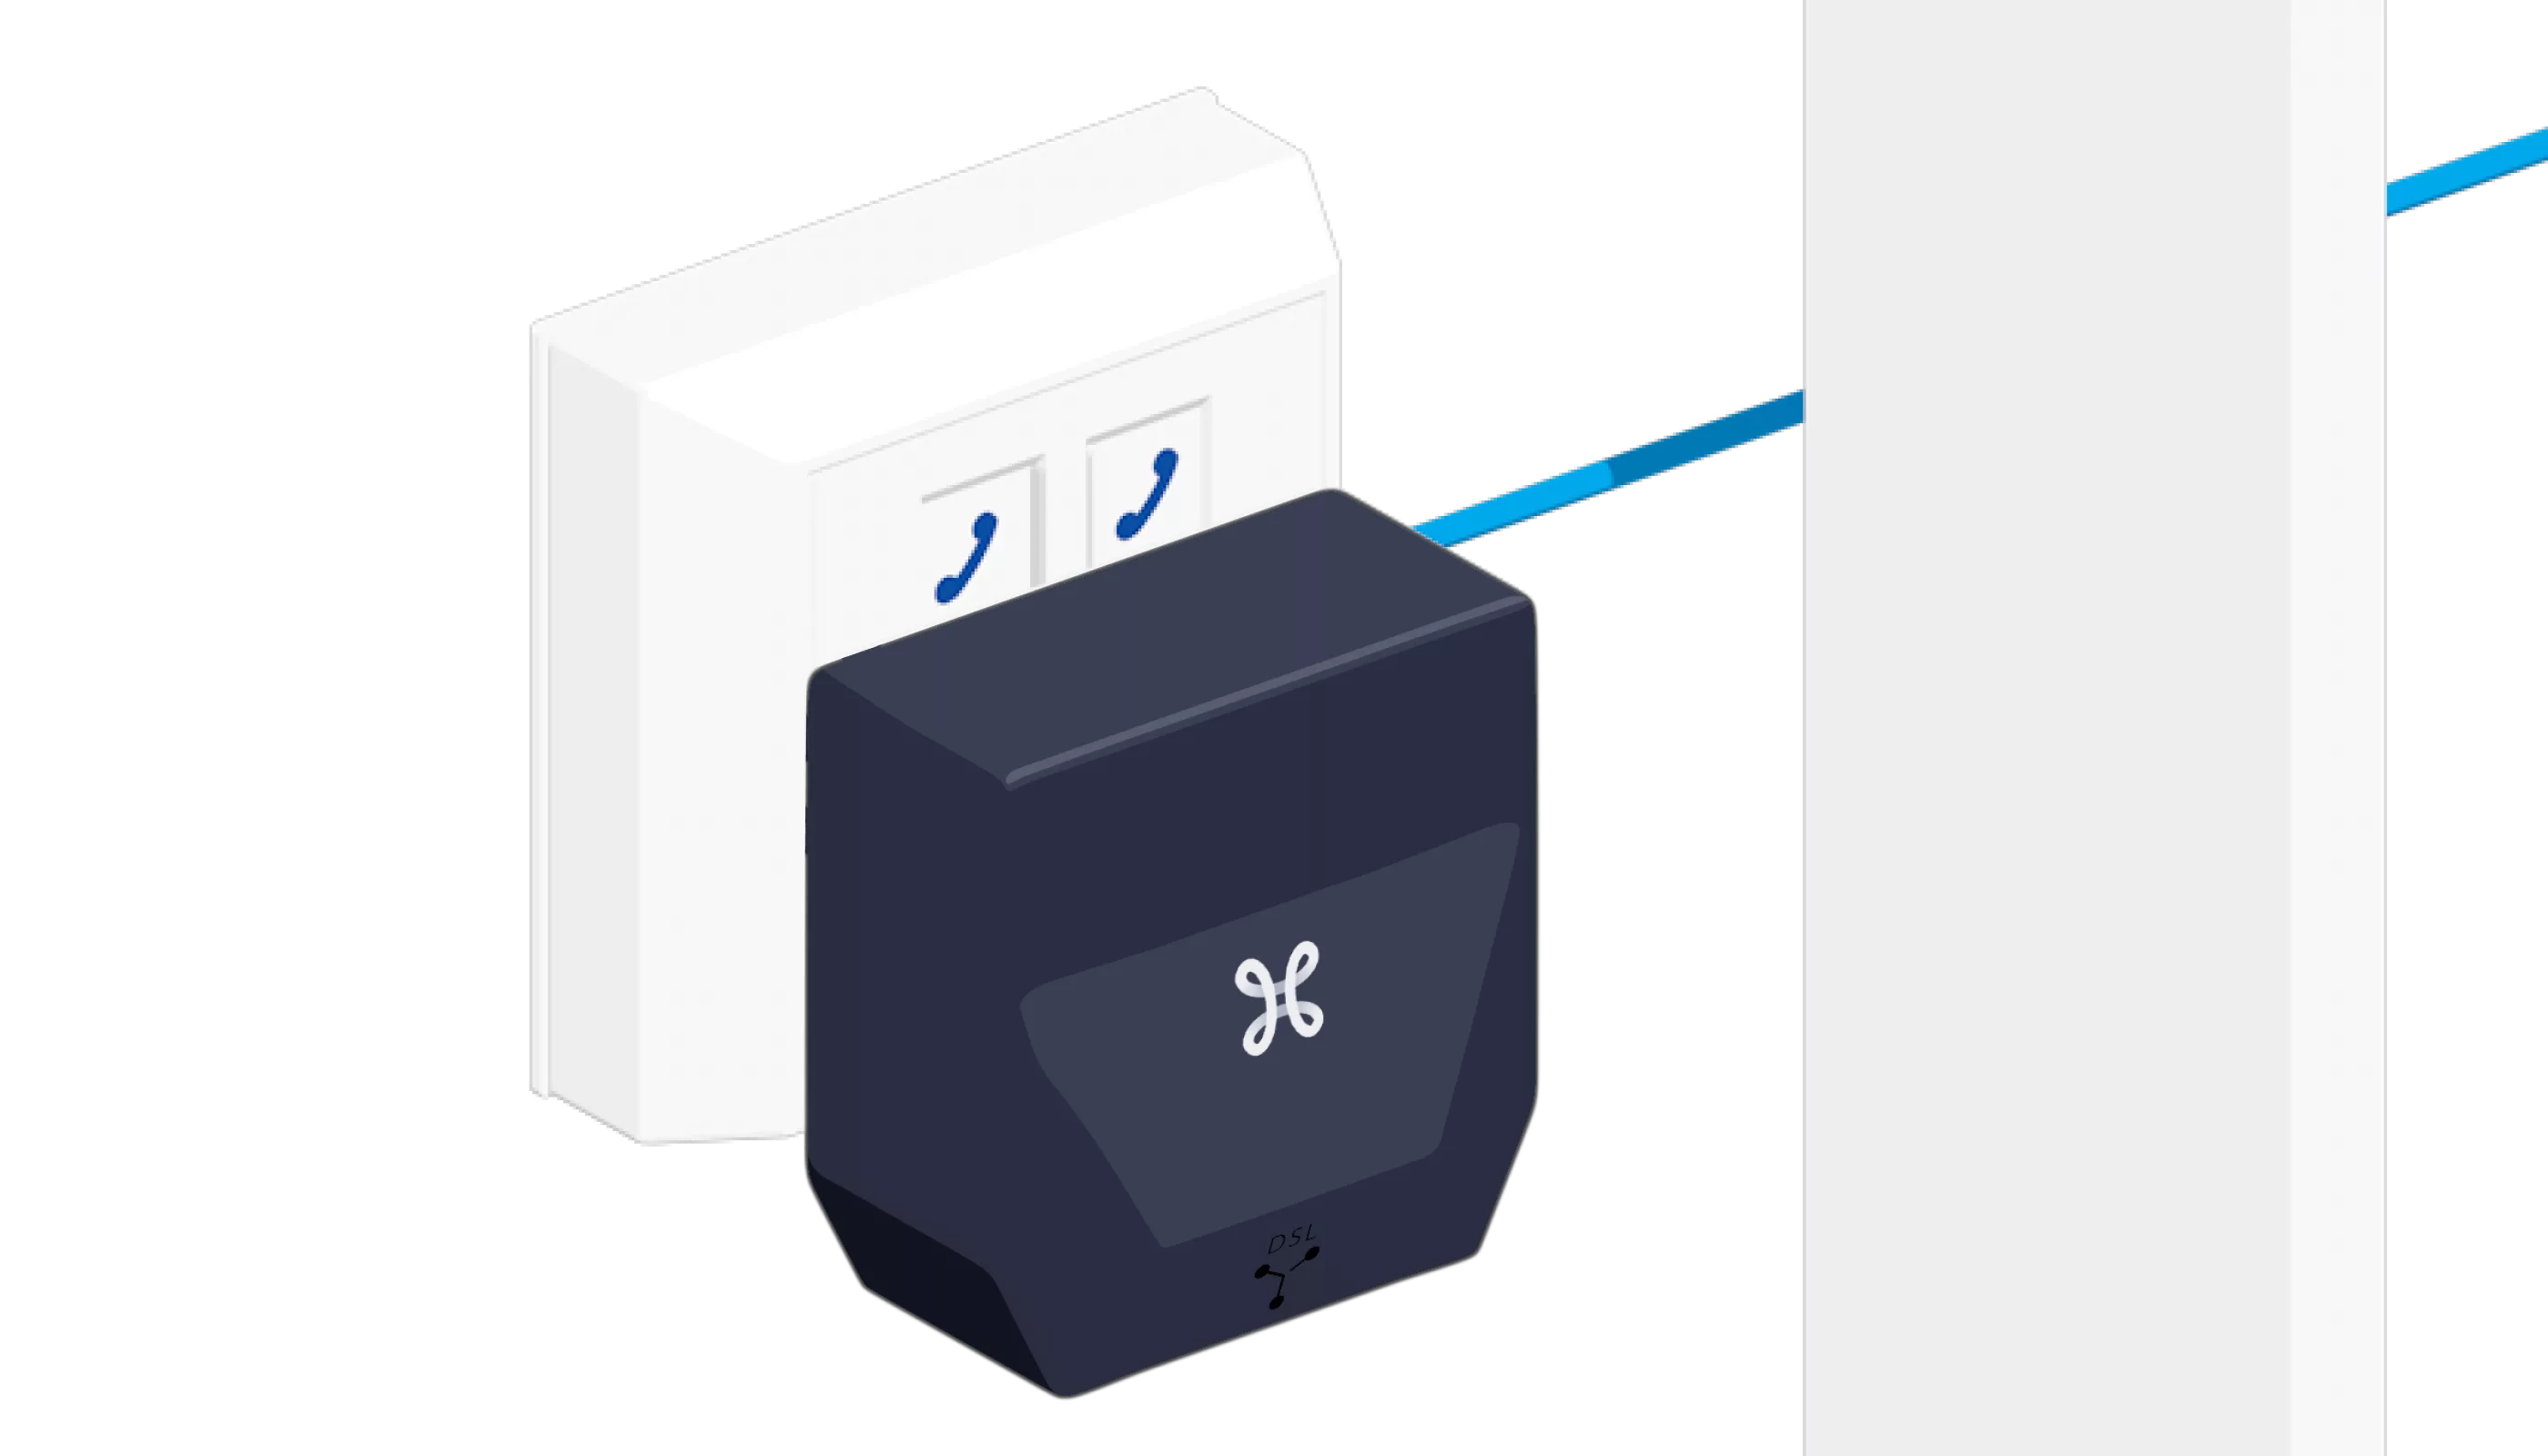
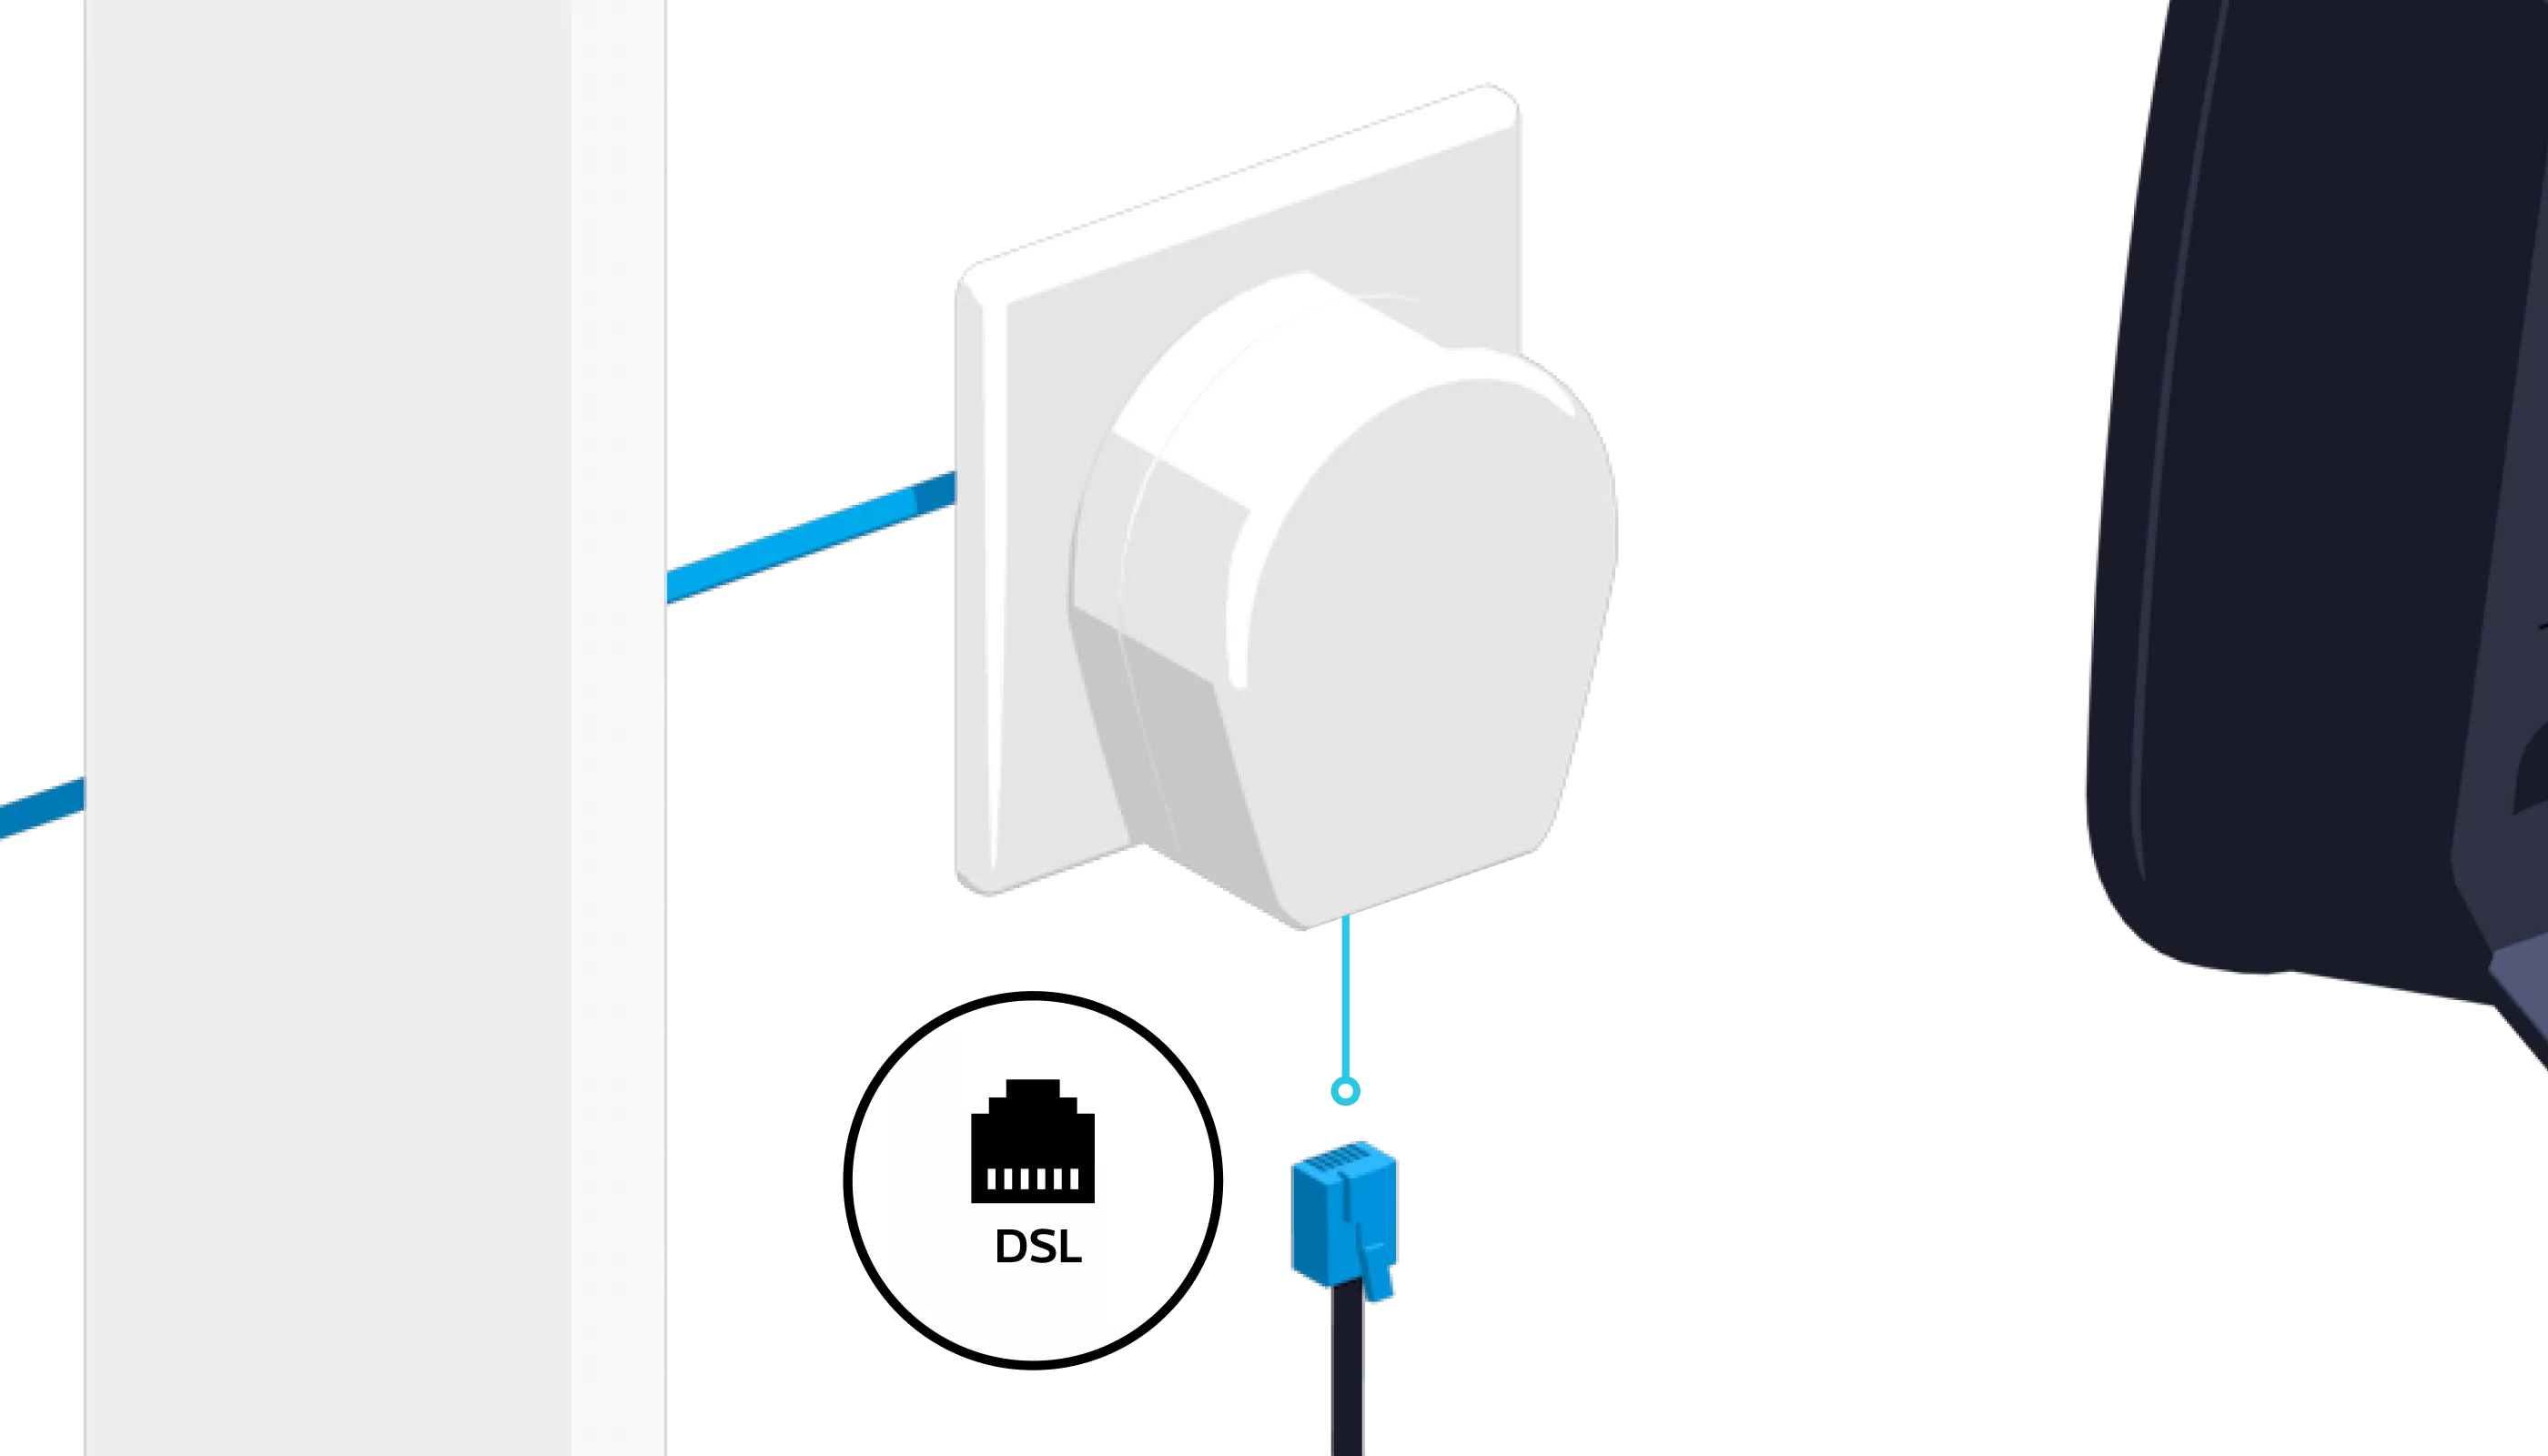 This equipment (the cable used to connect the Internet Box, the telephone socket, the telephone plug) is not included in this box. It is either already part of your current setup or you will need to purchase it. The cable used to connect the Internet Box is a standard telephone cable (VVT or UTP – the latter is not recommended). You can purchase it from a Proximus point-of-sale outlet or a shop specialising in electrical equipment. If you are using only a cable specifically for connecting the Internet Box, ensure that it is correctly connected to the connection socket.
-
Use a dedicated cable to connect the Internet Box between the DSL connection socket
and the telephone socket.
-
- Screw the bracket to the wall.
- Then attach the Internet Box to it.
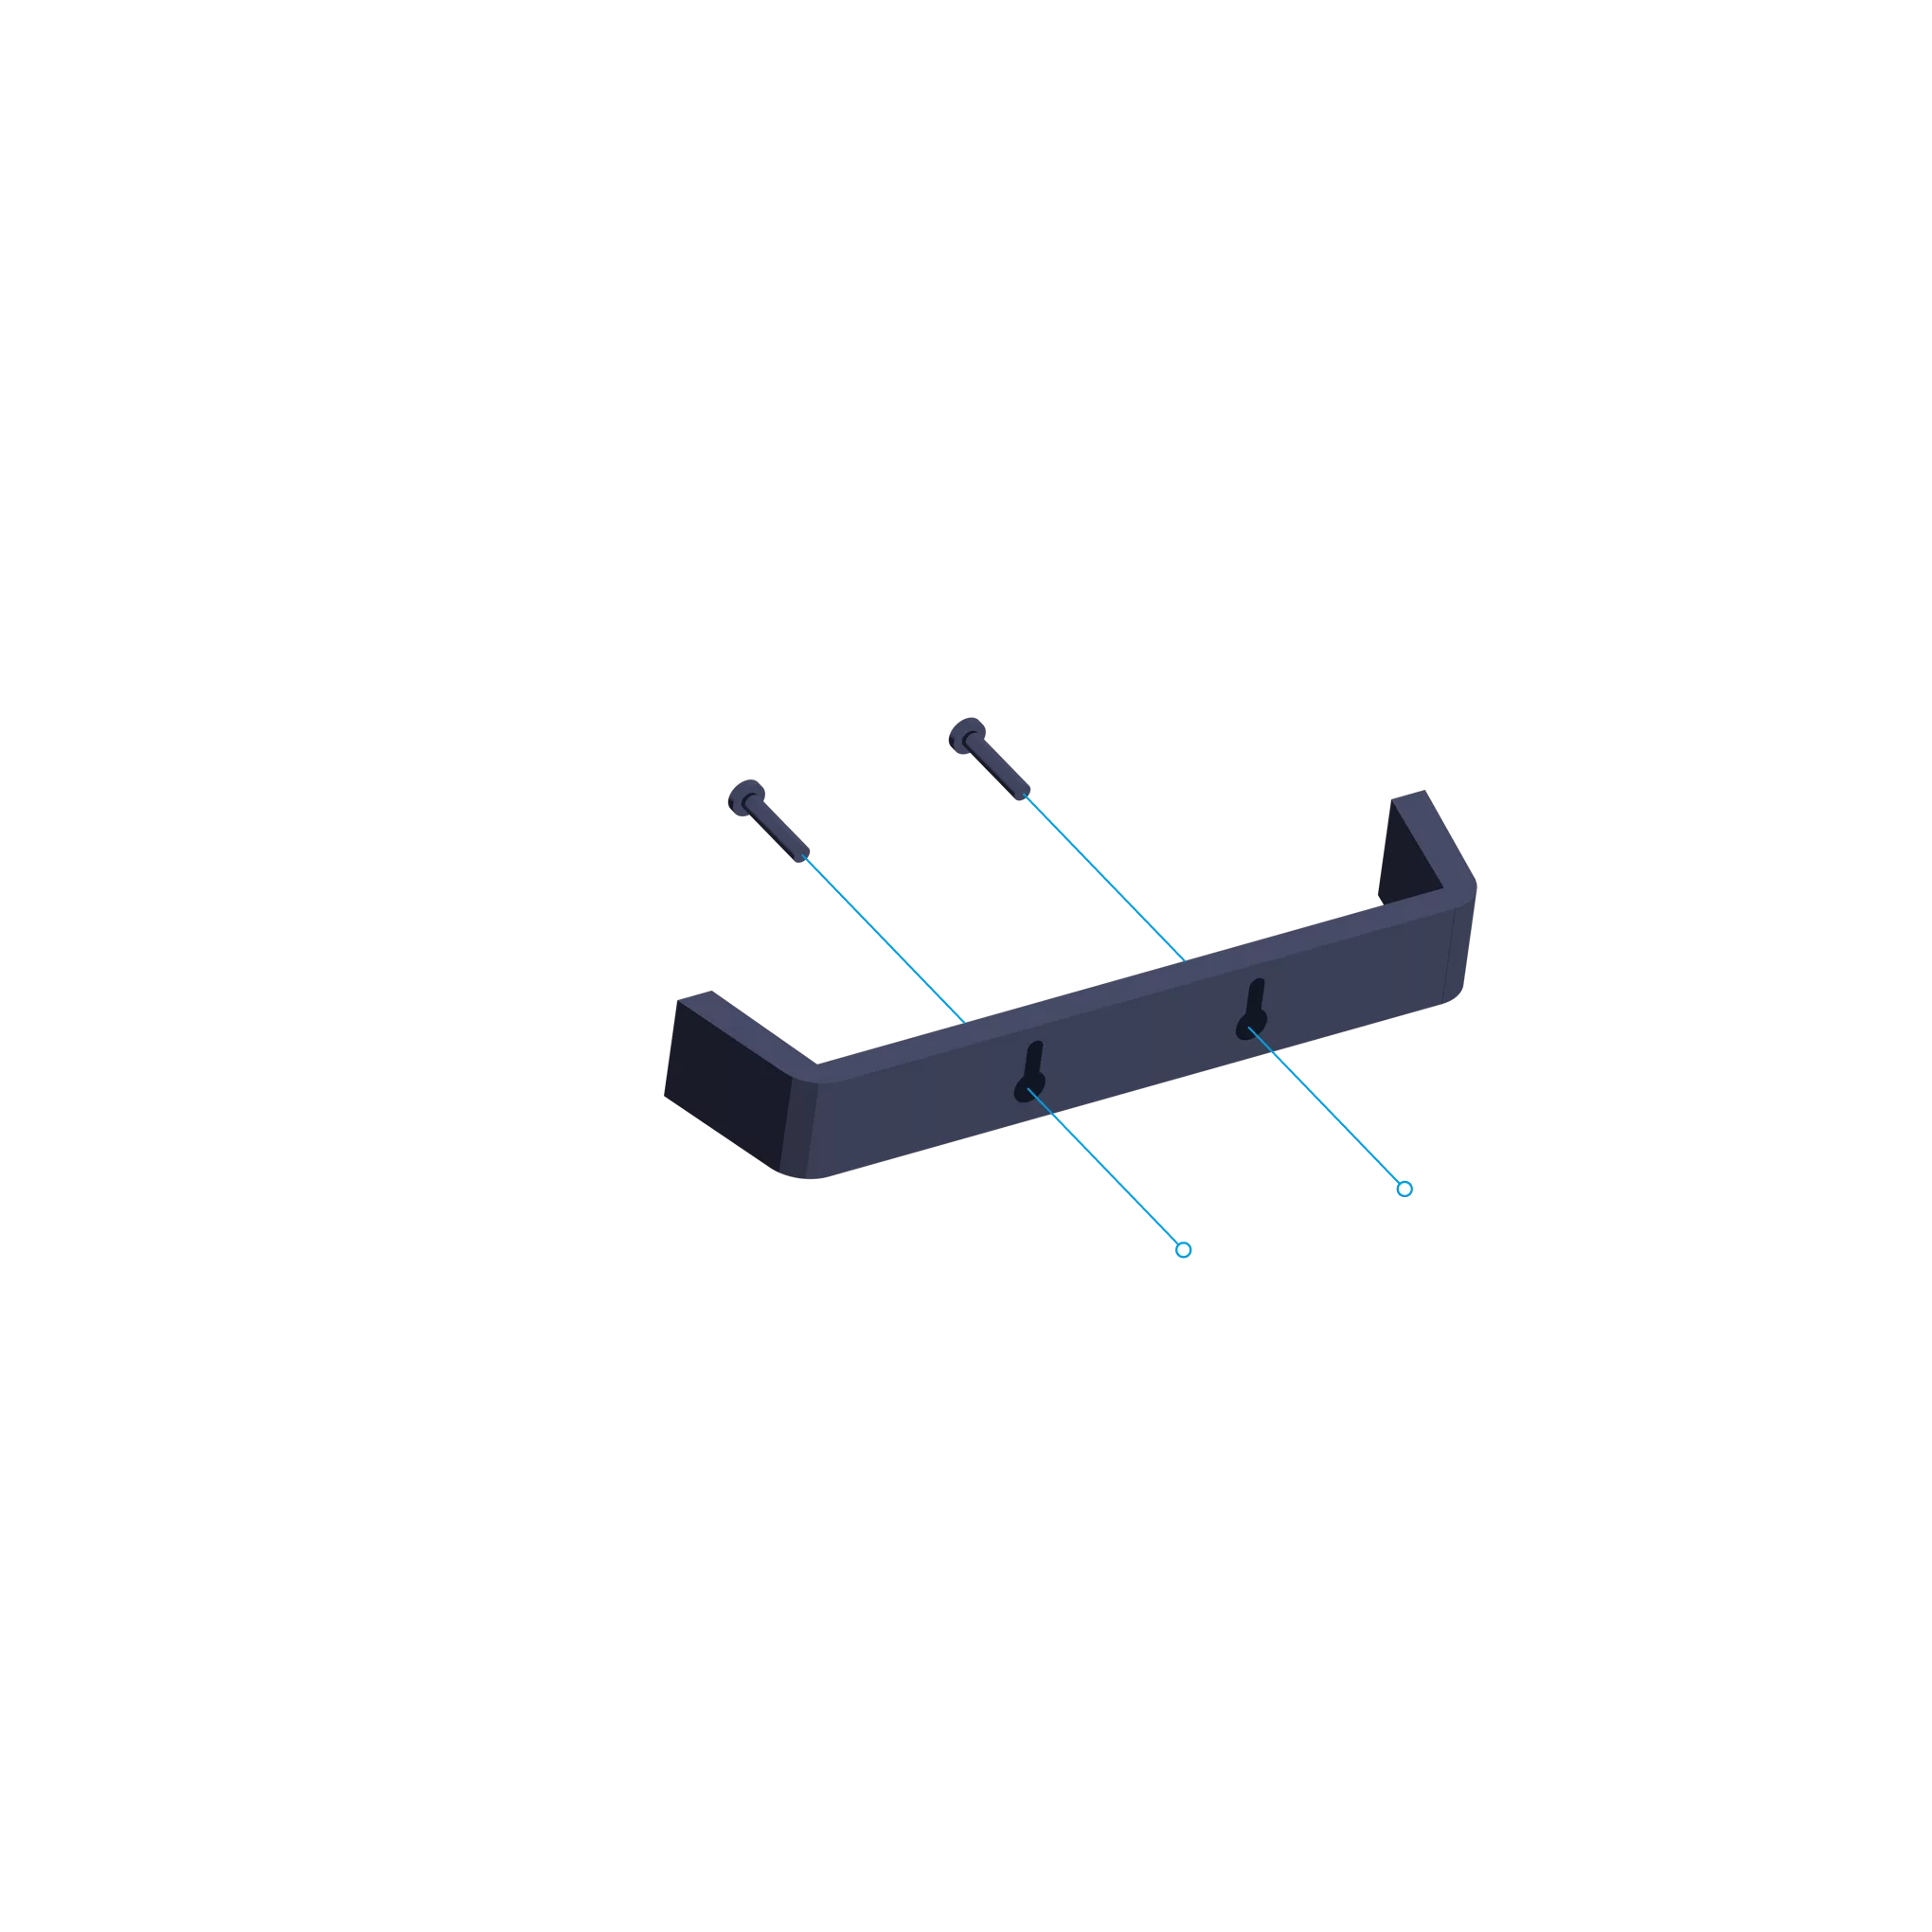
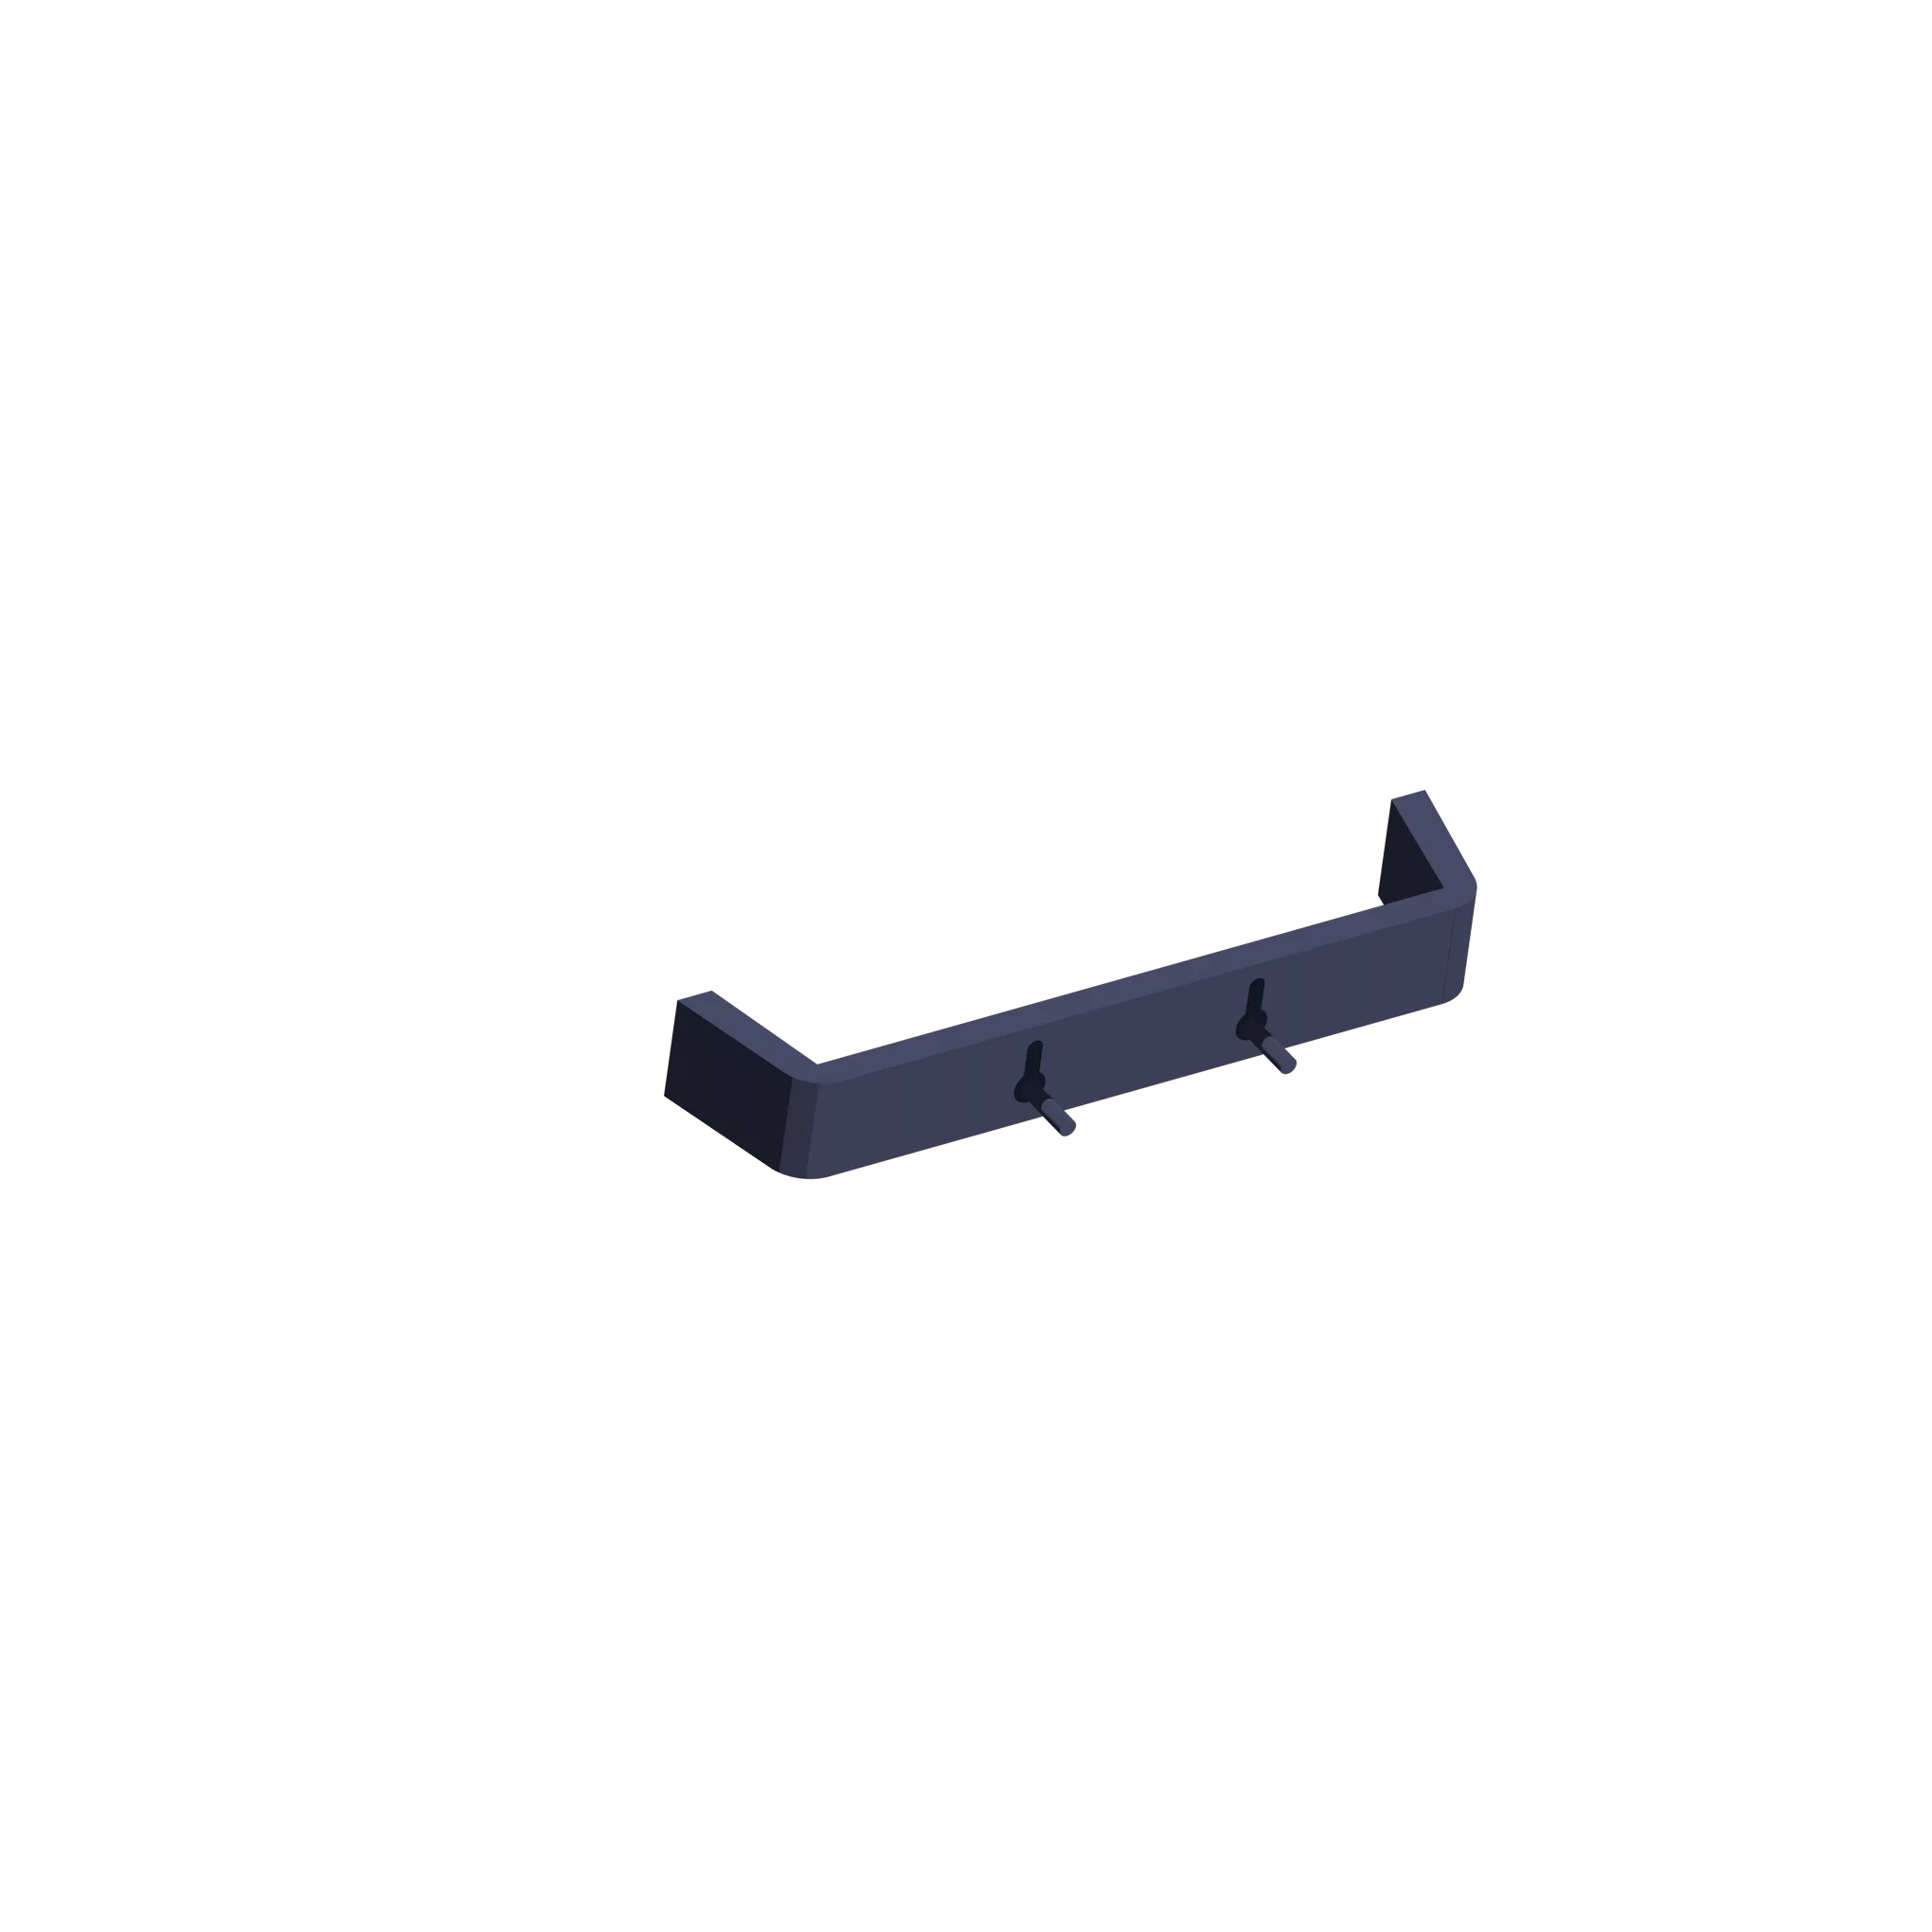
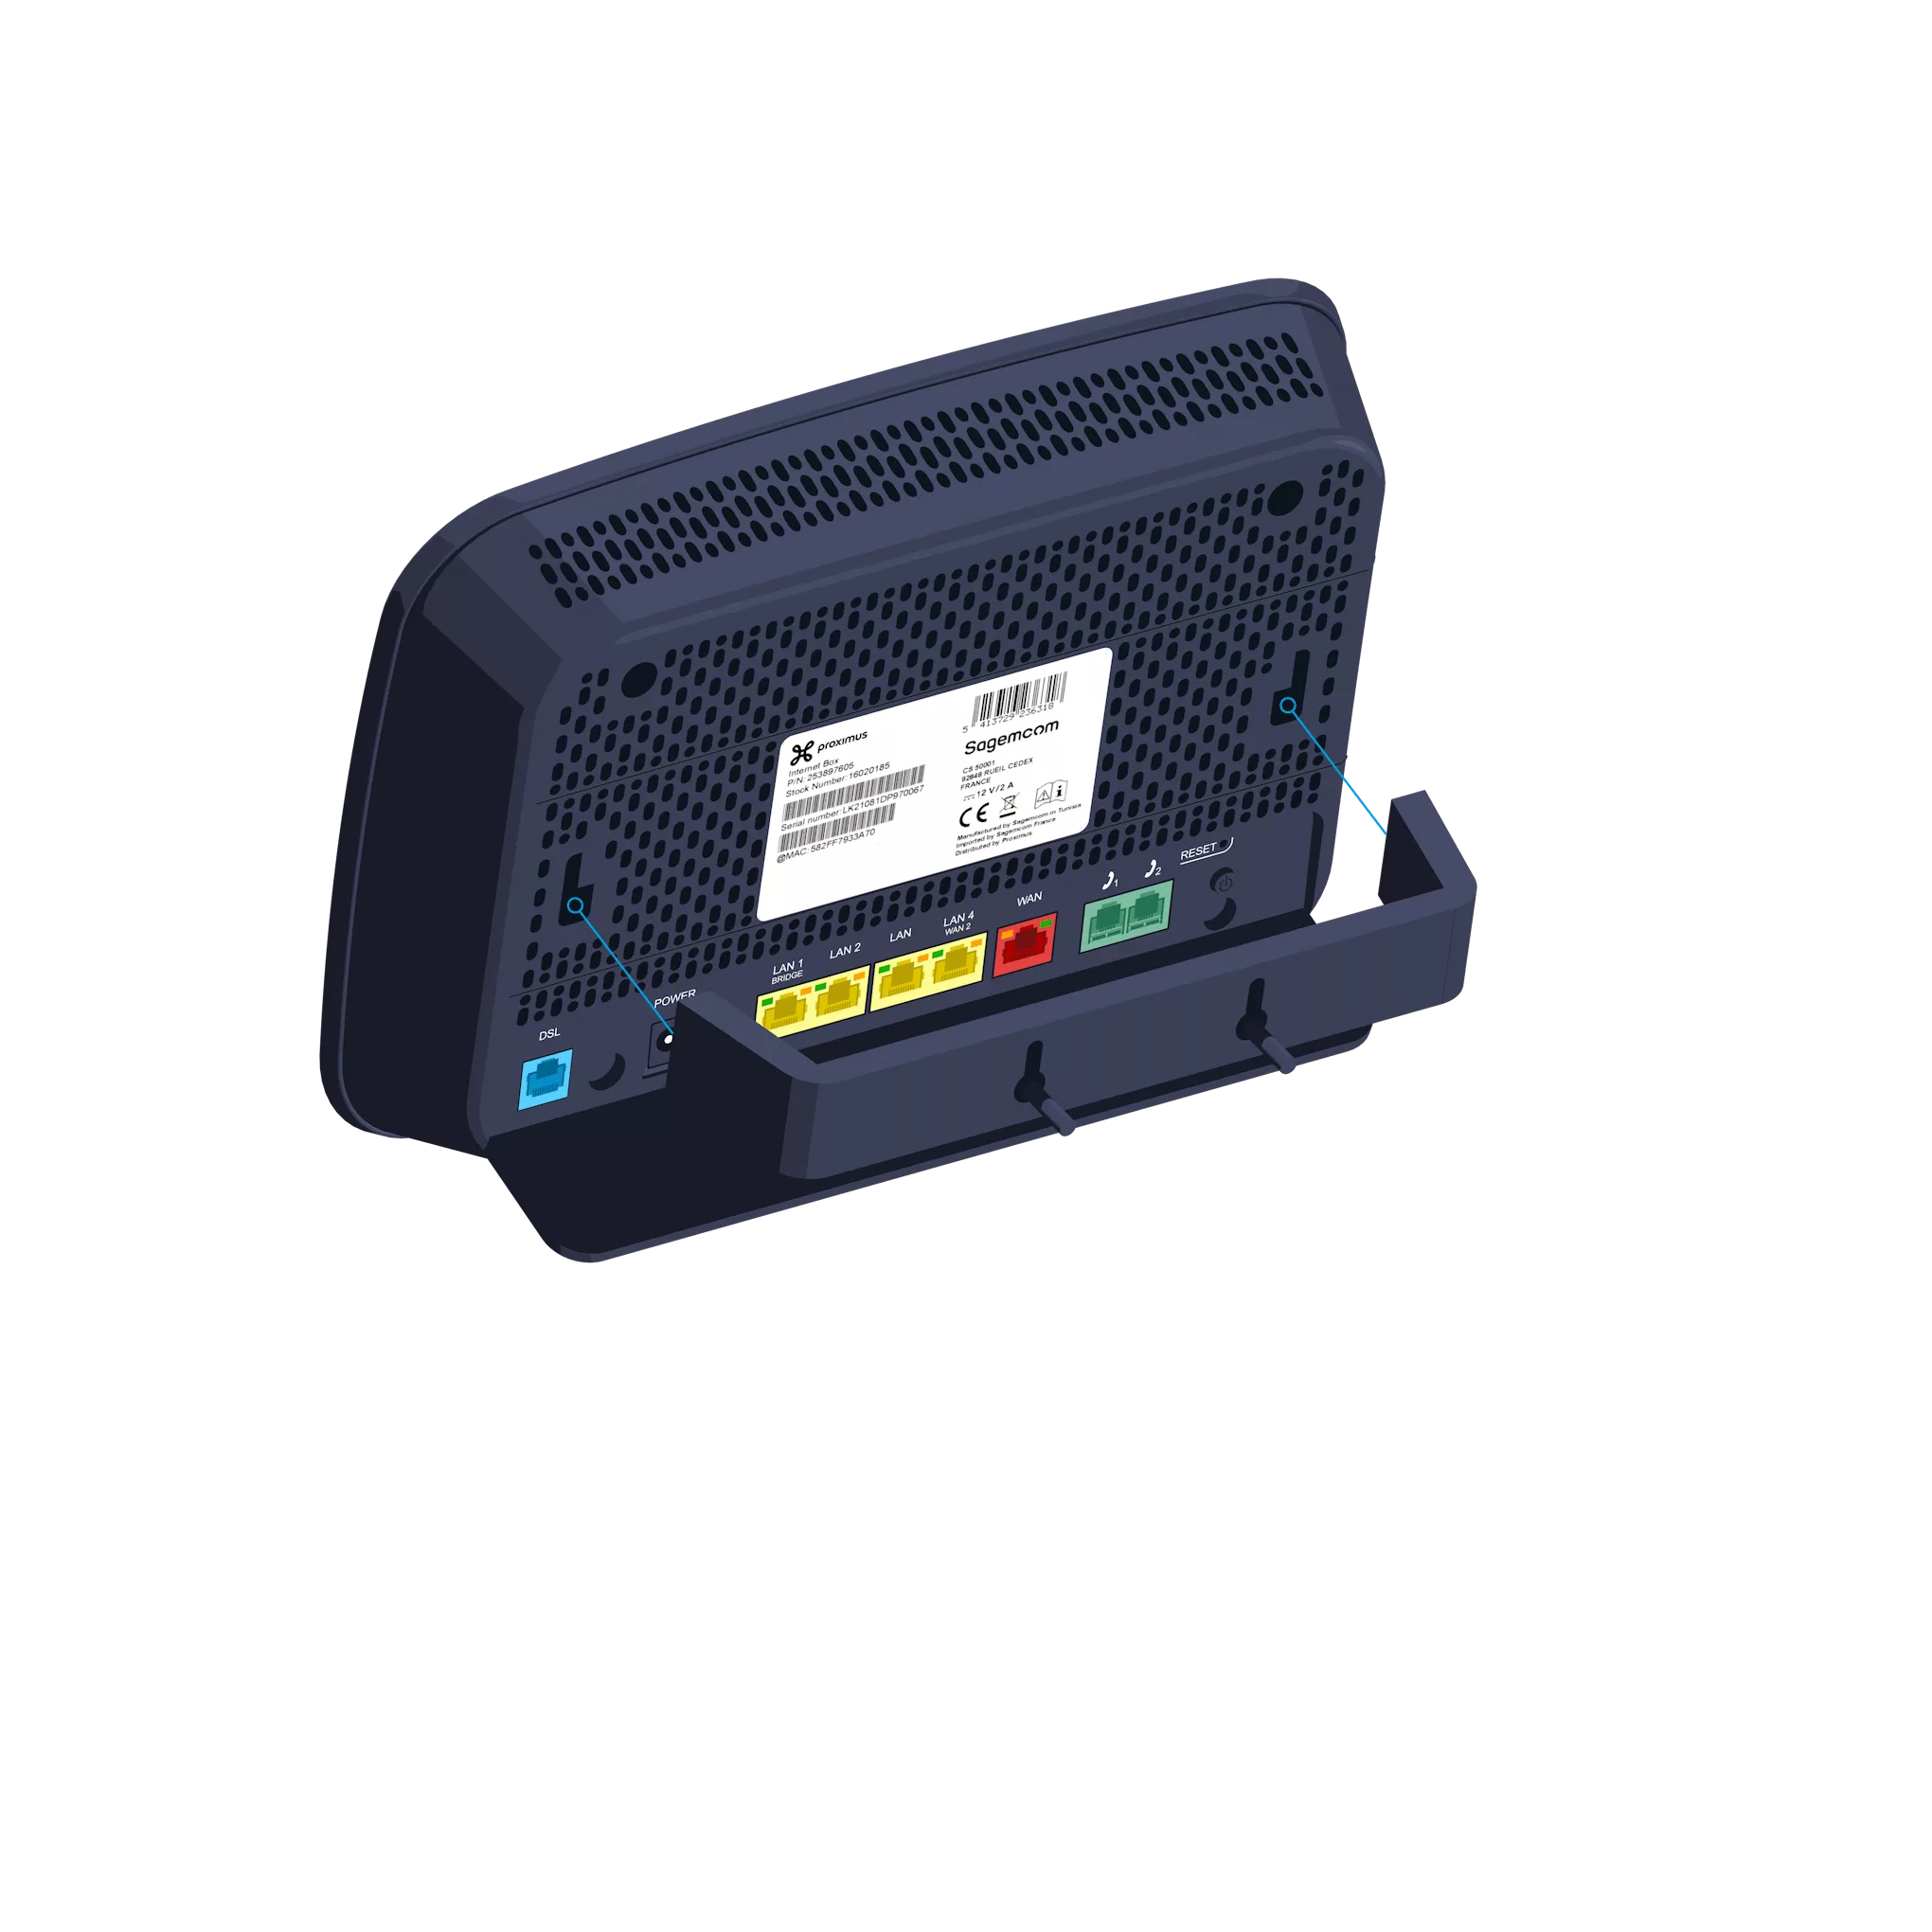
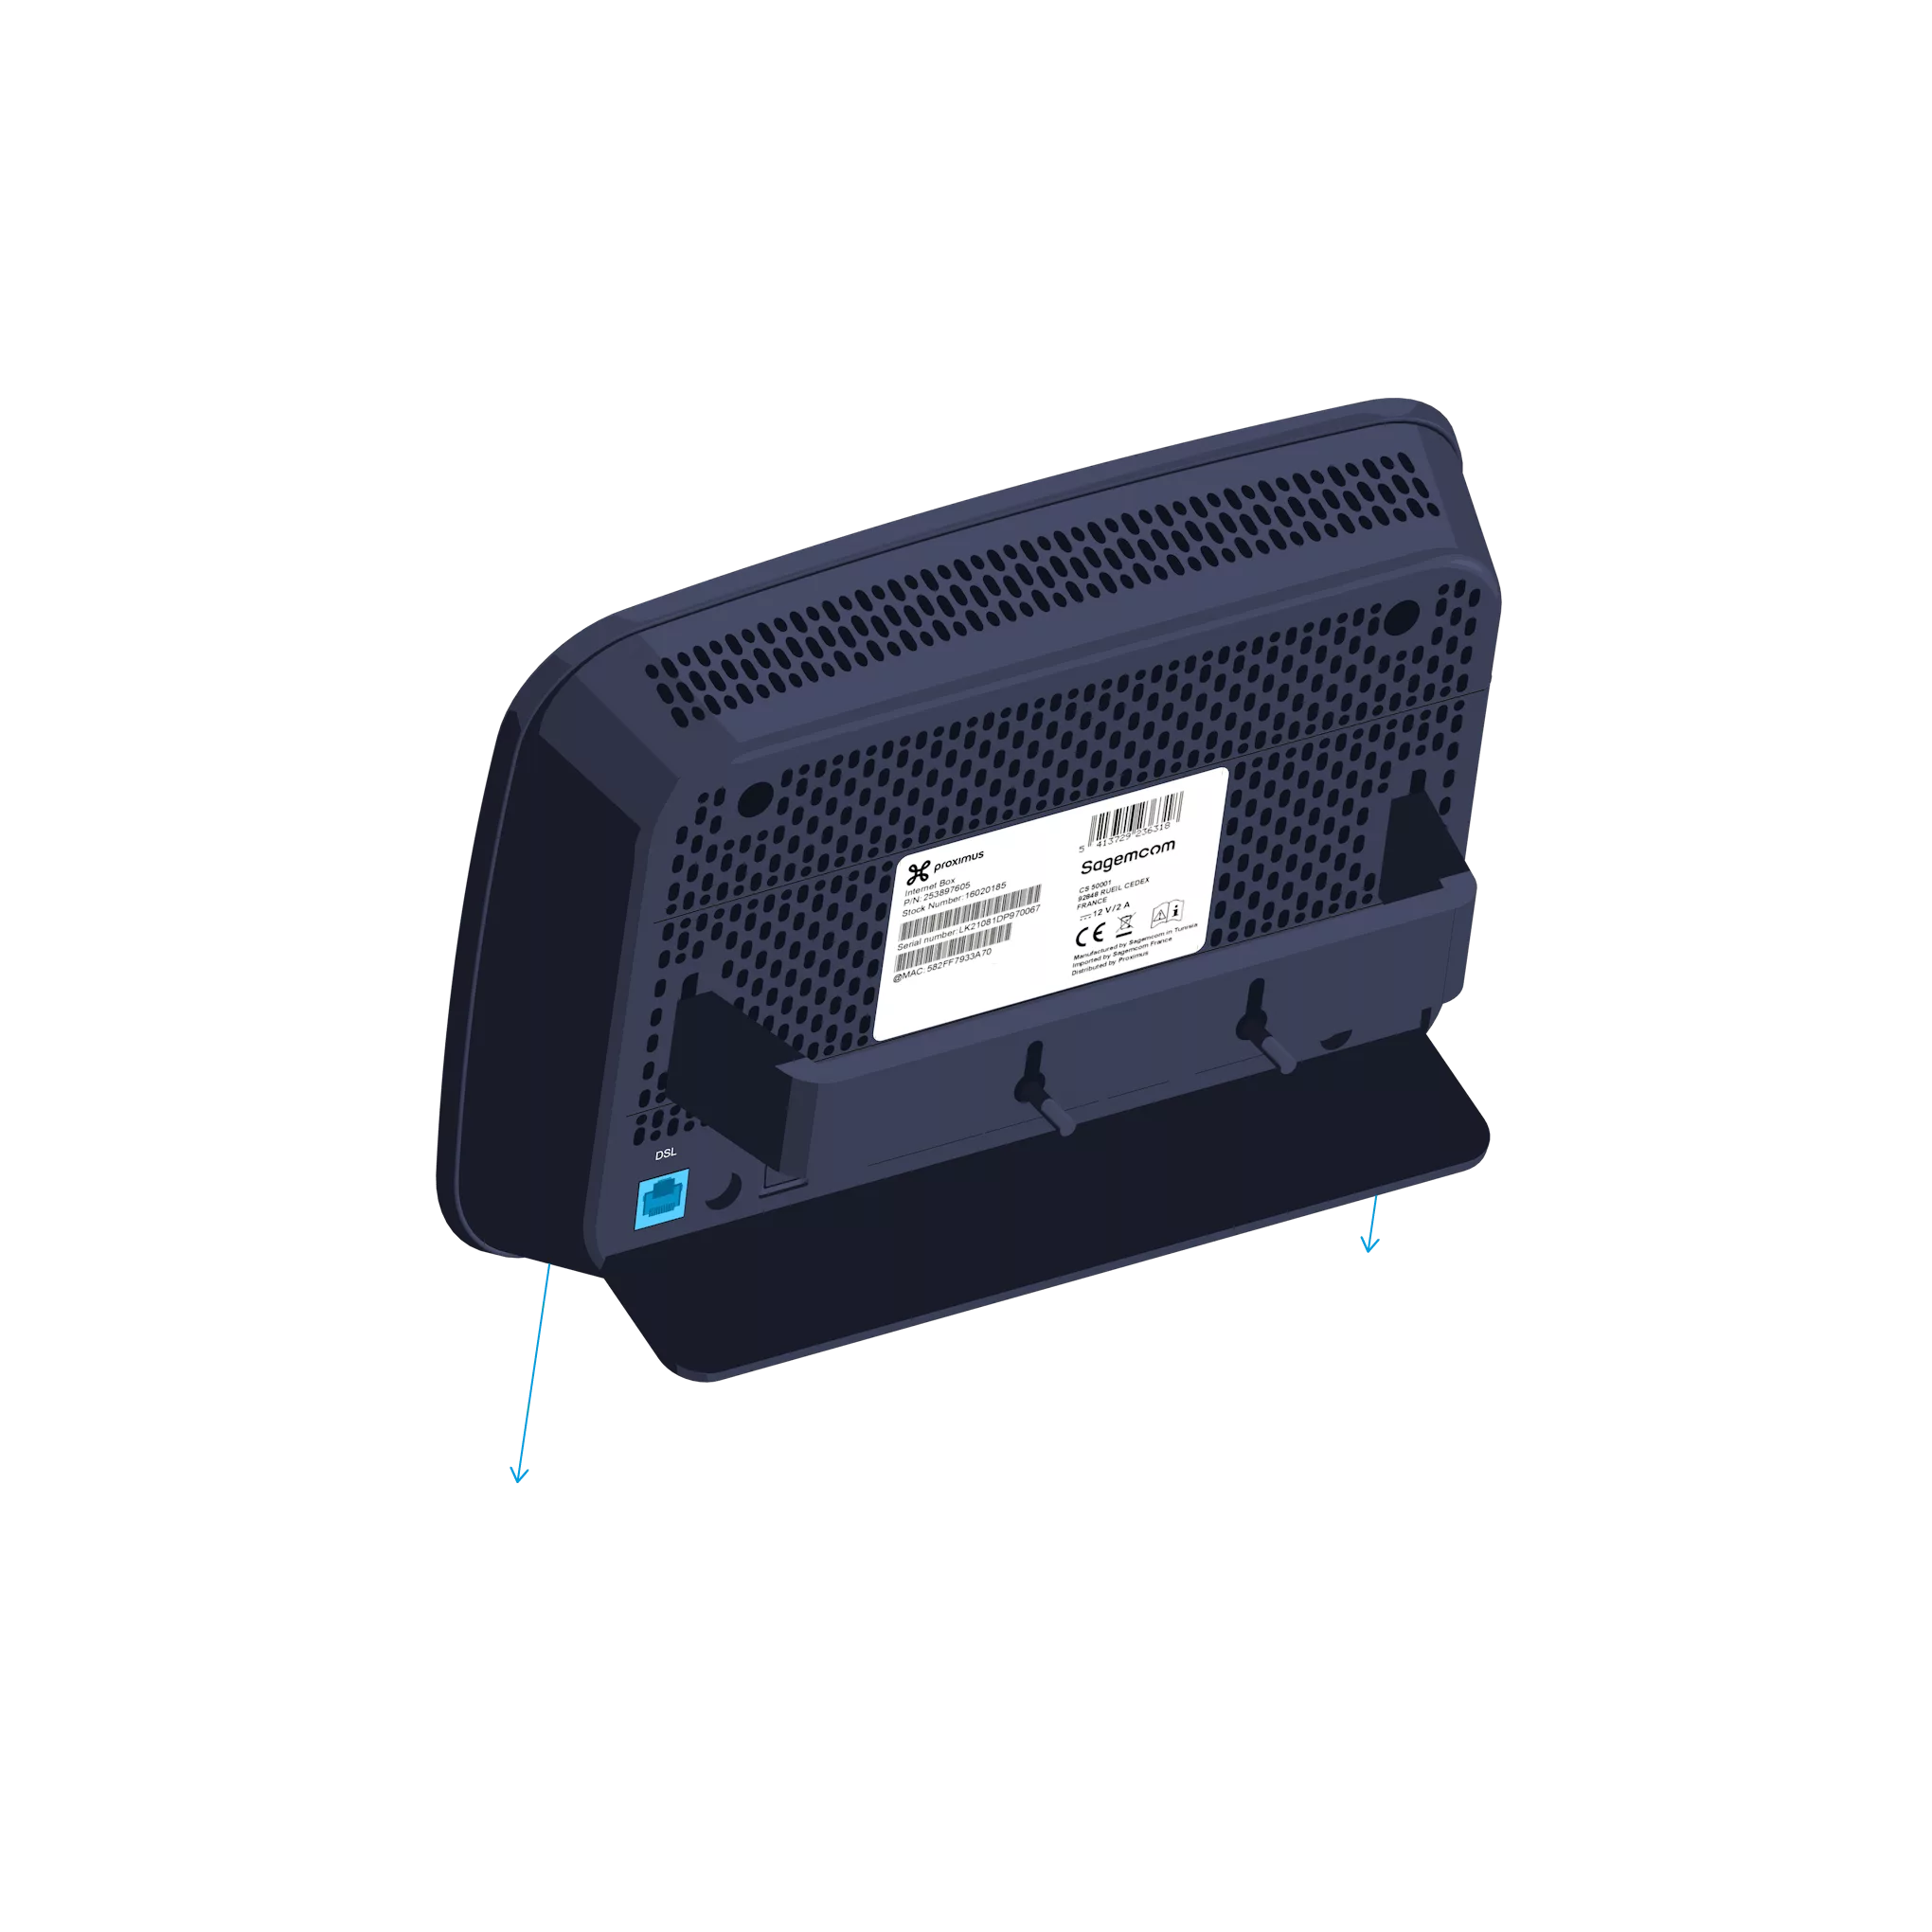
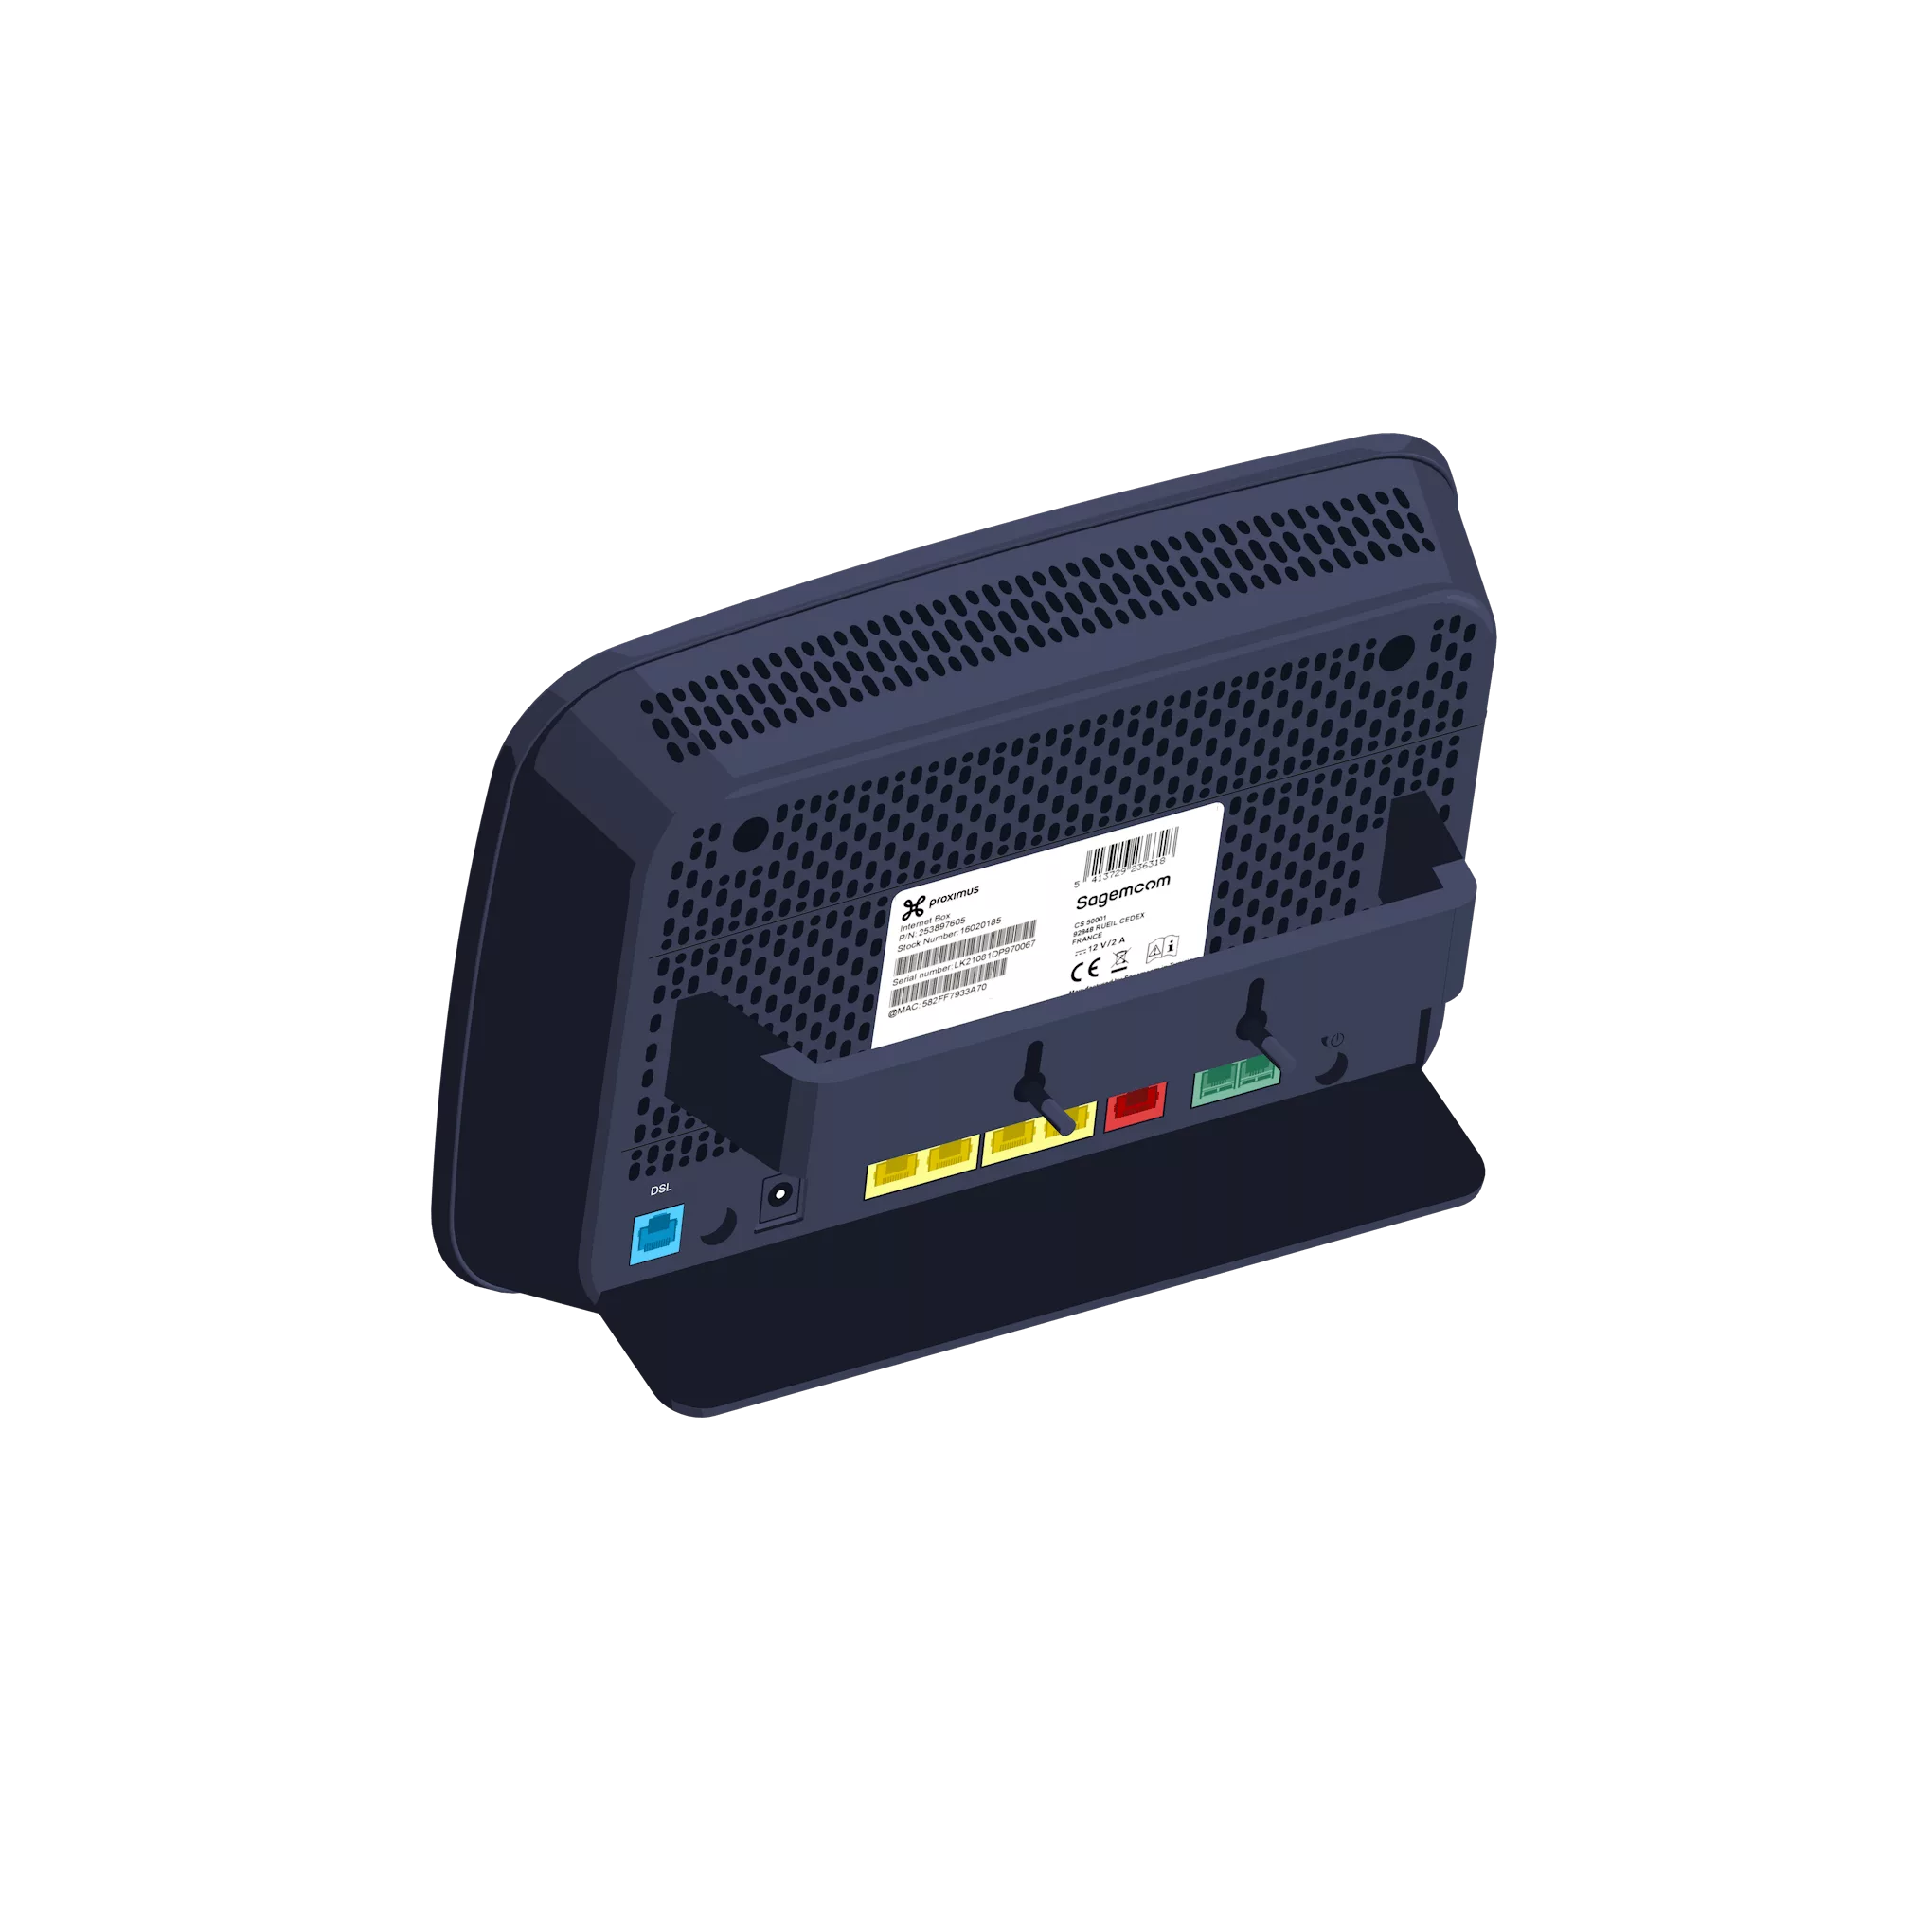 This wall mount is available free of charge via our customer service on 0800 55 800.
Switch on the Internet Box


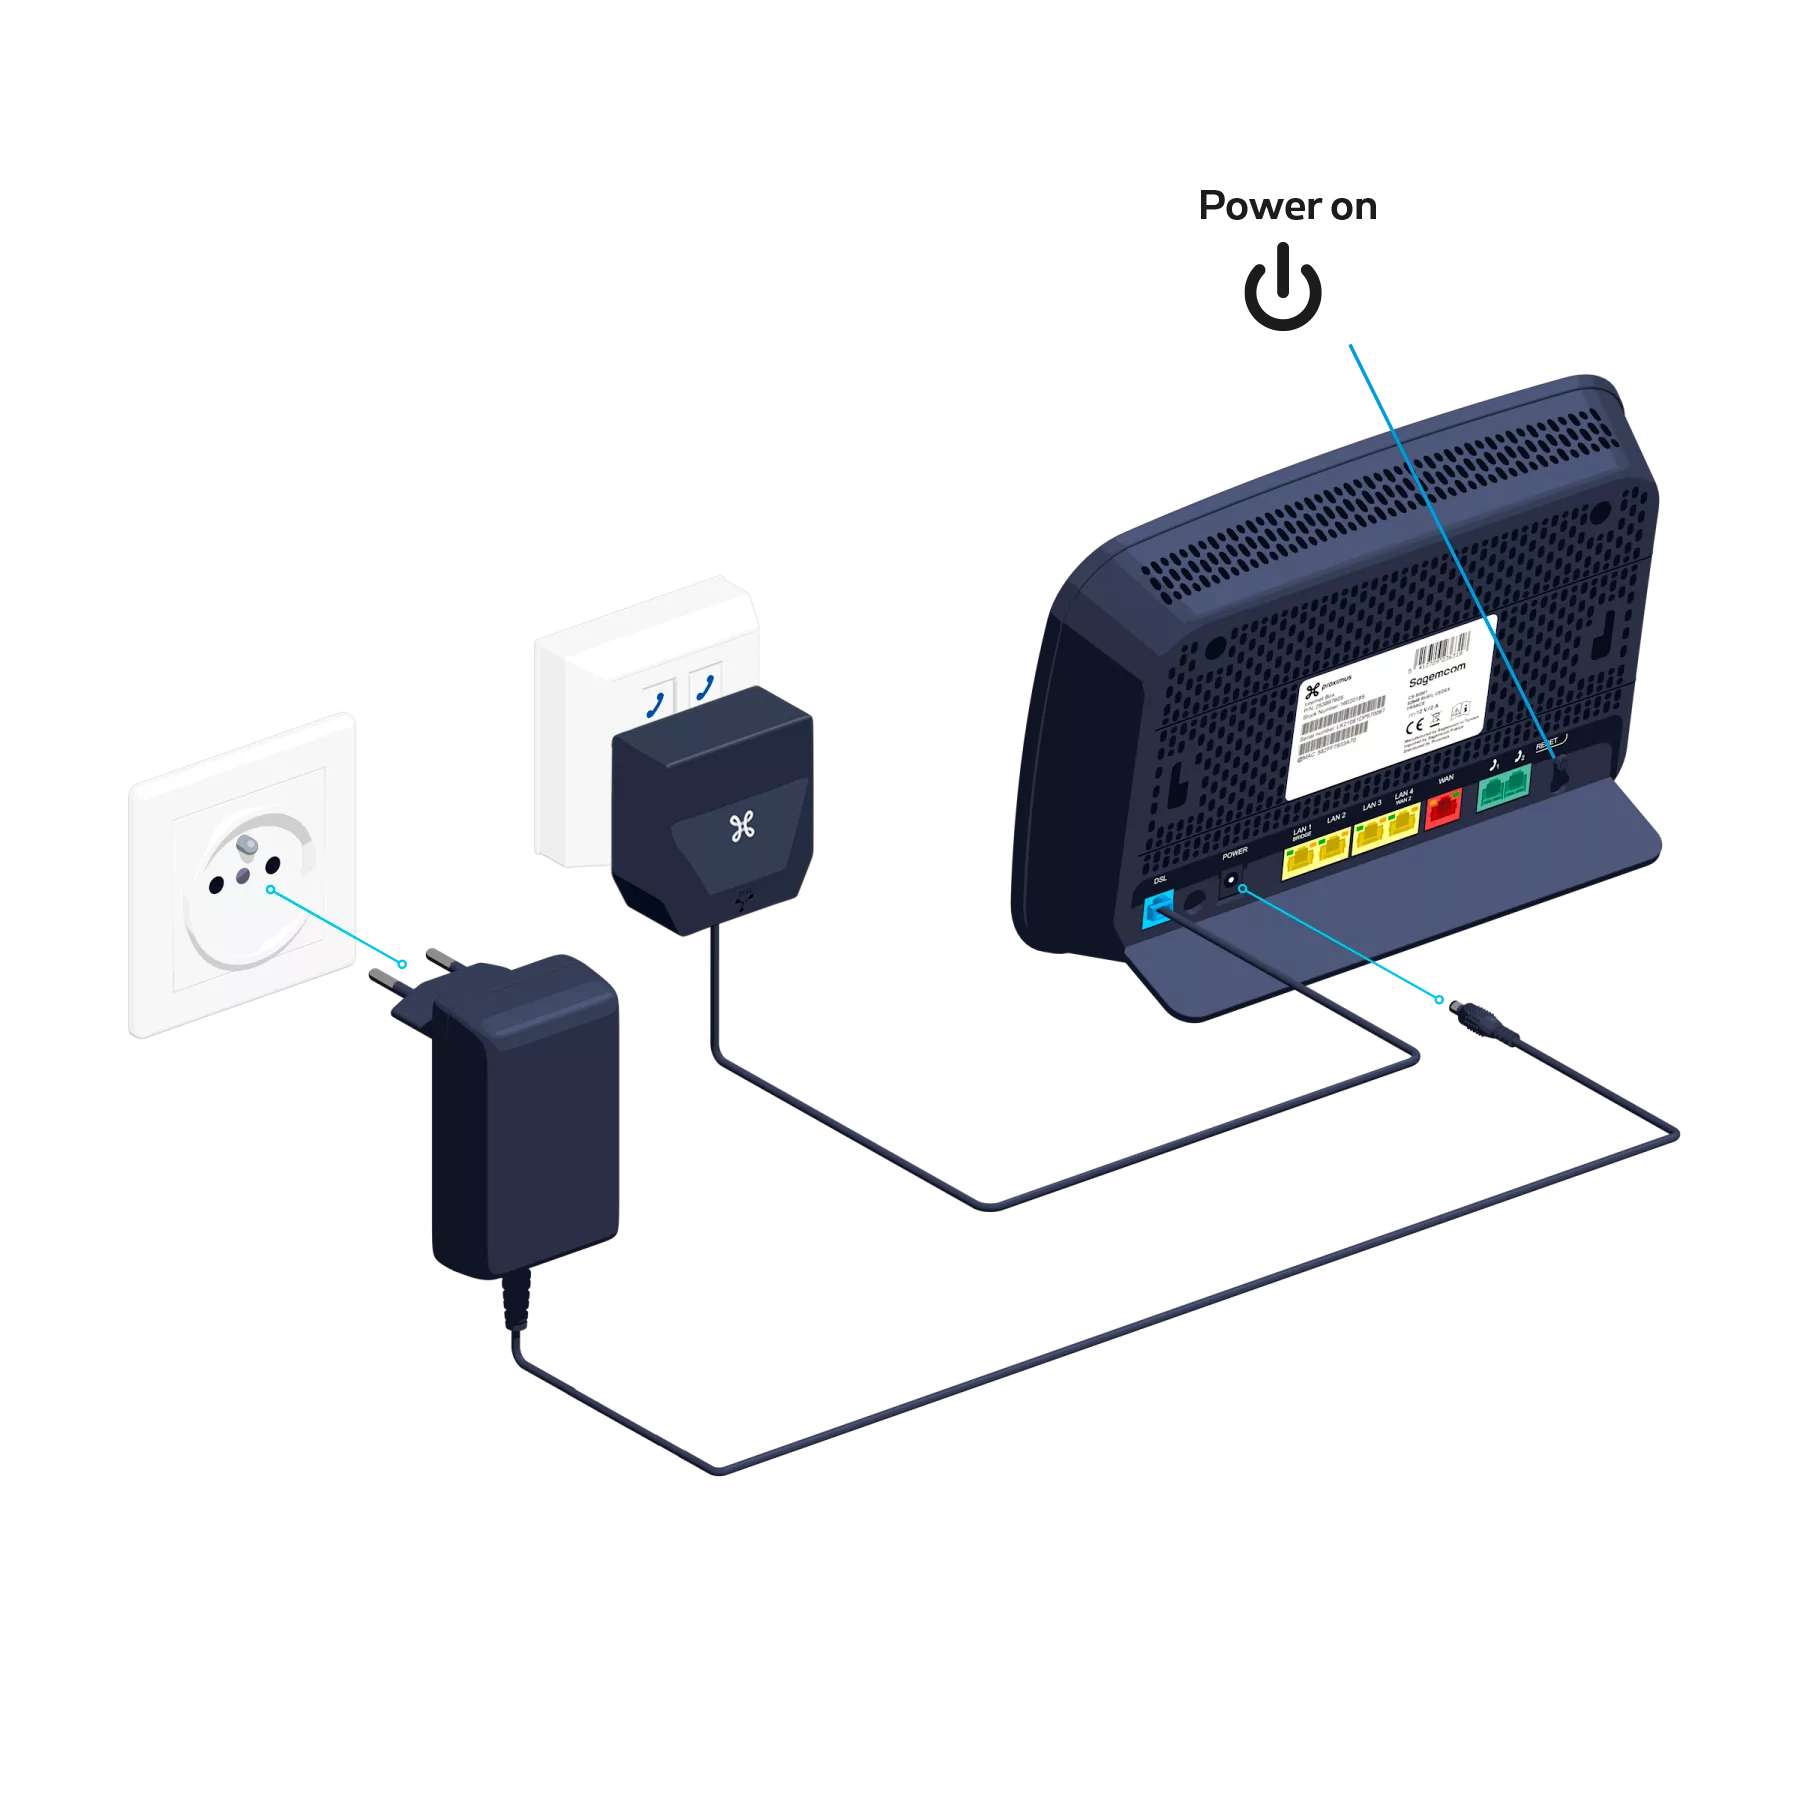
Internet Box configuration and automatic updates

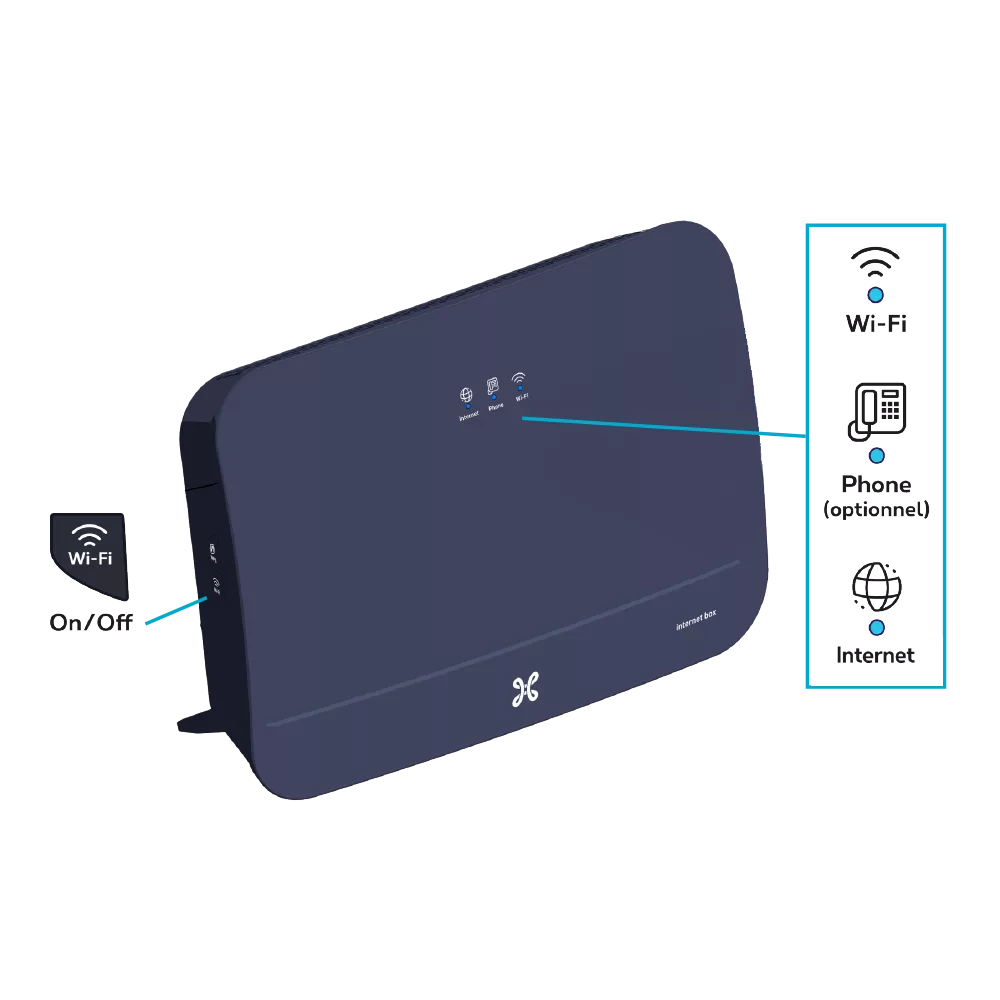
-
Solid blue: there is an Internet connection.
Off: the Internet Box is switched off.
Red: there is a fault. Please restart the Internet Box.

Solid blue: the telephone service is configured correctly.
Blinking white: the telephone service is temporarily unavailable.
Blinking turquoise: the handset is off the hook.
Solid turquoise: a call is in progress.
Off: no telephone service is configured on the Internet Box.
Red: The telephone service is not working properly. Please restart the Internet Box.

Solid blue: Wi-Fi is connected.
Blinking white: indicates that WPS synchronisation is possible with another WPS-enabled Wi-Fi device (max. 2 minutes).
Solid white: the WPS configuration was successful.
Off: Wi-Fi is off.
Red: Wi-Fi is not working properly. Please restart the Internet Box.