View all guides
b-box 3
Installation GuideBefore you begin
Required components for the installation
- The b-box 3
- The power supply cable
- The DSL splitter
- The DSL cable
- The Ethernet cable
The model of the devices/accessories may differ from the illustrations. If you have received this product as part of an exchange or following installation by a technician, you will already have the b-box or the accessories required for it to work. Do you need additional equipment for the installation (cables, etc.)? Please visit a Proximus point-of-sale outlet.
-
Please ensure you use the new power cable supplied.
Connect the filter
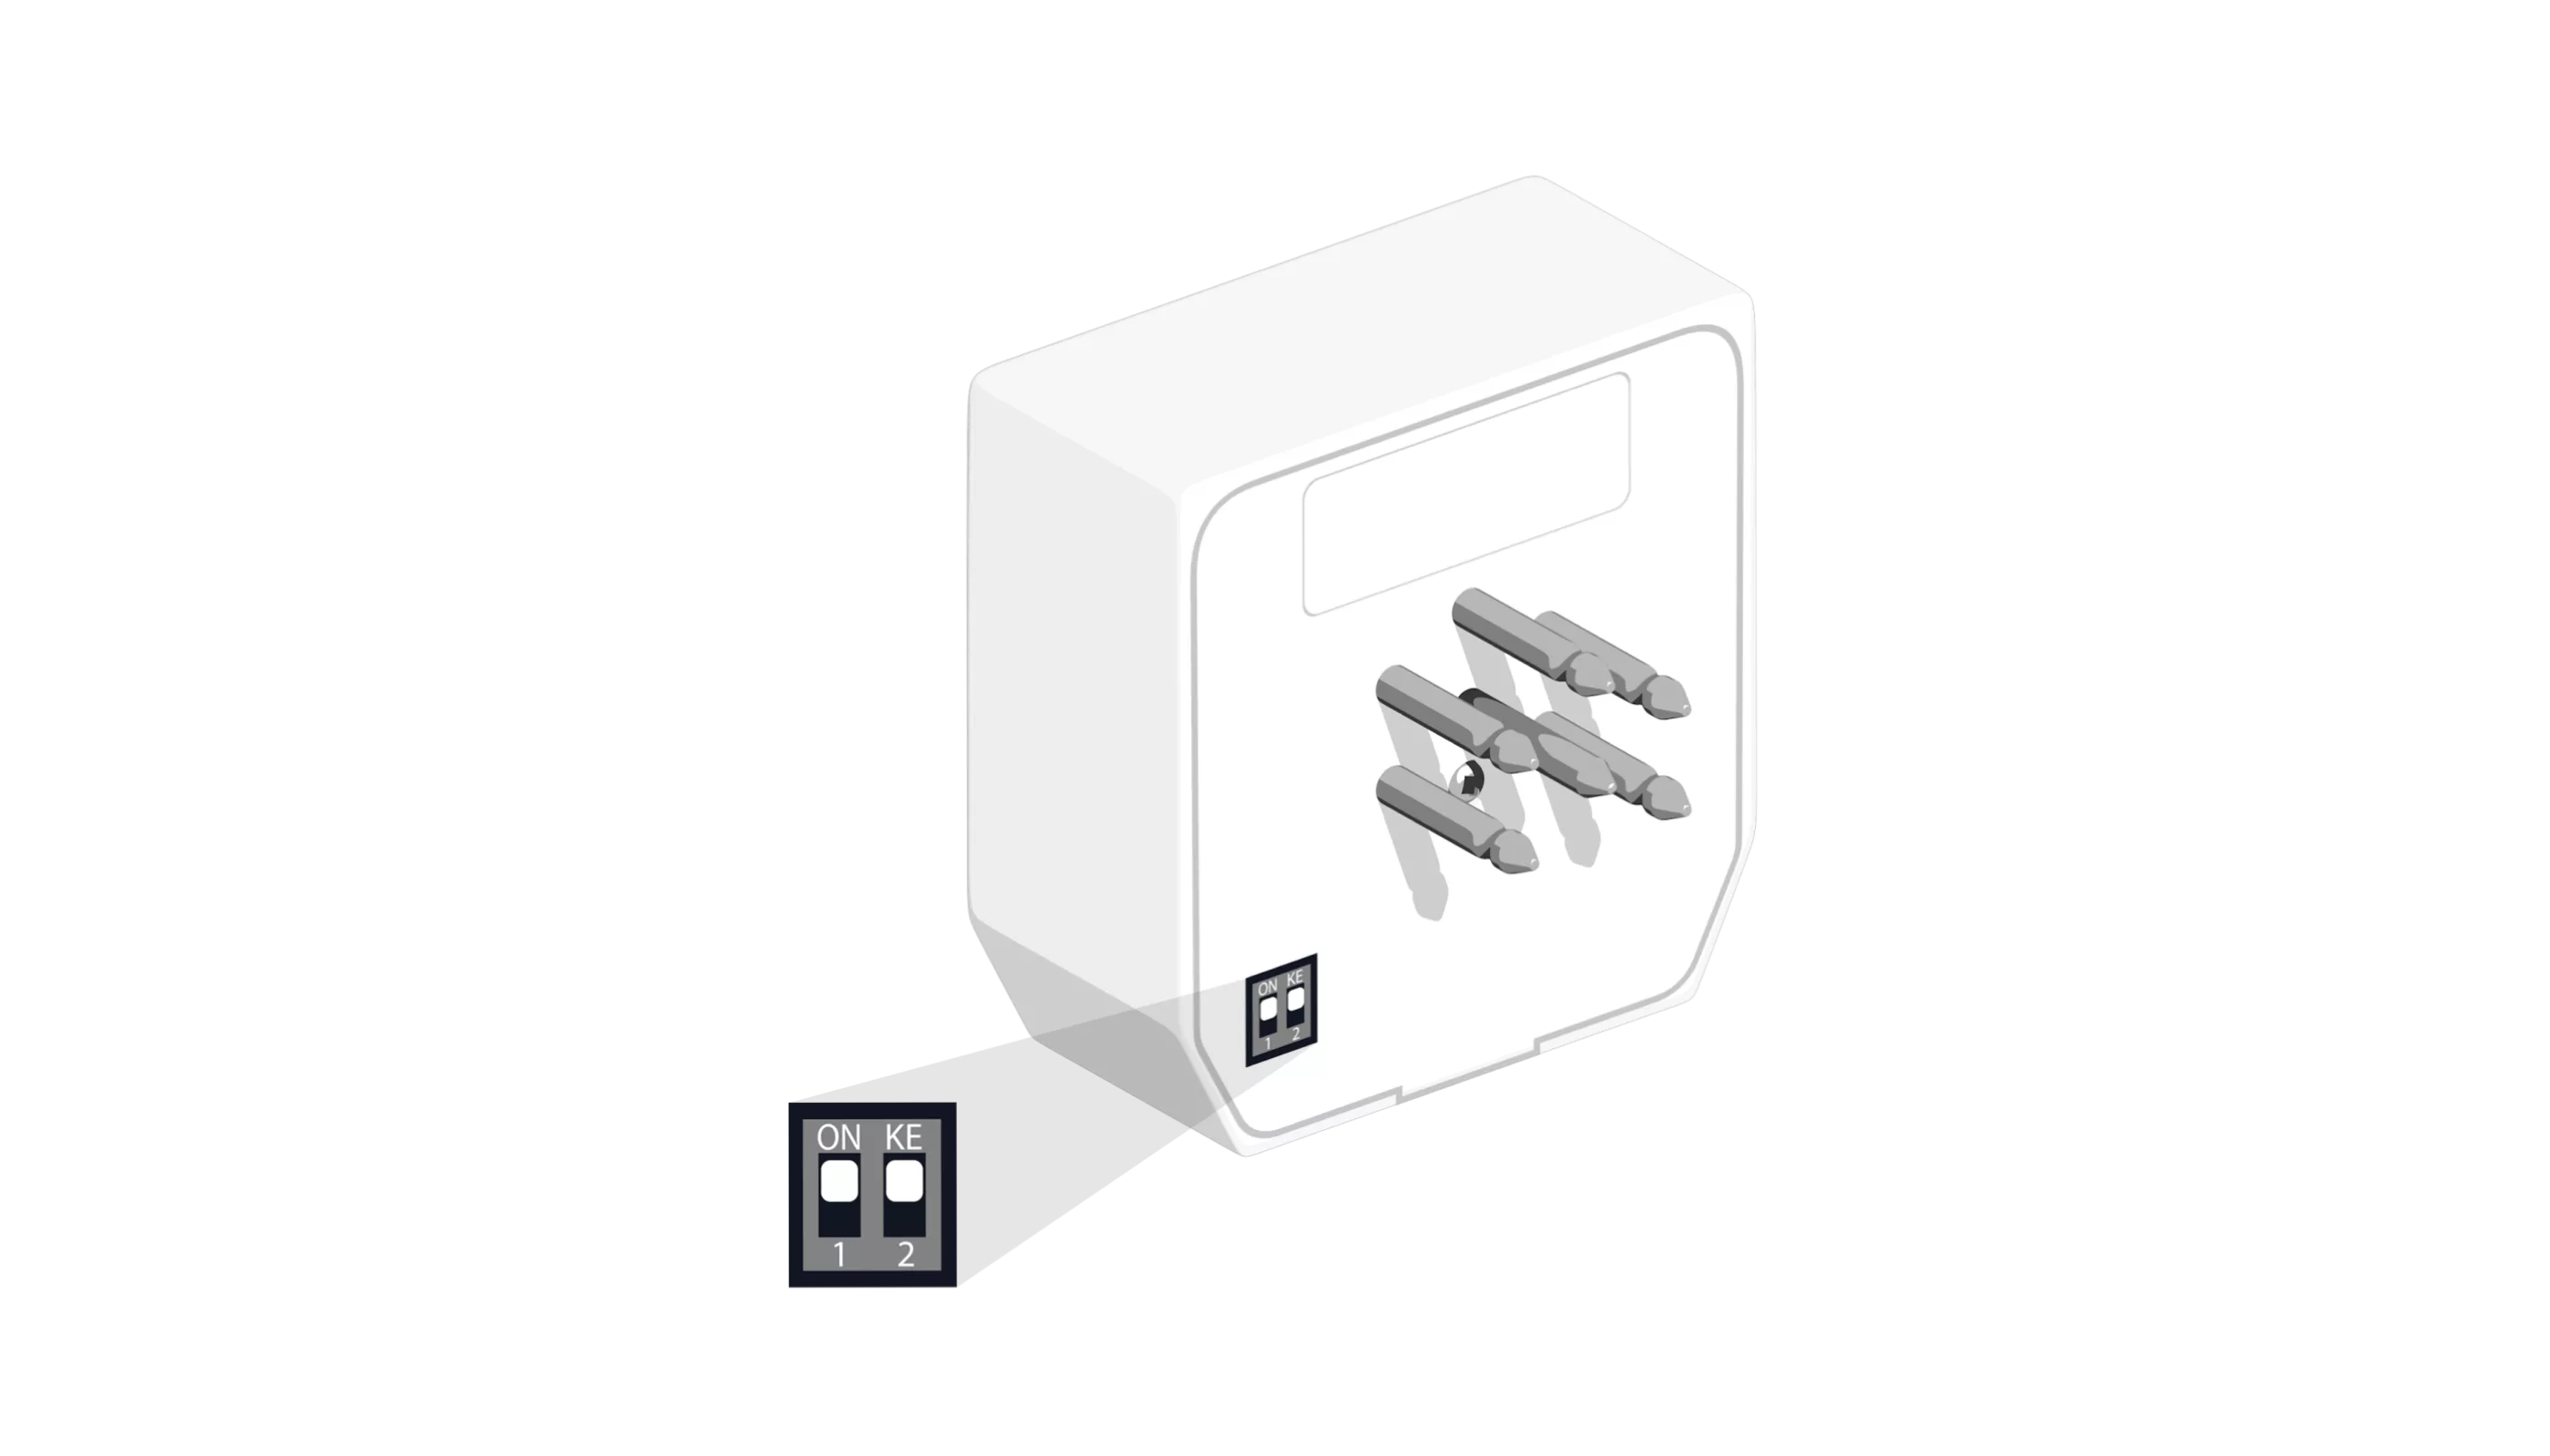
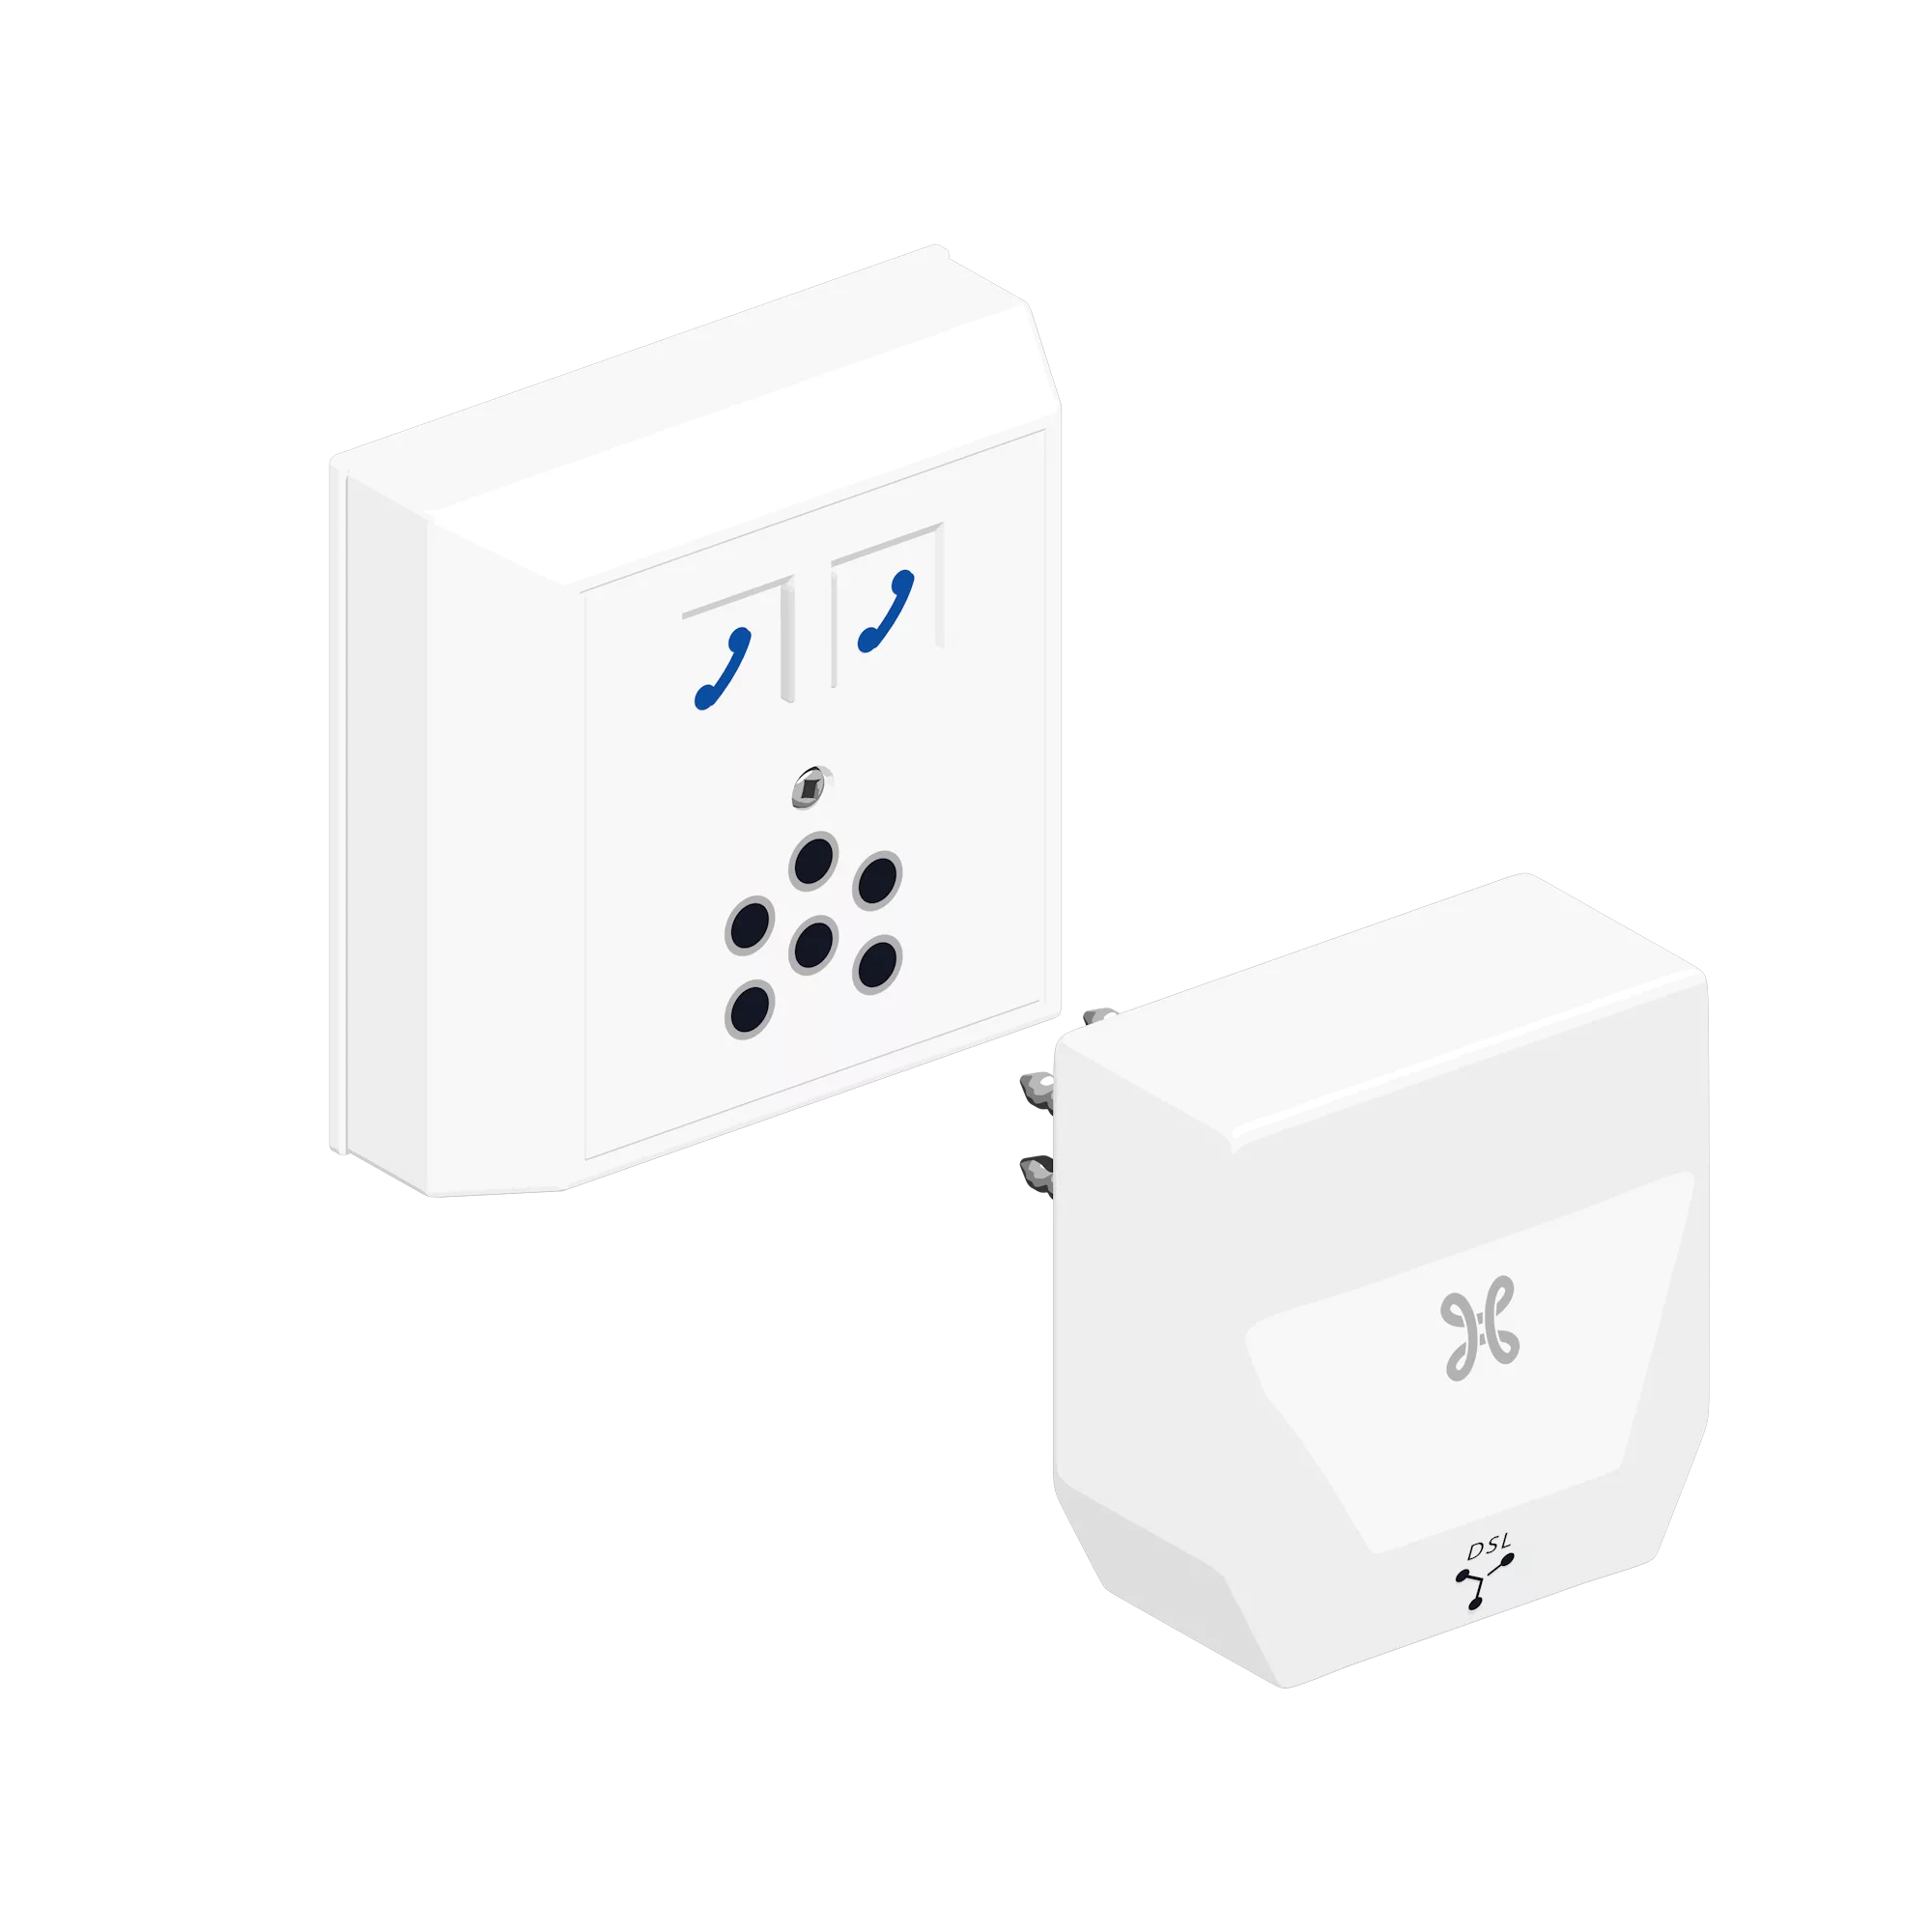
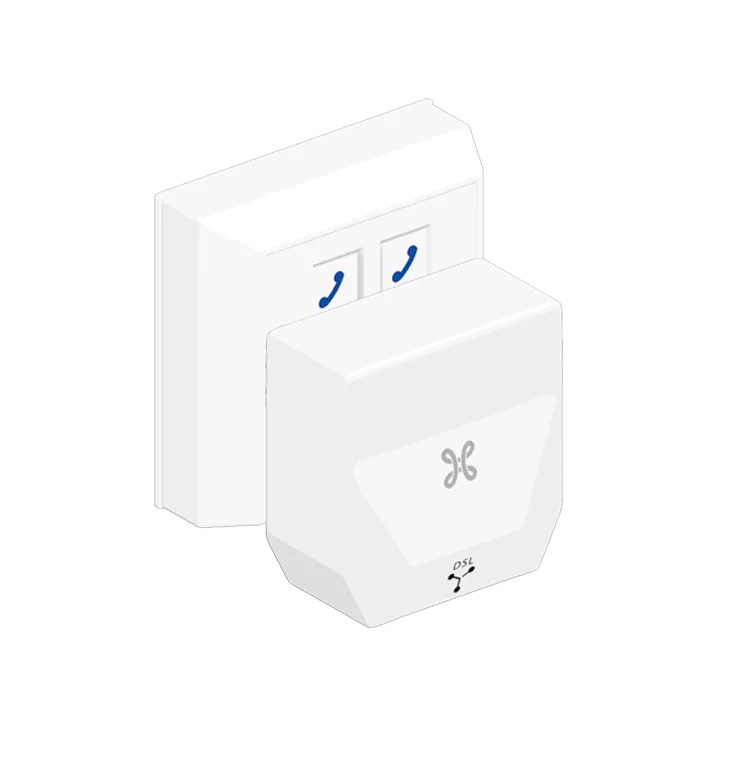
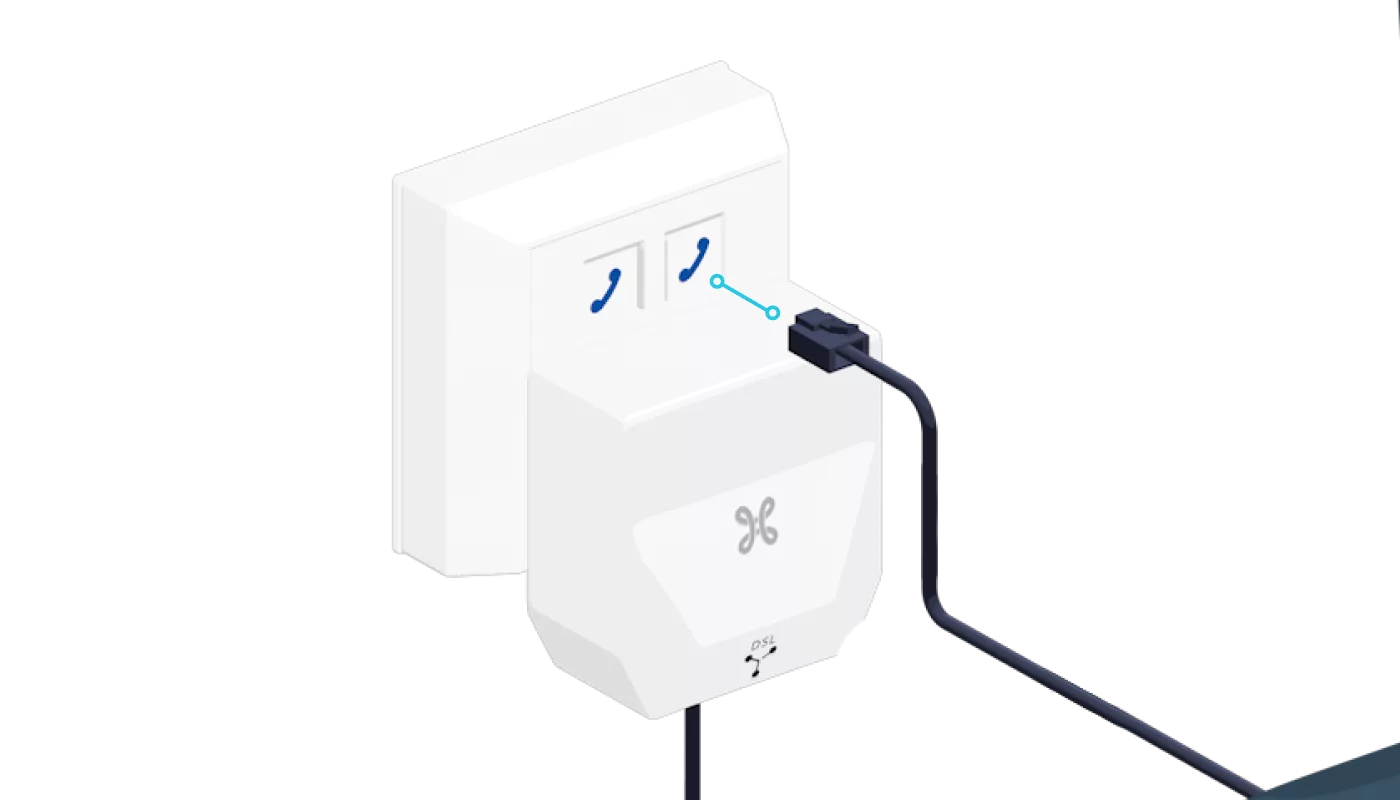
Disconnect any existing equipment or filters from your DSL connection socket and fit the supplied DSL splitter in its place.
-
In this case, check the position of the buttons on the back of the DSL splitter: they must be positioned facing upwards.
Connect the b-box to the filter
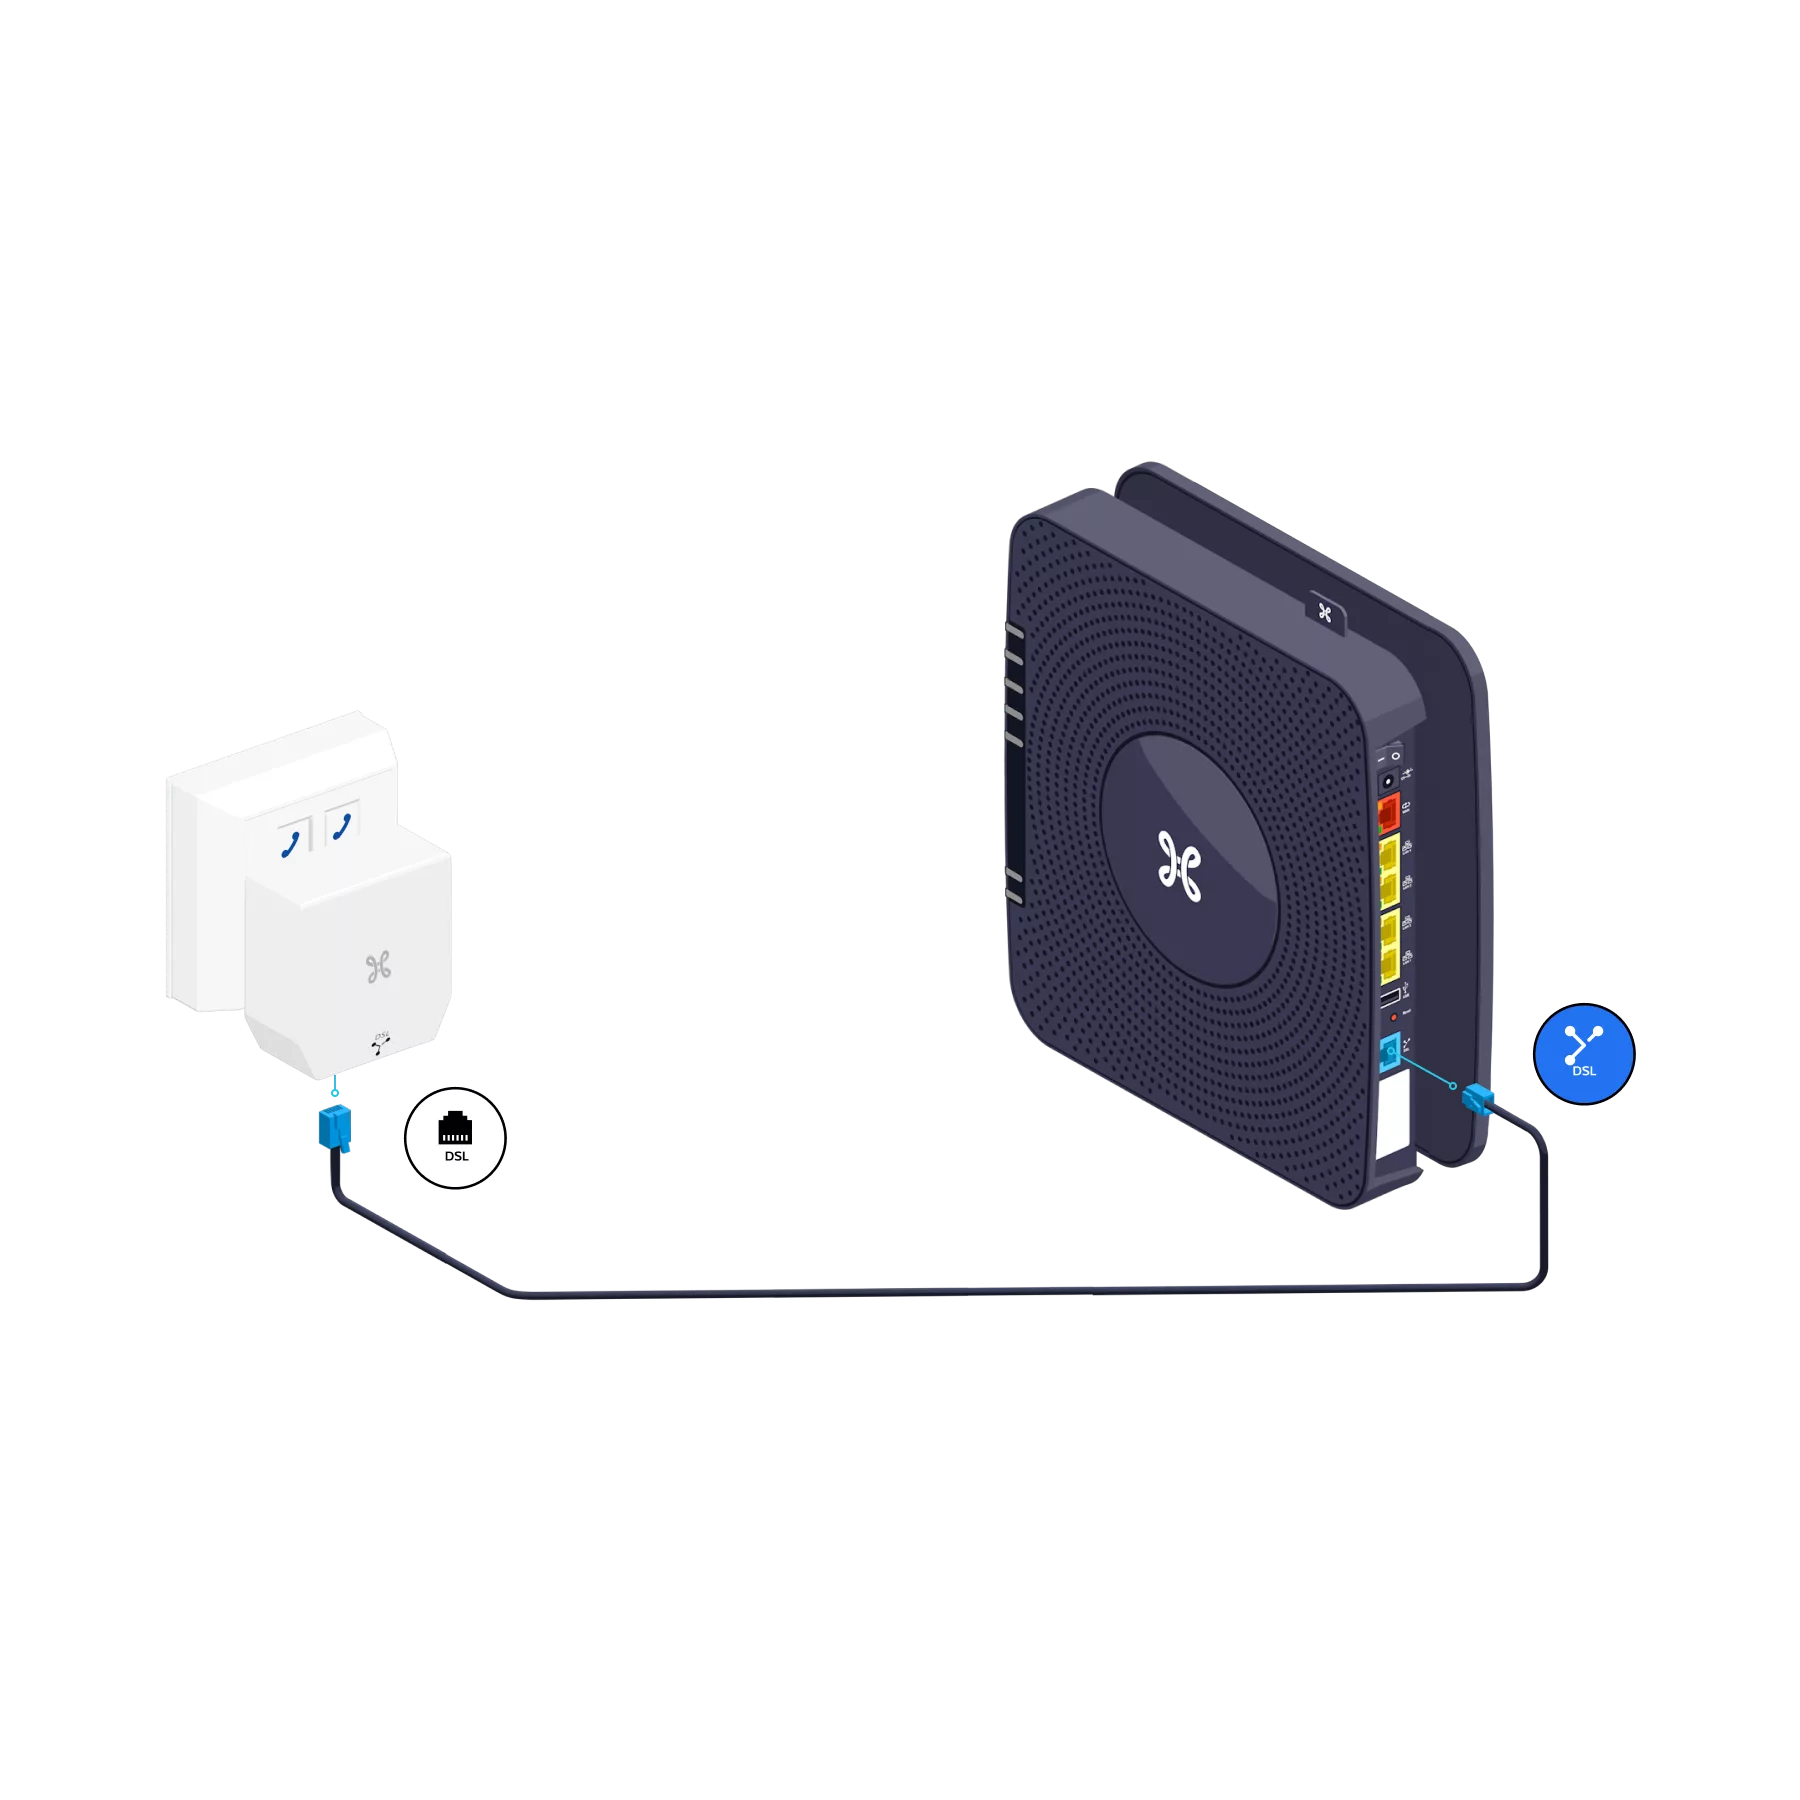
If the b-box is installed near the DSL connection socket, use the DSL cable and connect it to the blue DSL port at the back of the b-box.
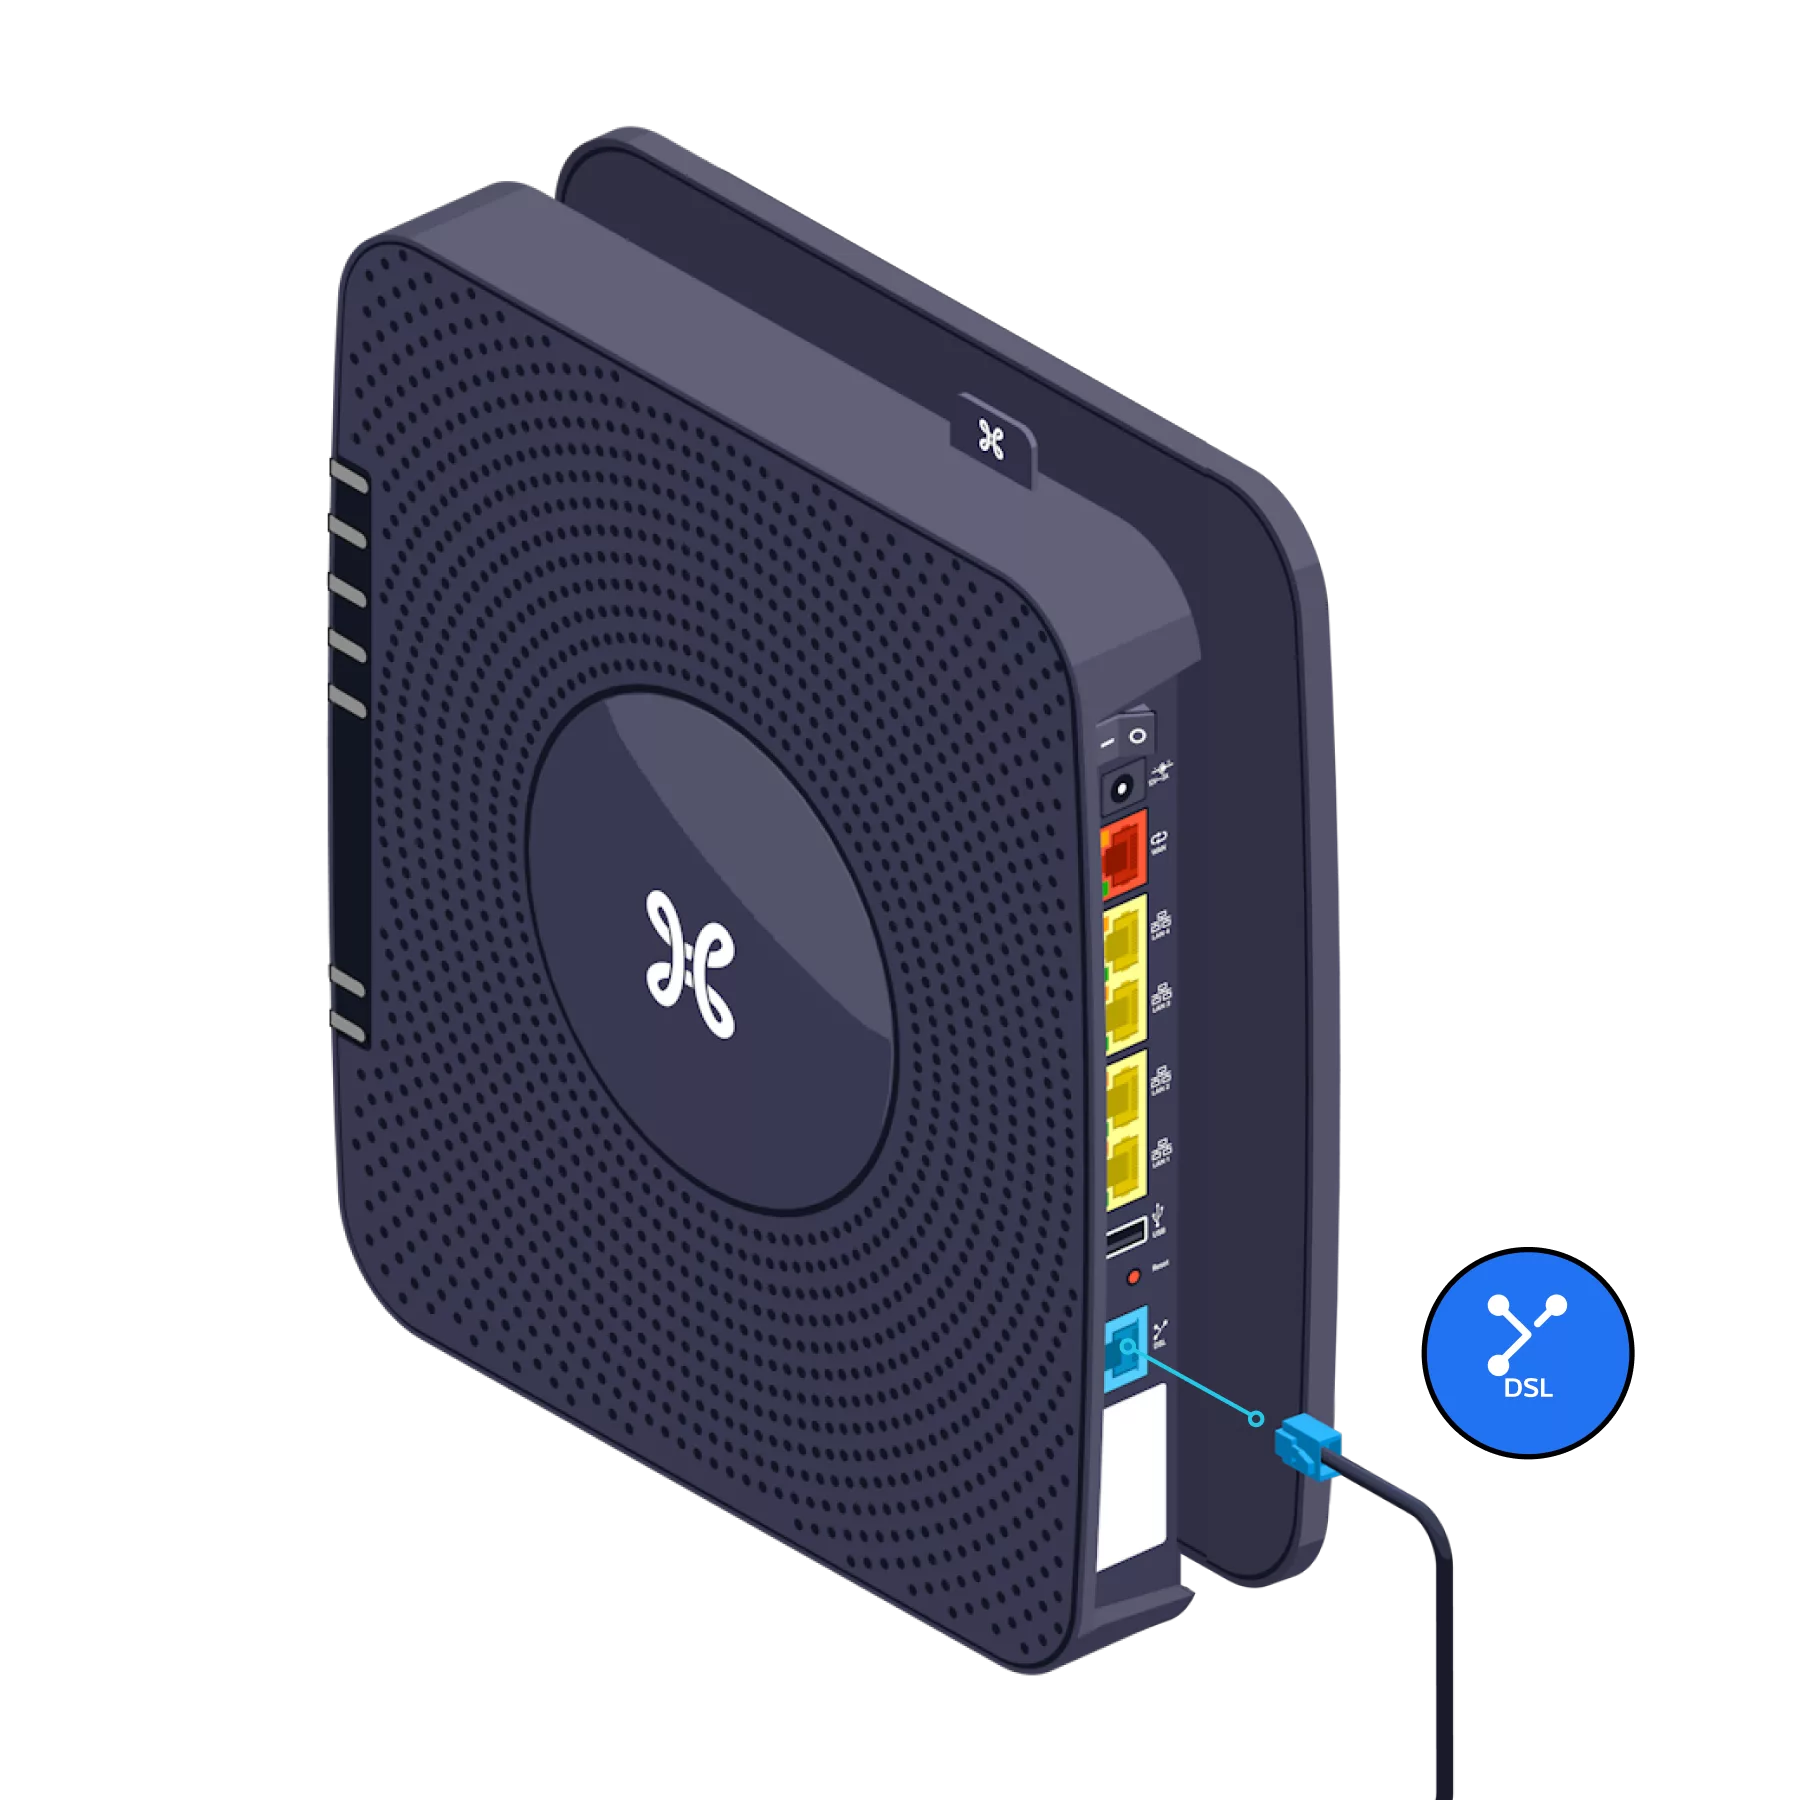
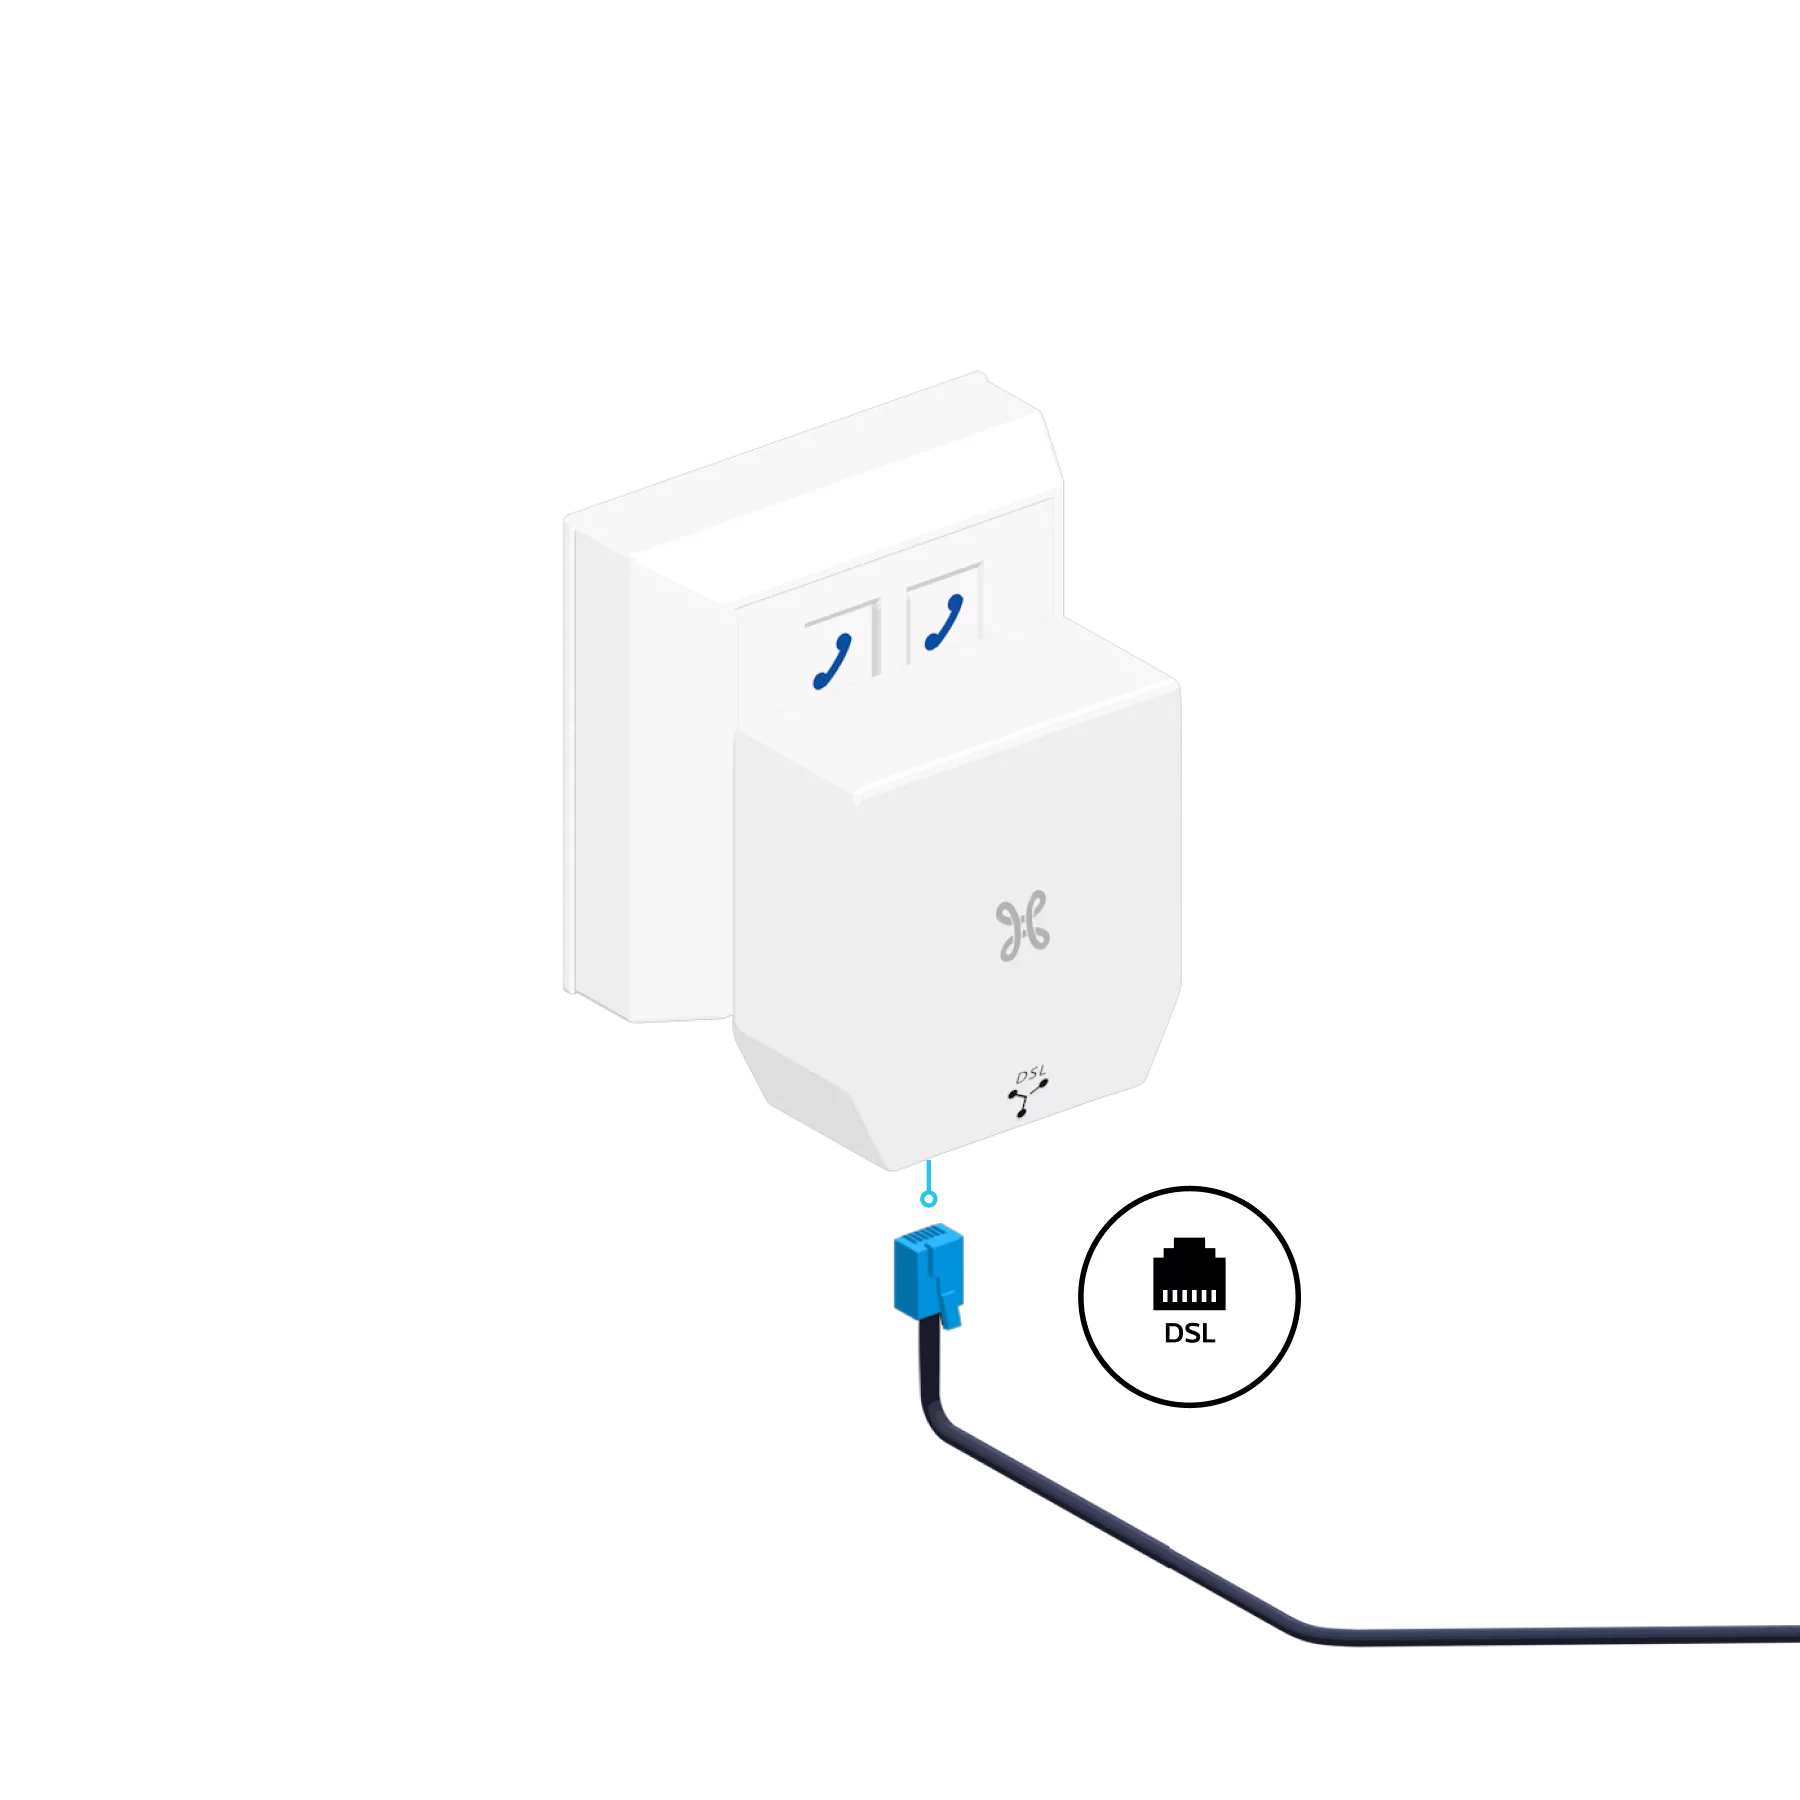
-
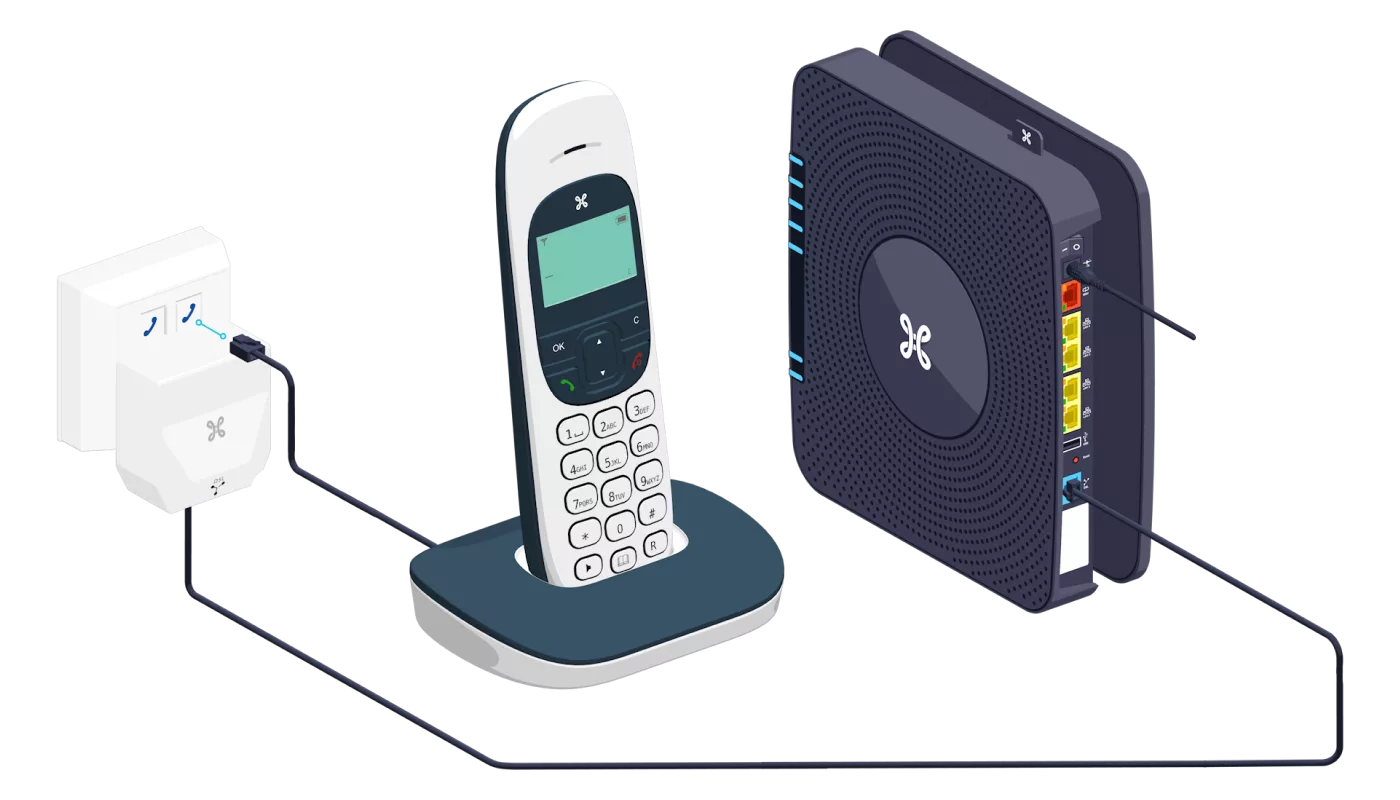
- Use a dedicated cable to connect the b-box between the DSL connection socket and the telephone socket.
- Connect the telephone plug to the b-box using the DSL cable.
- Connect this to the blue DSL port at the back of the b-box.
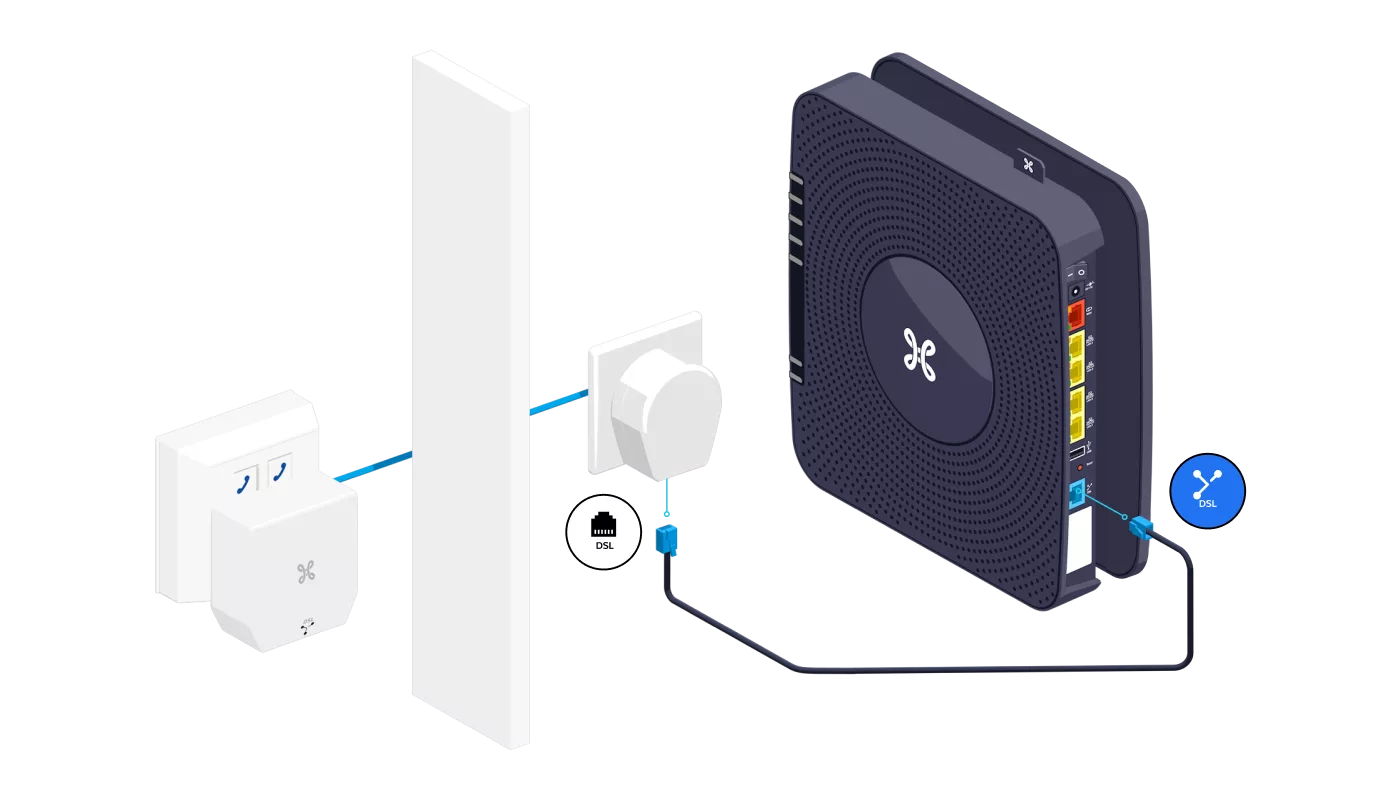
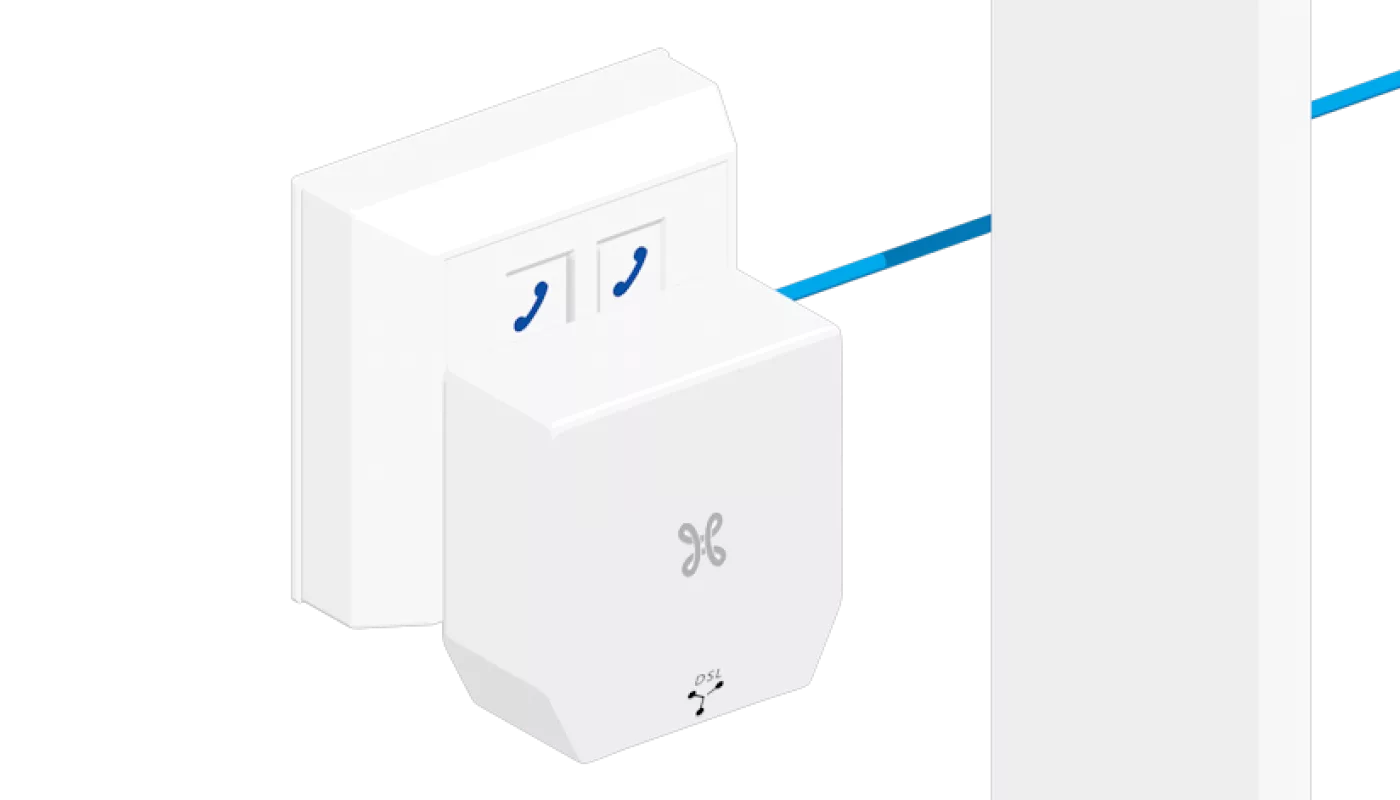
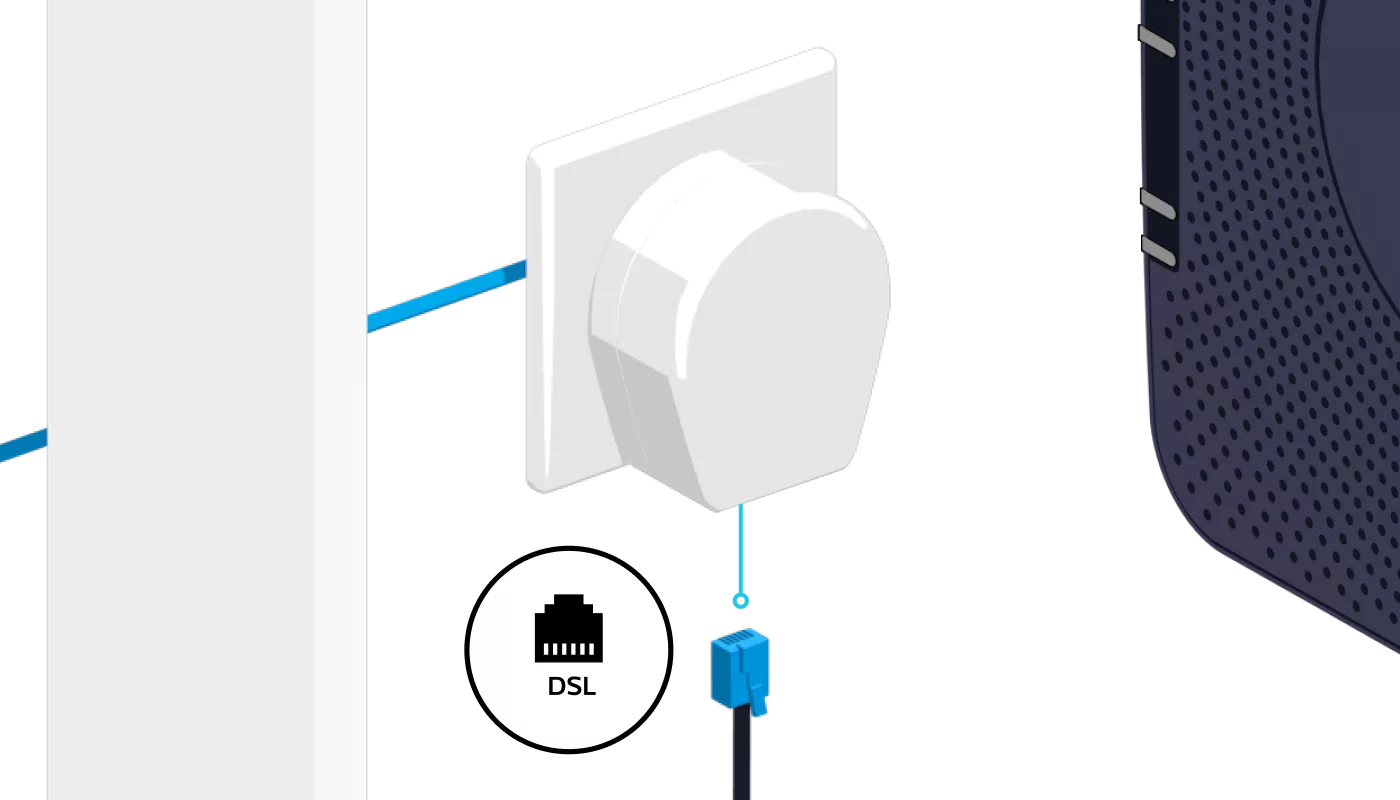
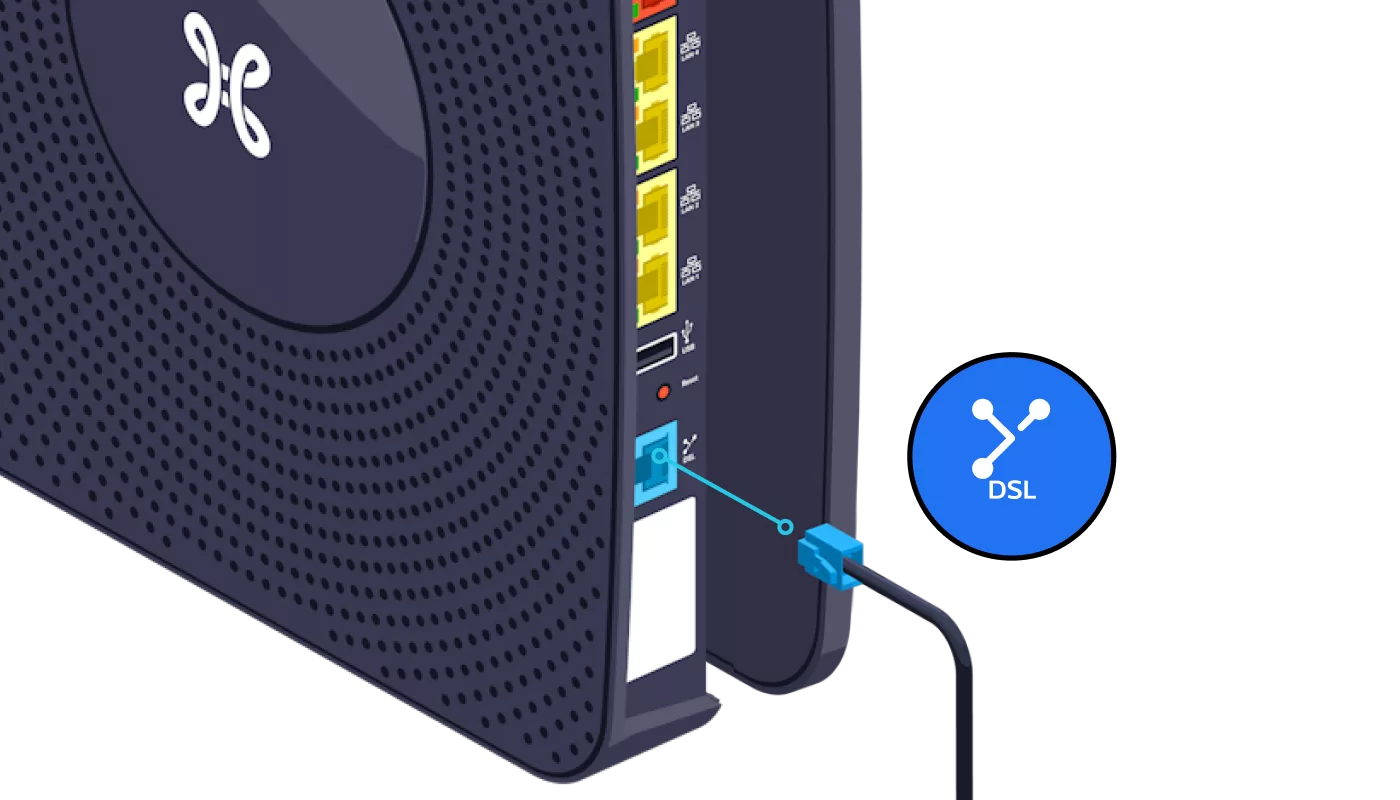 This equipment (the cable used to connect the b-box, the telephone socket, the telephone plug) is not included in this box. It is either already part of your current setup or you will need to purchase it. The cable used to connect the b-box is a standard telephone cable (VVT or UTP are not recommended). You can purchase it from a Proximus point-of-sale outlet or a shop specialising in electrical equipment. If you are using only a cable specifically for connecting the b-box, ensure that it is correctly connected to the DSL connection socket.
-
- Turn it clockwise to detach it from its base.
- Screw the base to the wall.
- Then reattach the b-box to the base.


Switch on the b-box
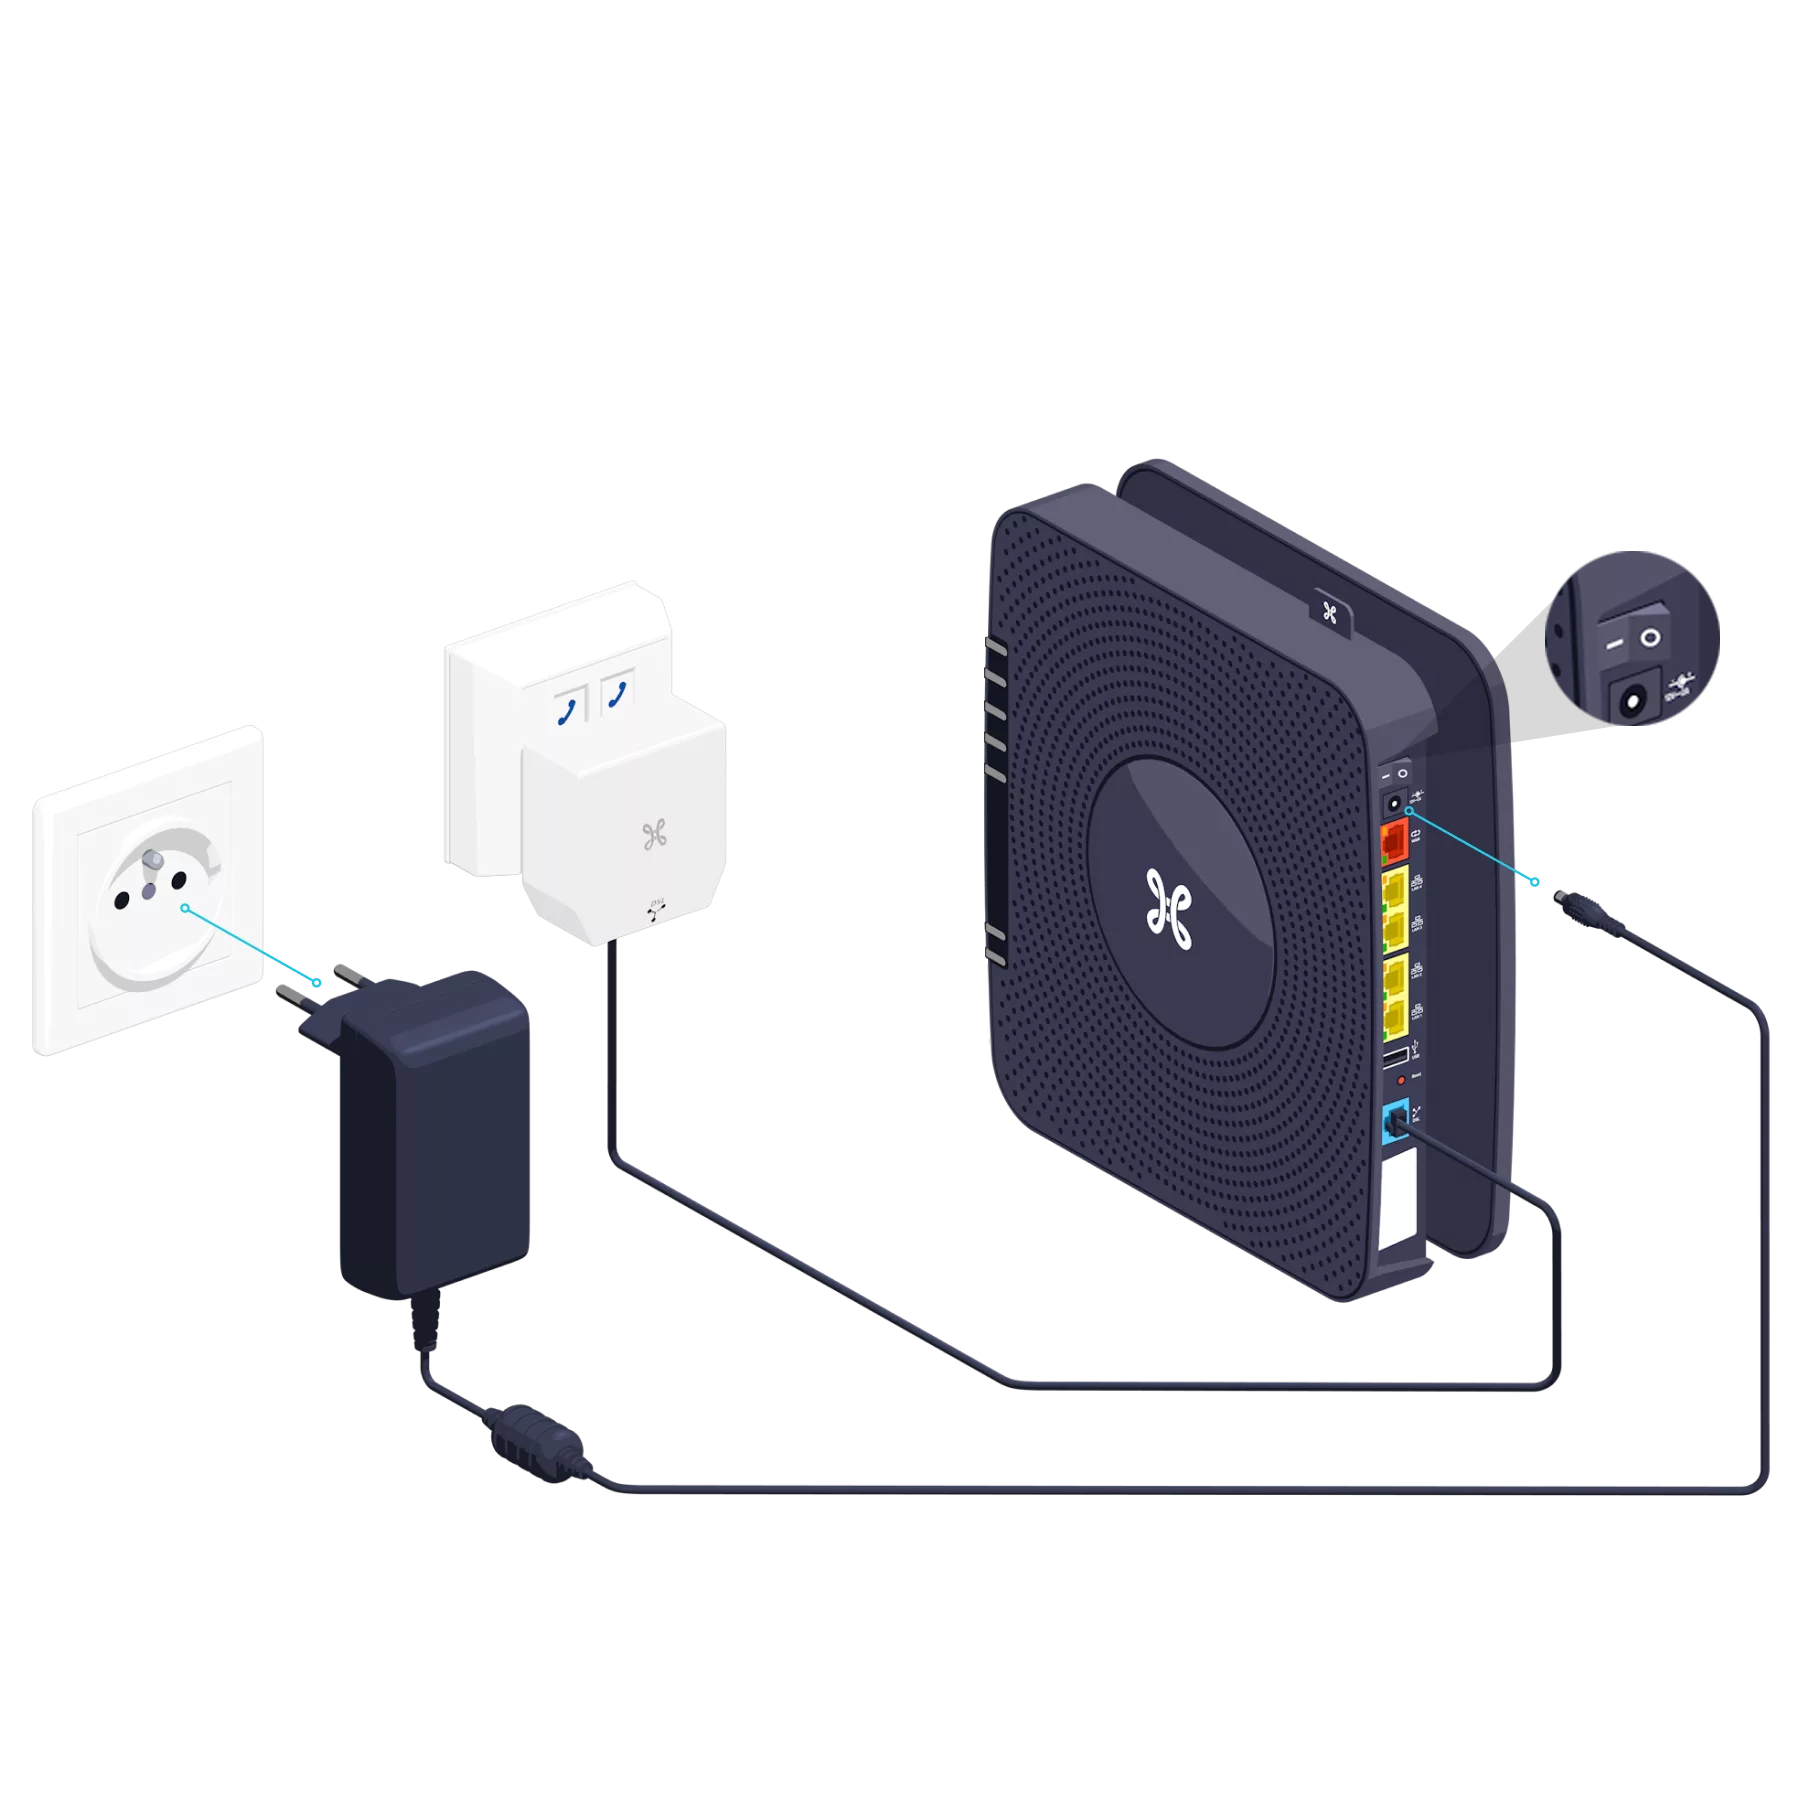
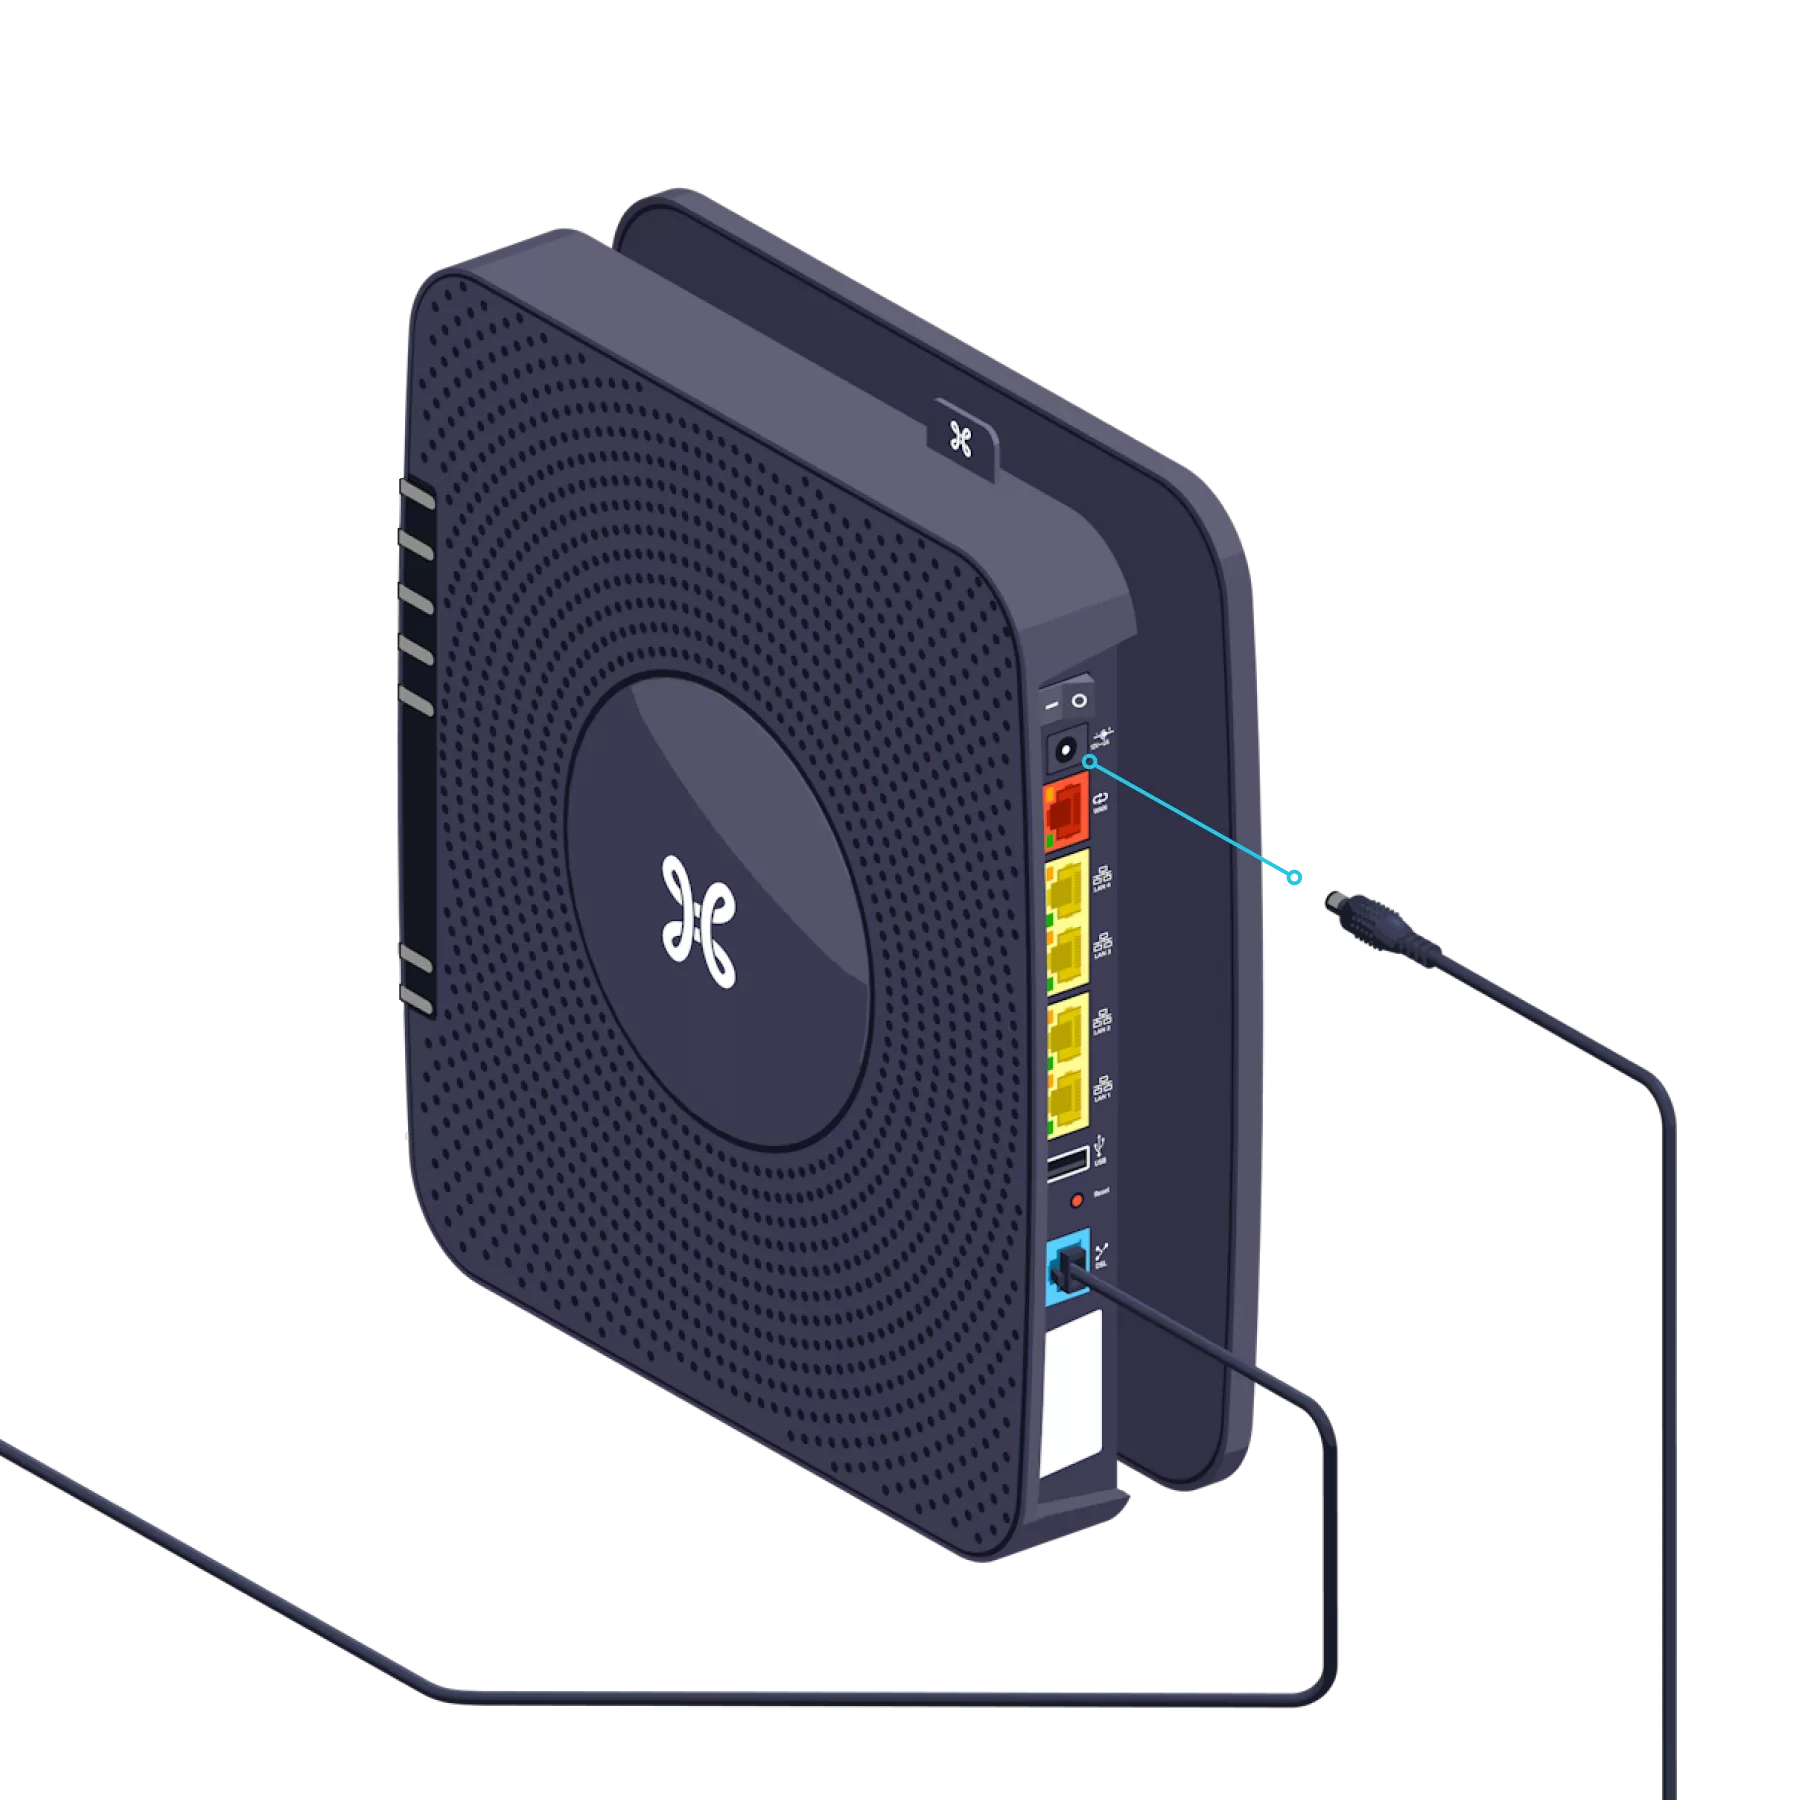
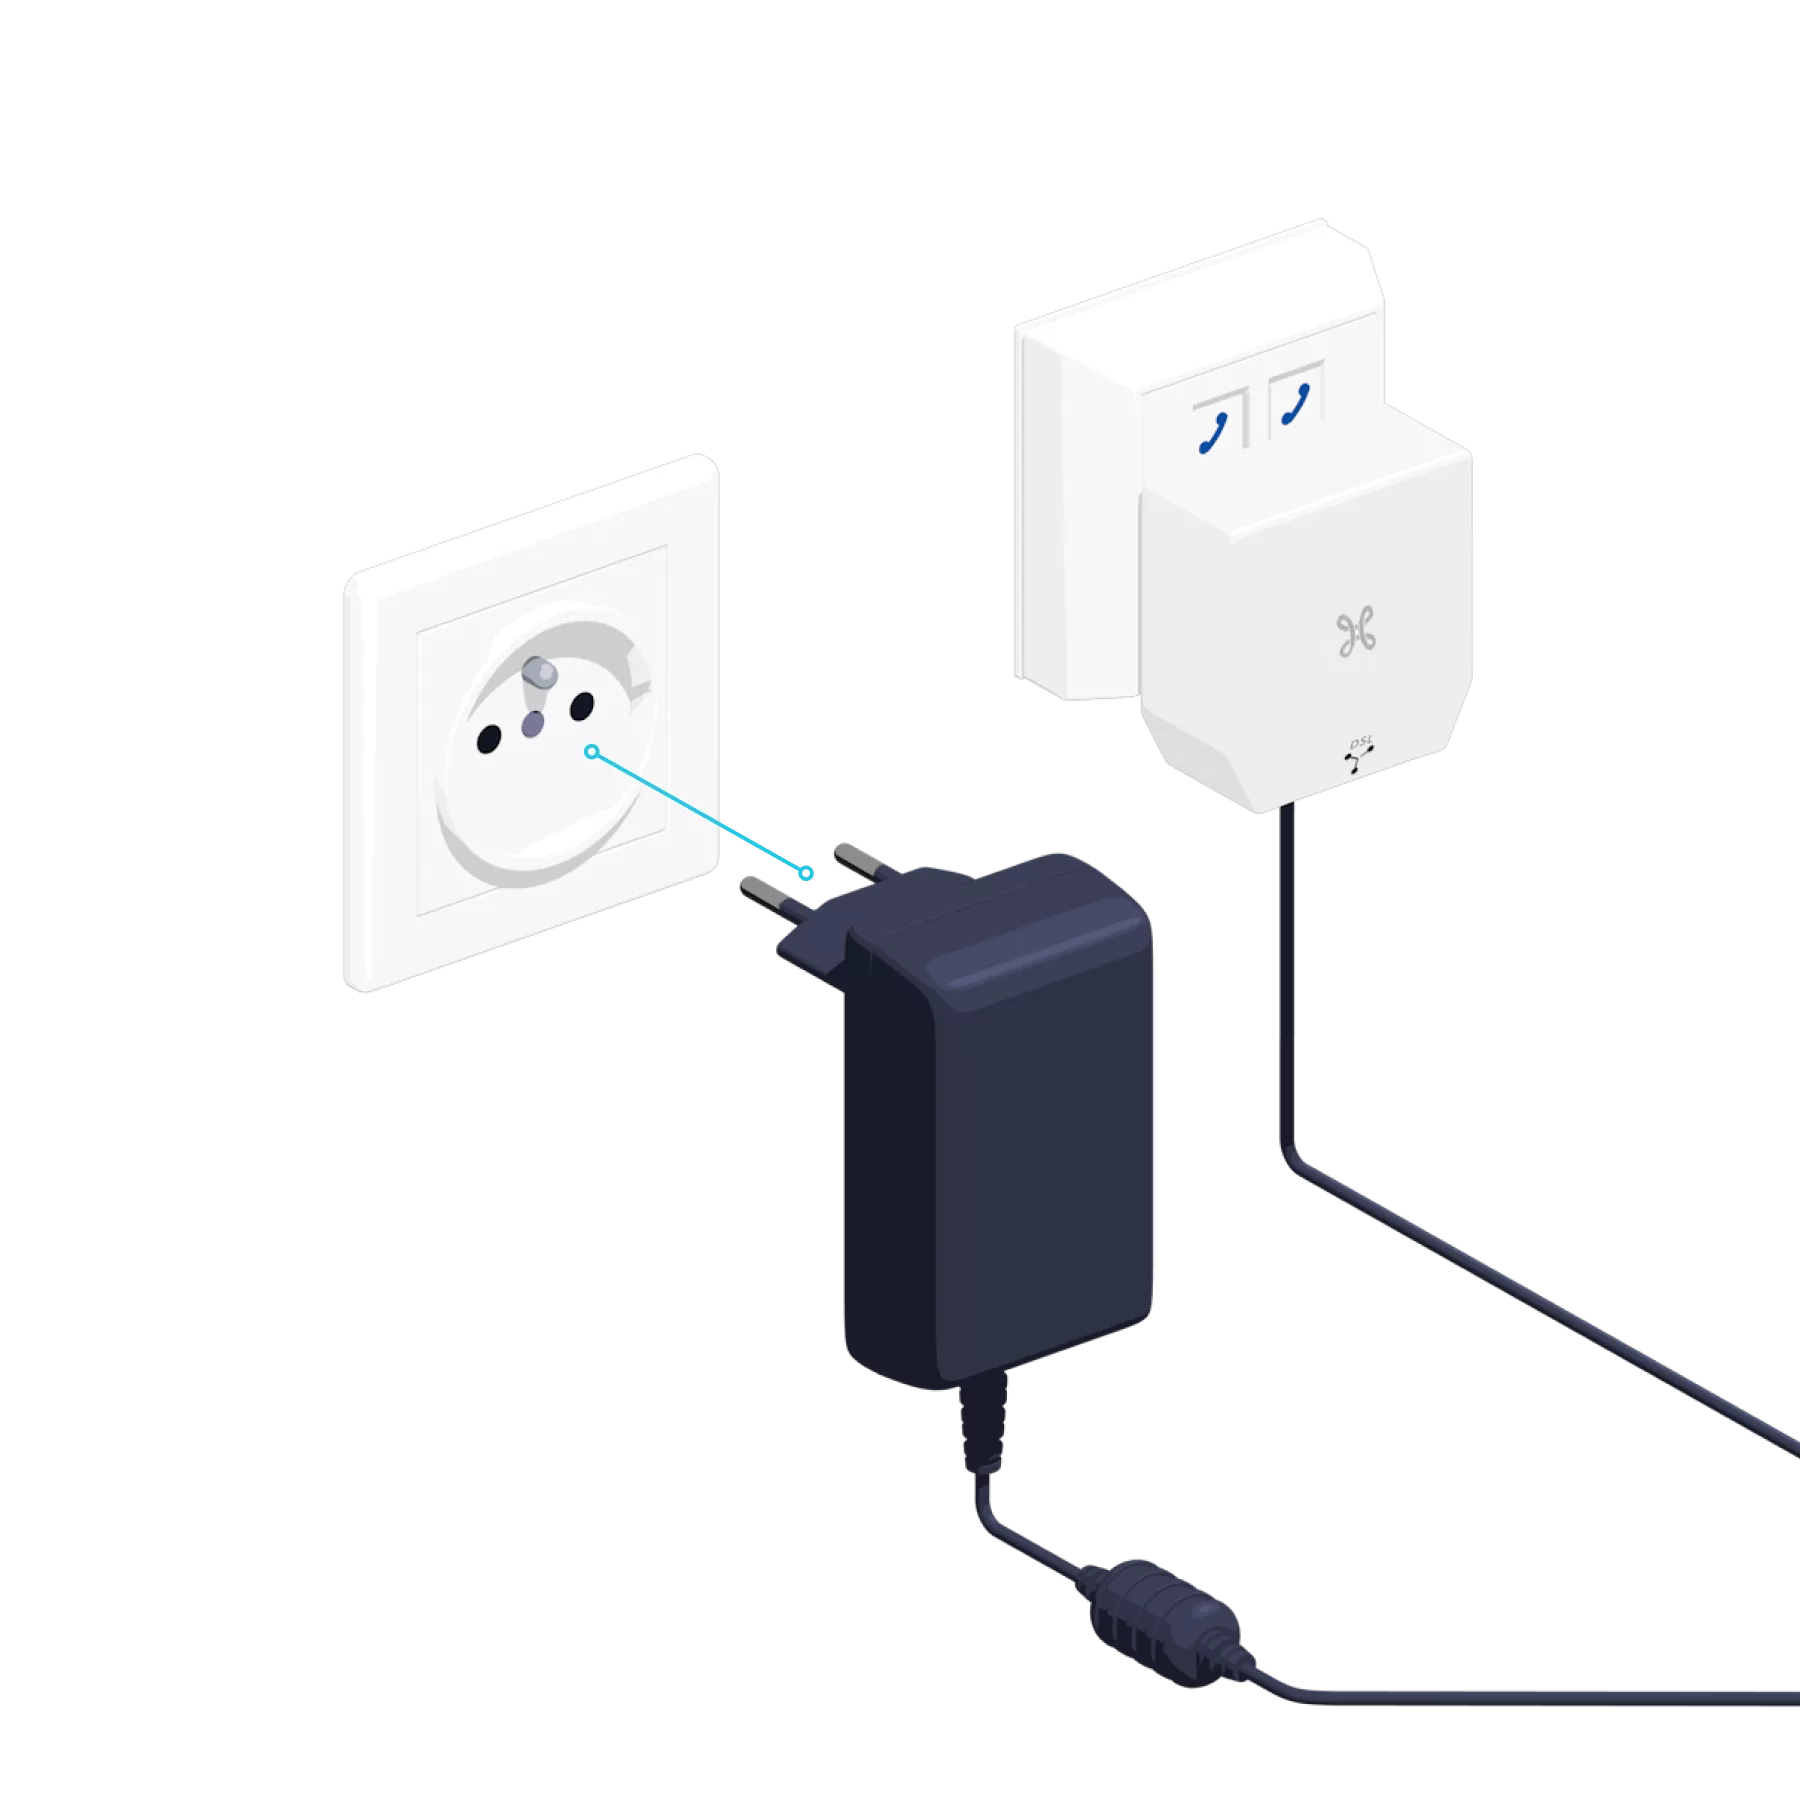
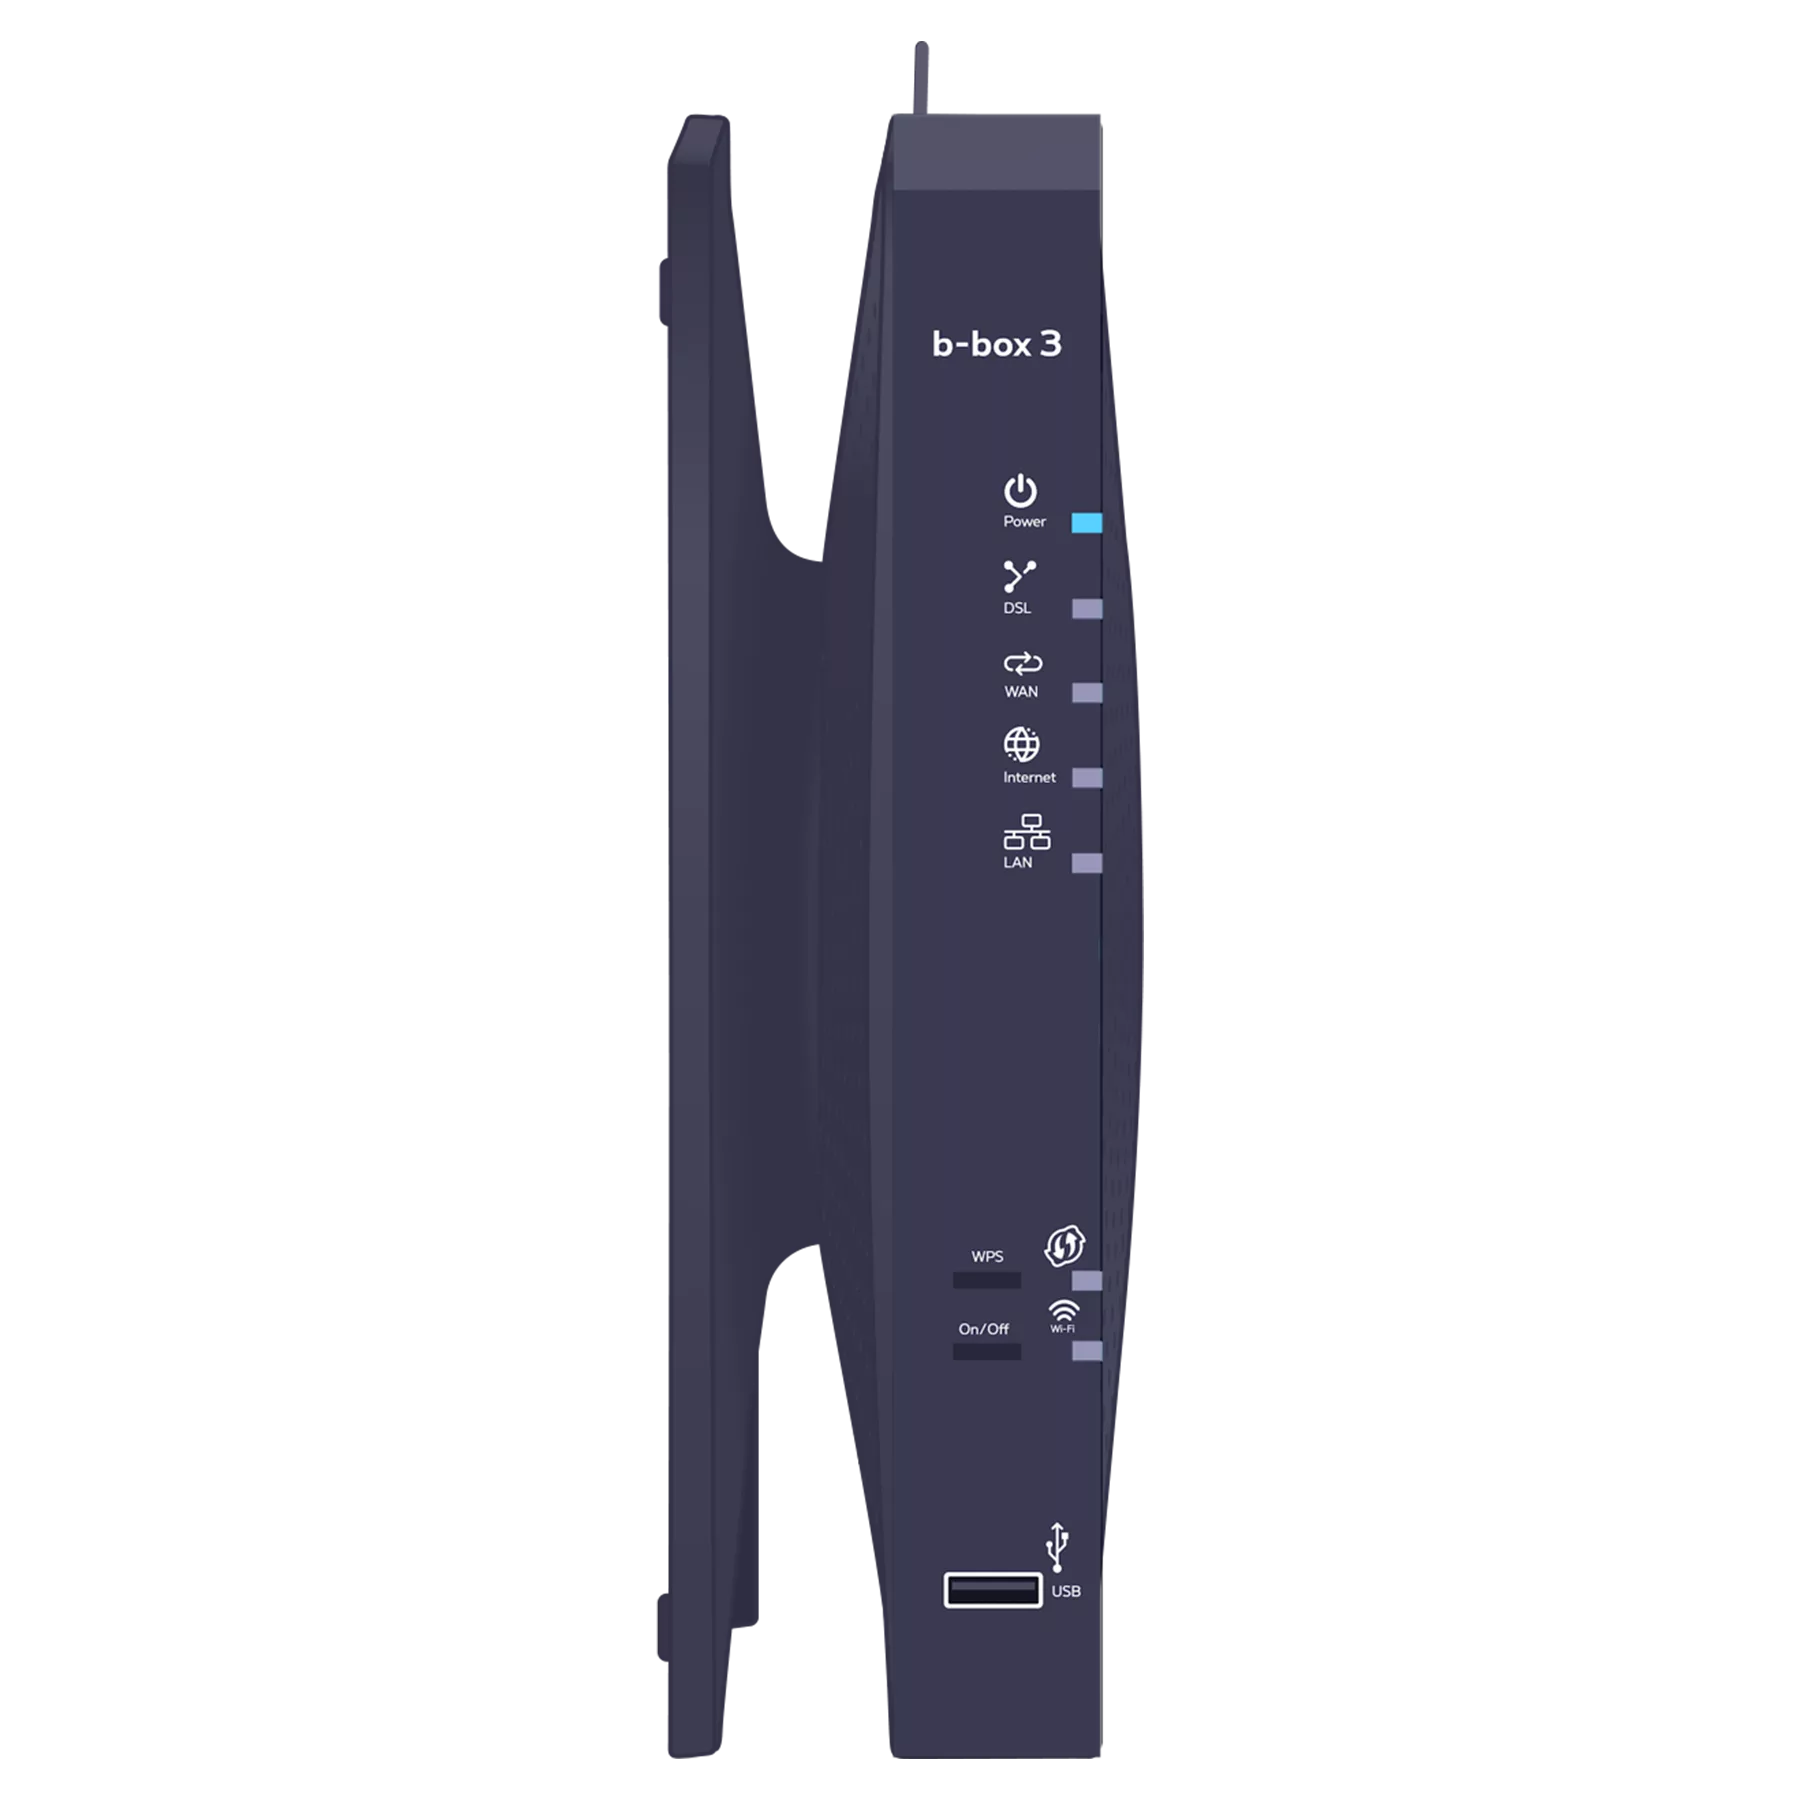
Connect the power supply cable to your b-box and to a power socket. The switch should be set to ‘I’ and the ‘POWER’ indicator light on the front will turn on.
-
You can then connect a telephone to the DSL connection socket.
Configuration and automatic updates for the b-box

Configuration time: 30 minutes maximum
Once the indicator lights below are turned on, you can proceed with installing a TV Box, computer or other devices.
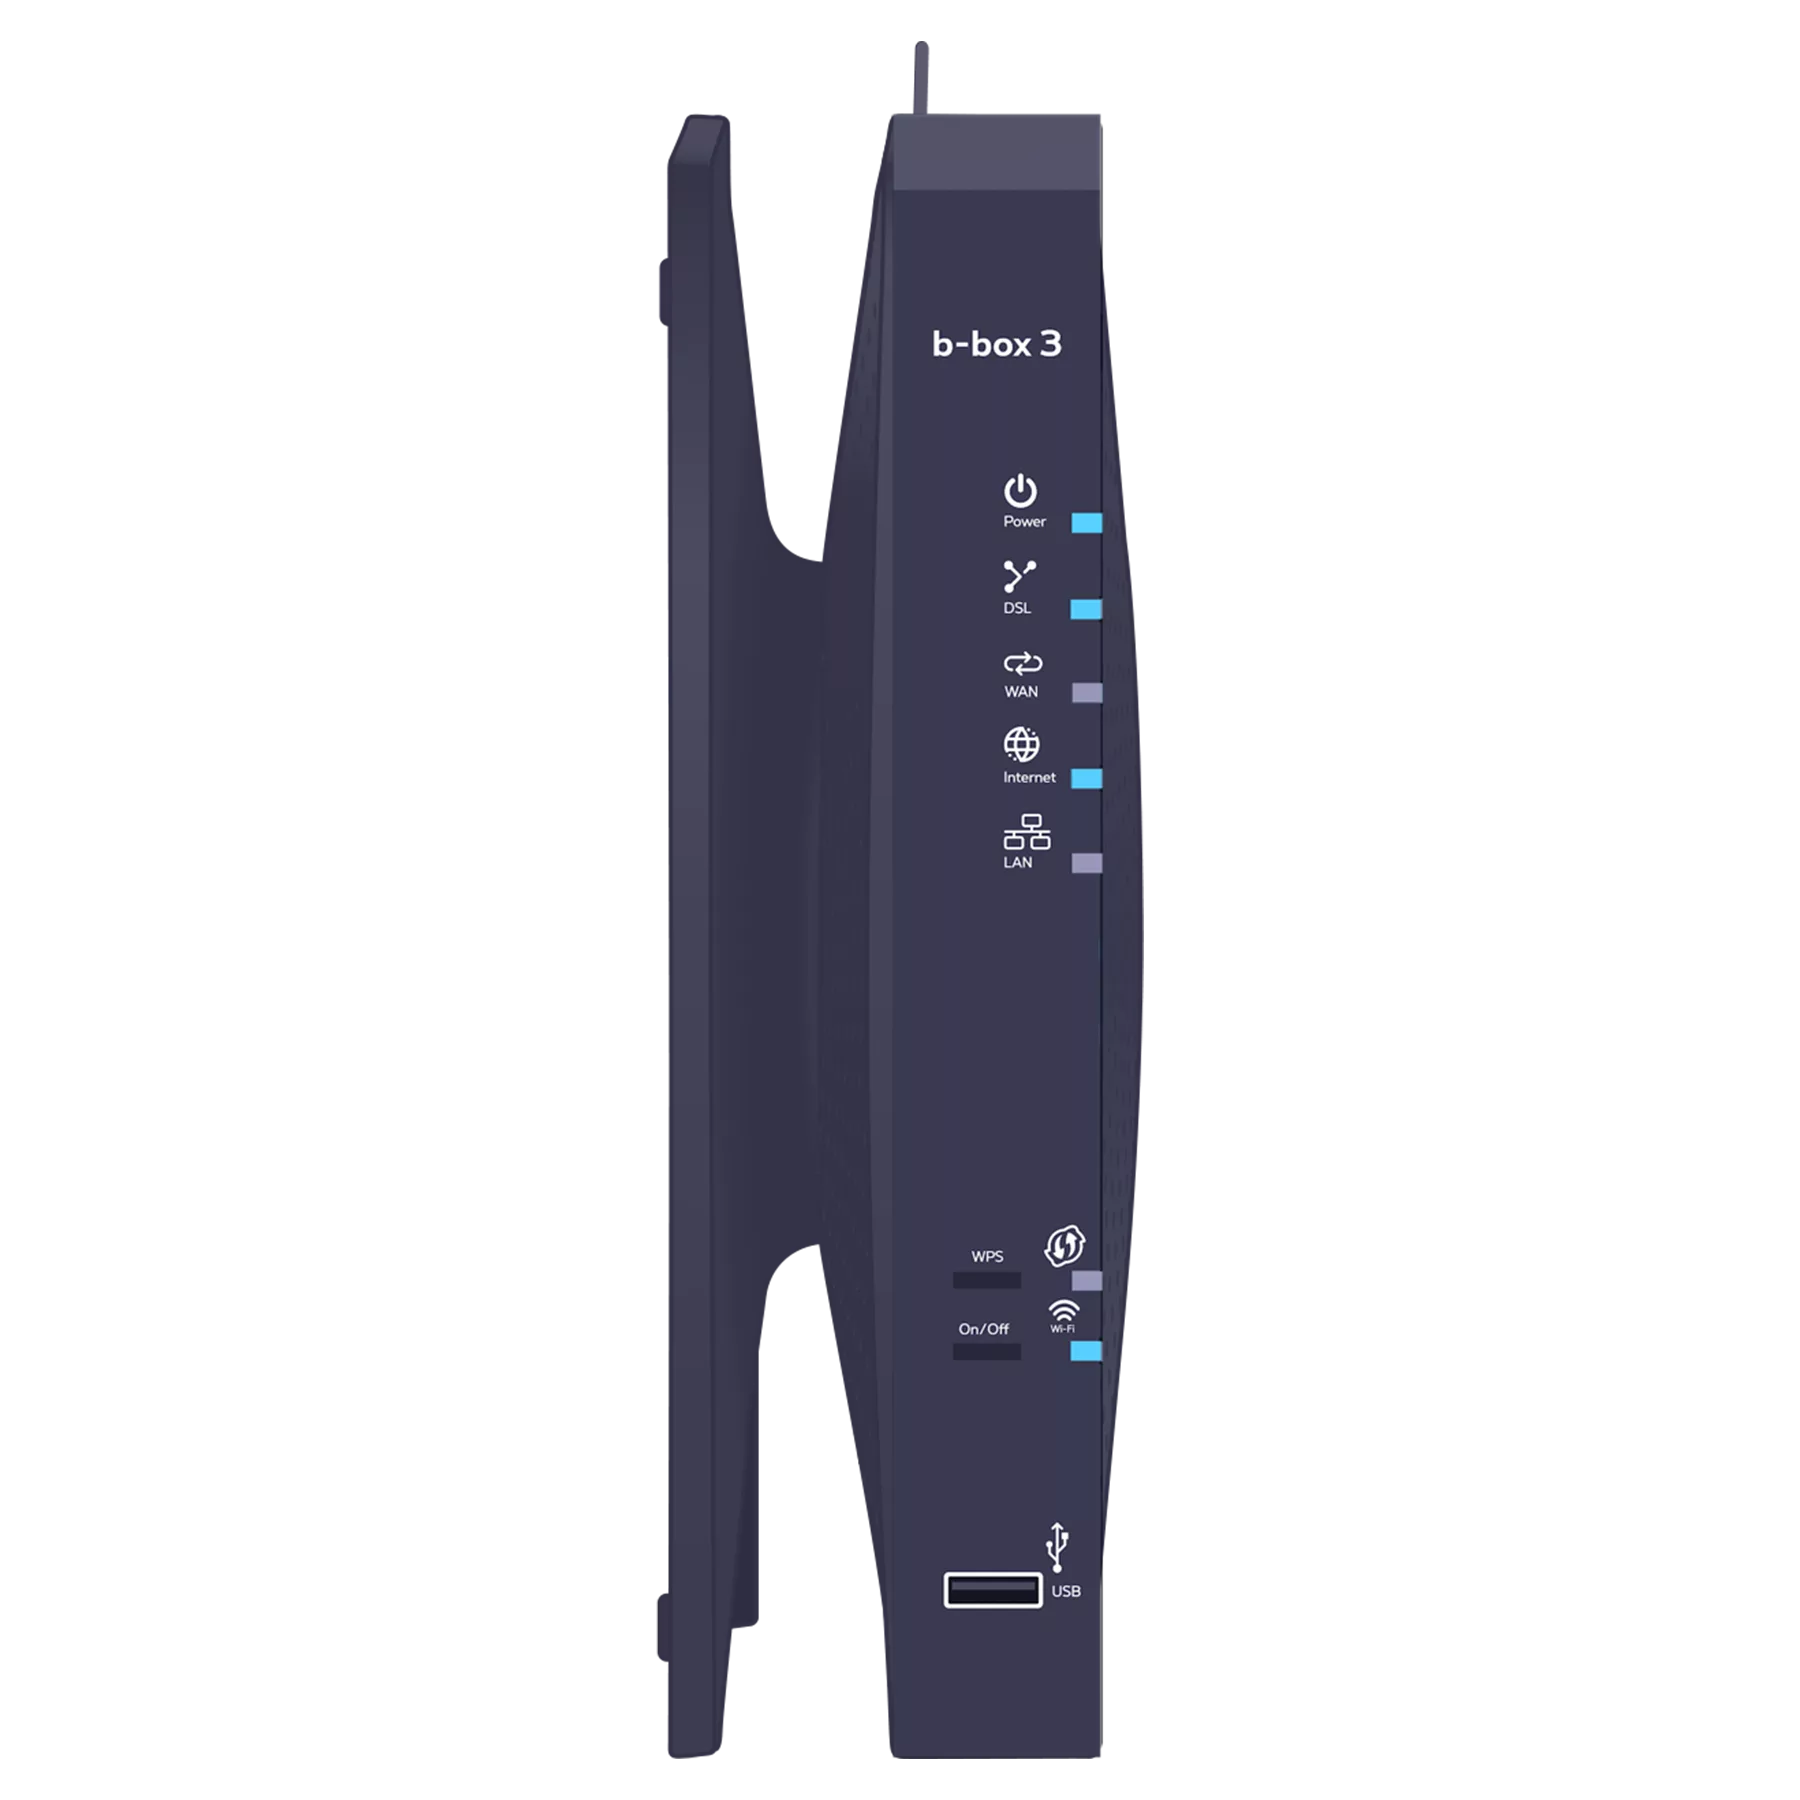
Various indicator lights will turn on depending on the services you have ordered.
-
- Is this your first time connecting to Pickx and/or Internet? You’ll need to wait until the service is activated.
- Is this not your first time connecting to Pickx and/or the Internet? Check that the DSL cable is properly connected to your b-box and the wall socket.
-
 Solid blue light: the b-box is turned on.
 Solid blue light
: the b-box is synchronized.
Flashing blue light
: synchronization is in progress (up to 3 minutes). Solid blue light: there is an Internet connection.
 Solid blue light: at least one LAN port is in use.
 Flashing blue: indicates that WPS pairing is possible with another WPS-enabled Wi-Fi device (max. 2 minutes).
 Solid blue light: Wi-Fi is connected.
That’s it – your b-box is now configured!