Internet Box
Installation GuideBefore you begin
Required components for the installation
- The Internet Box
- The power supply cable
- The Ethernet cable
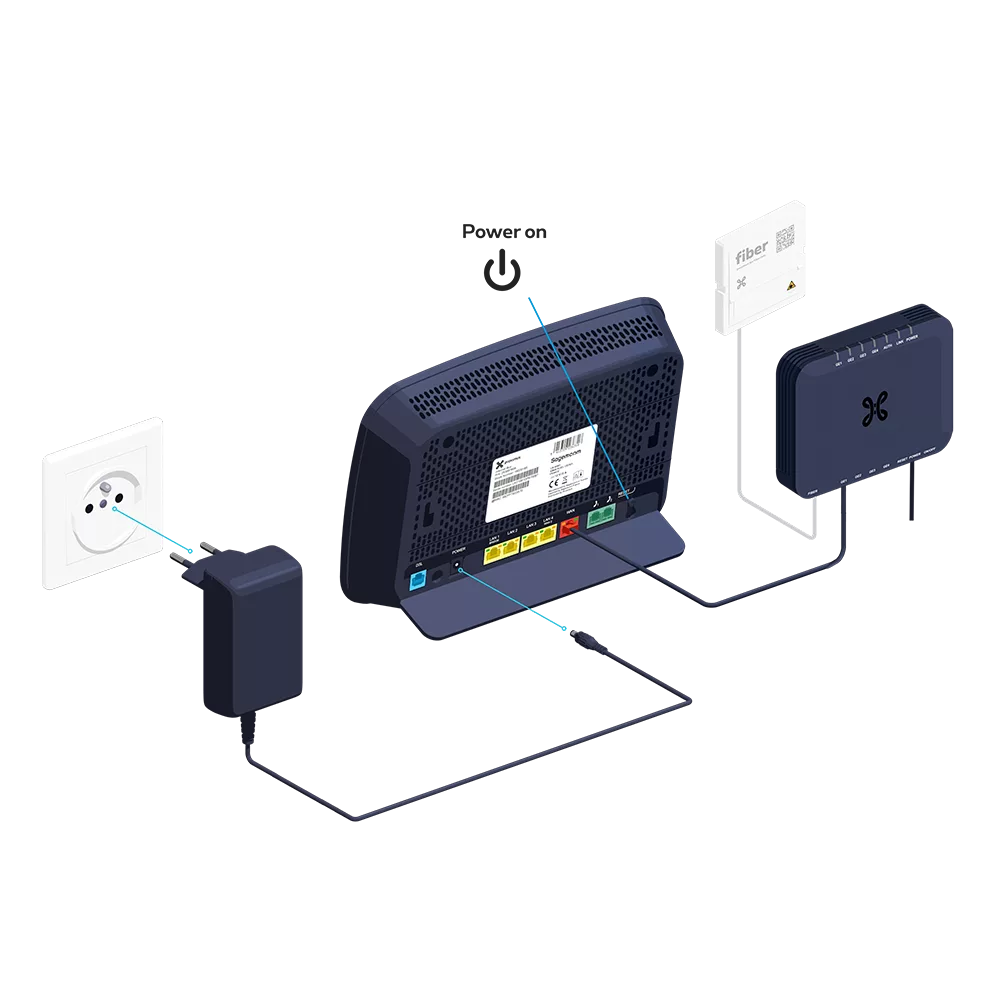
Connect the Internet Box to the Fiber modem
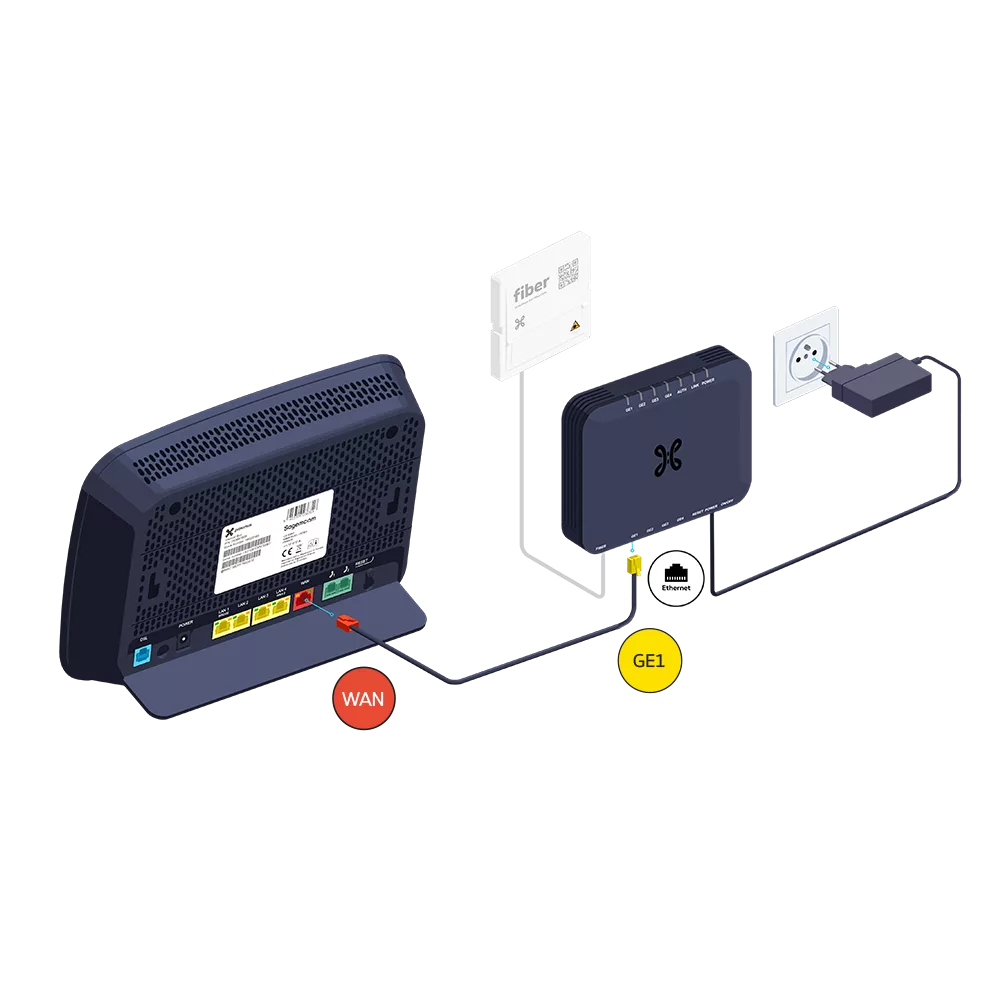
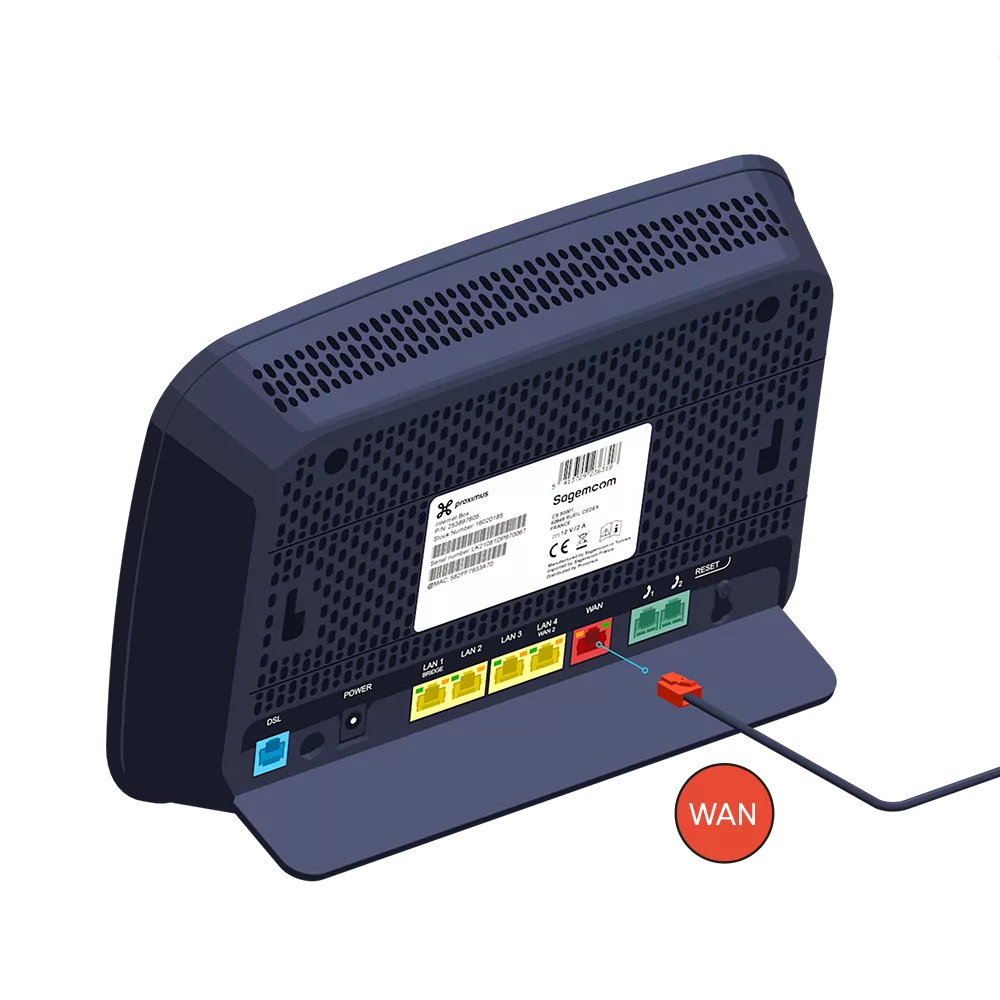
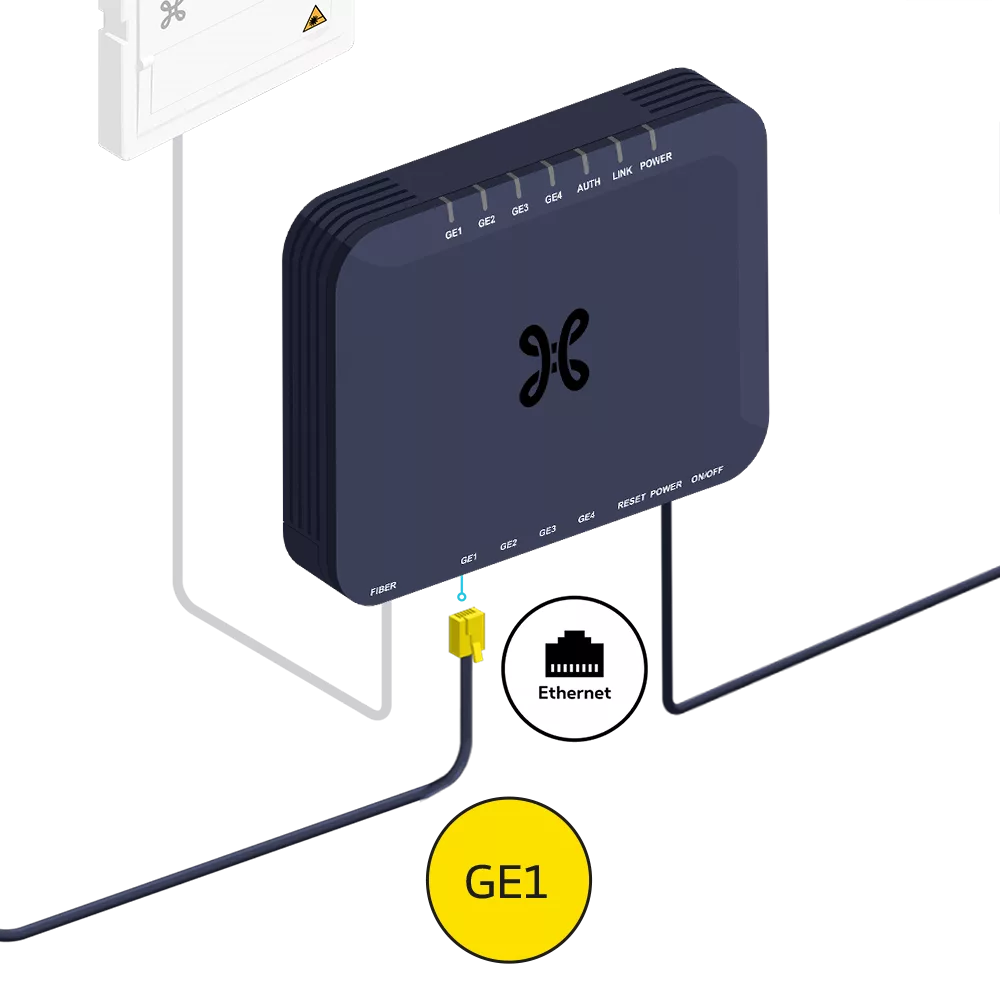
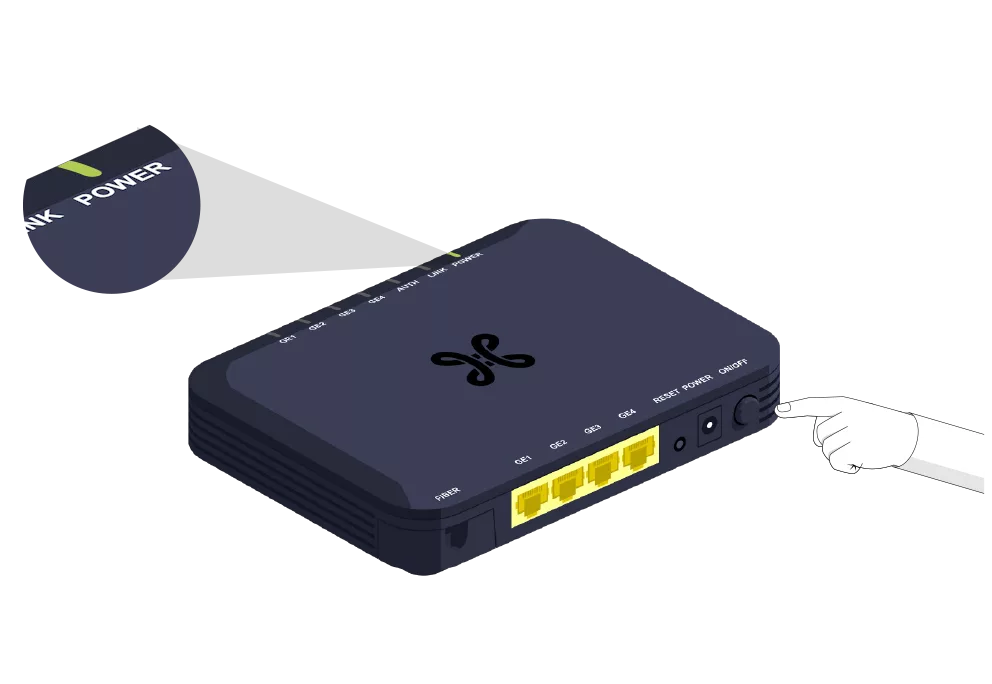
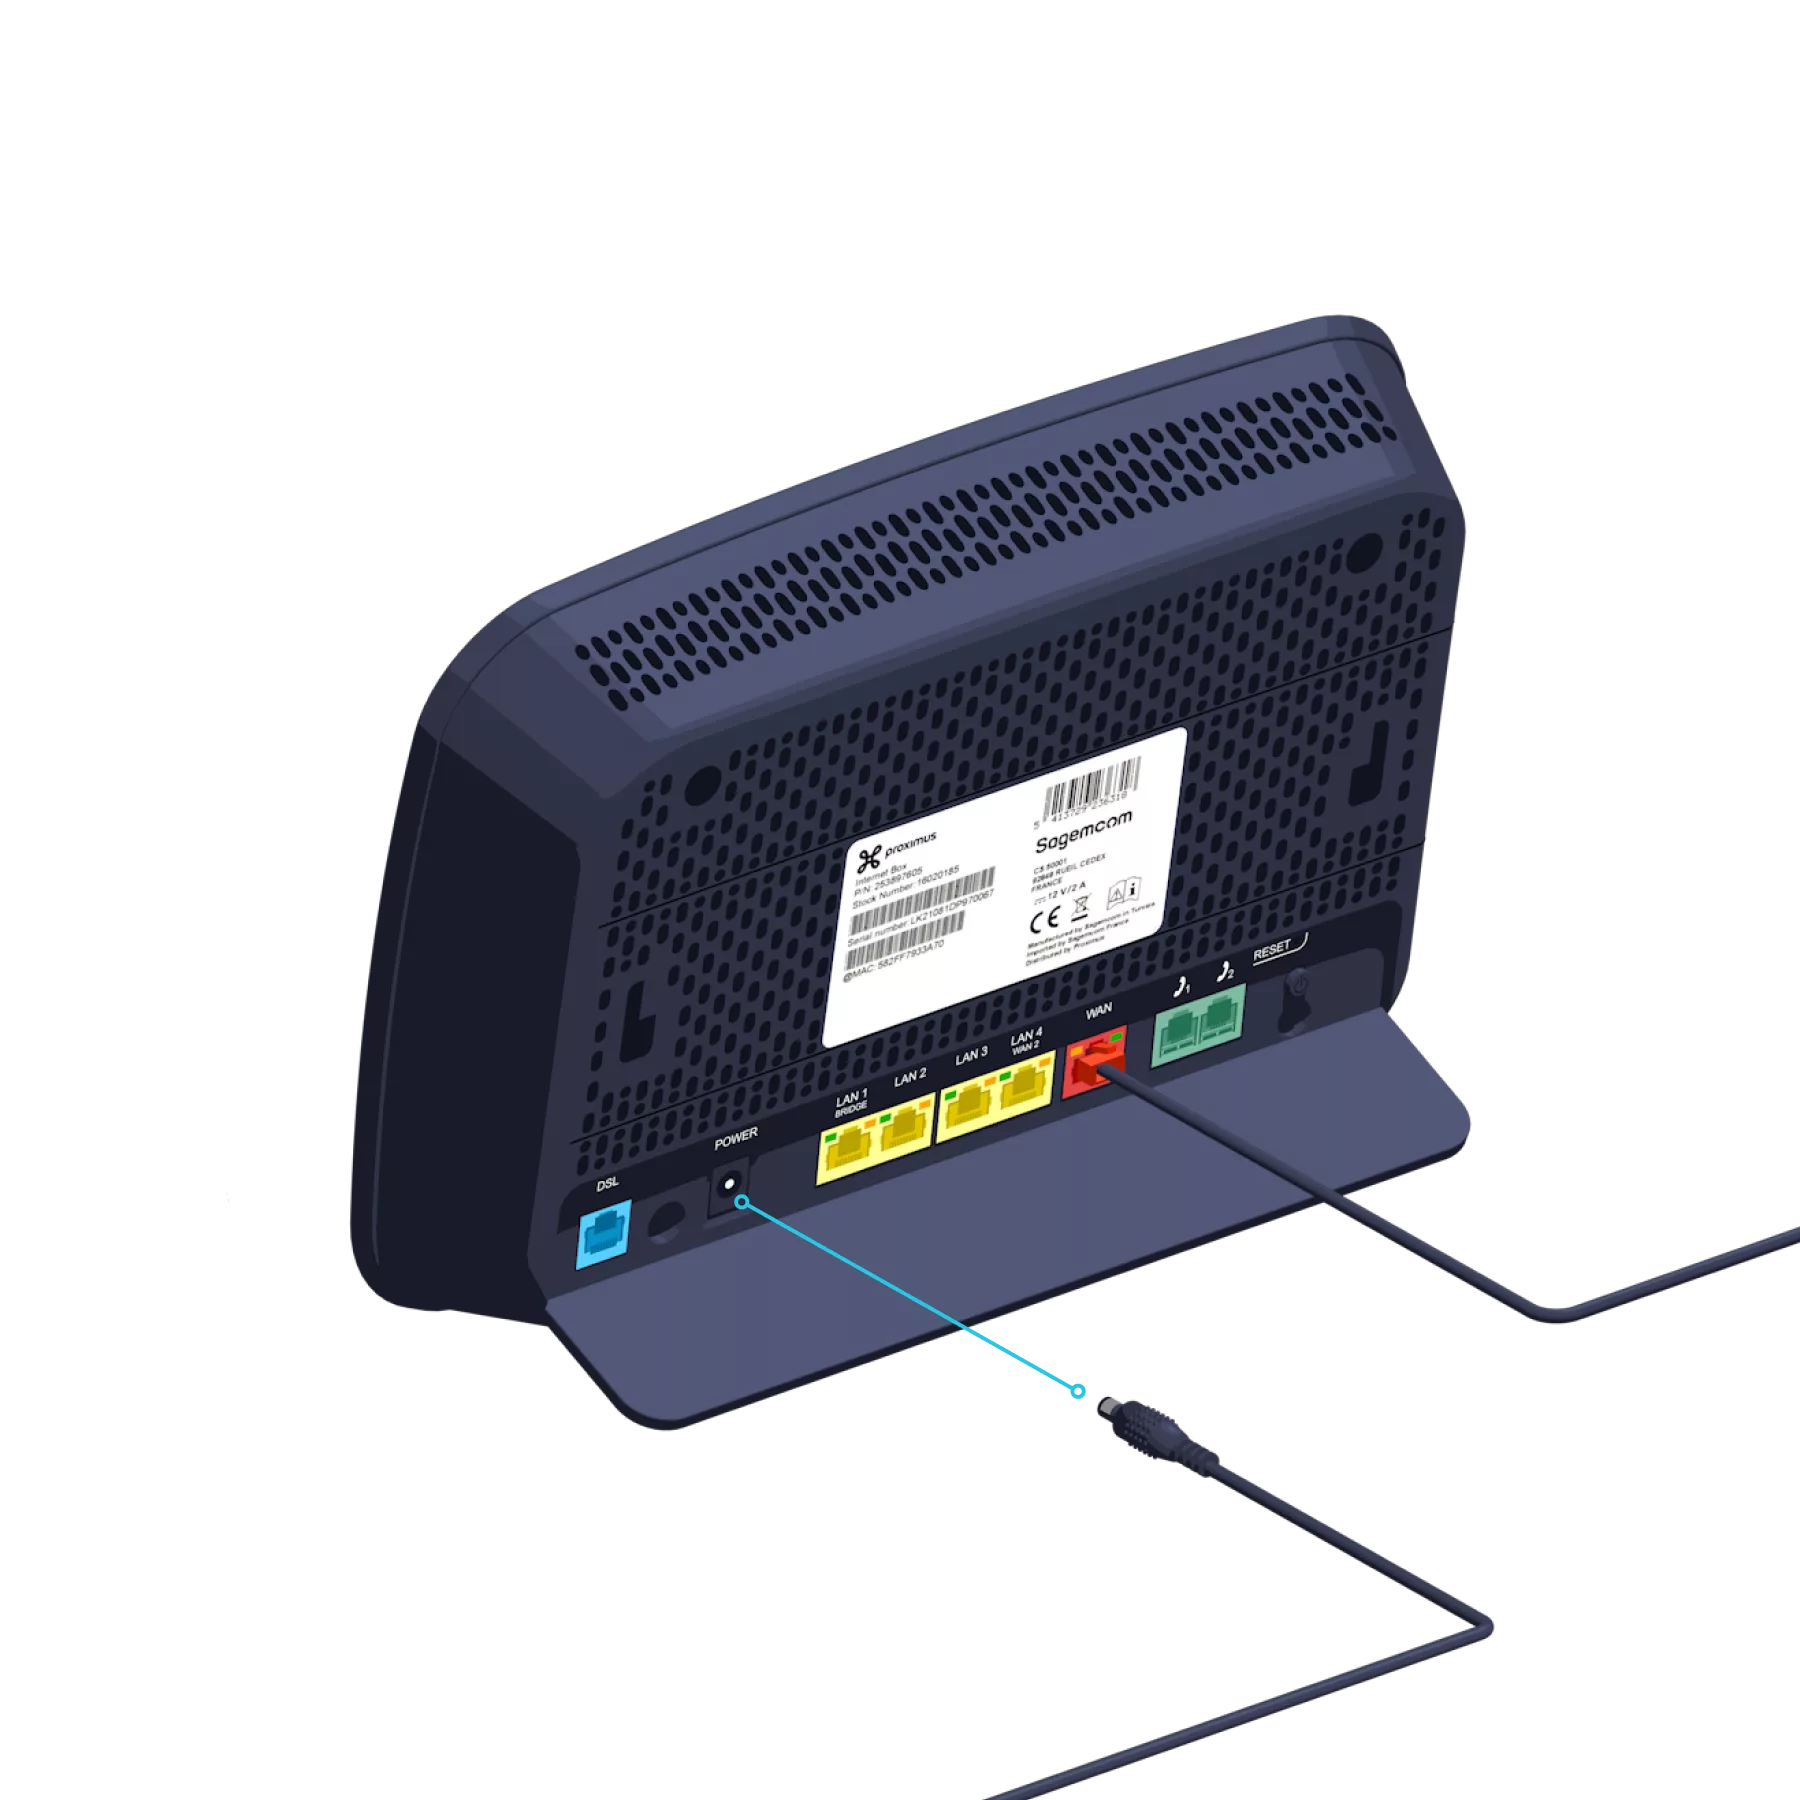
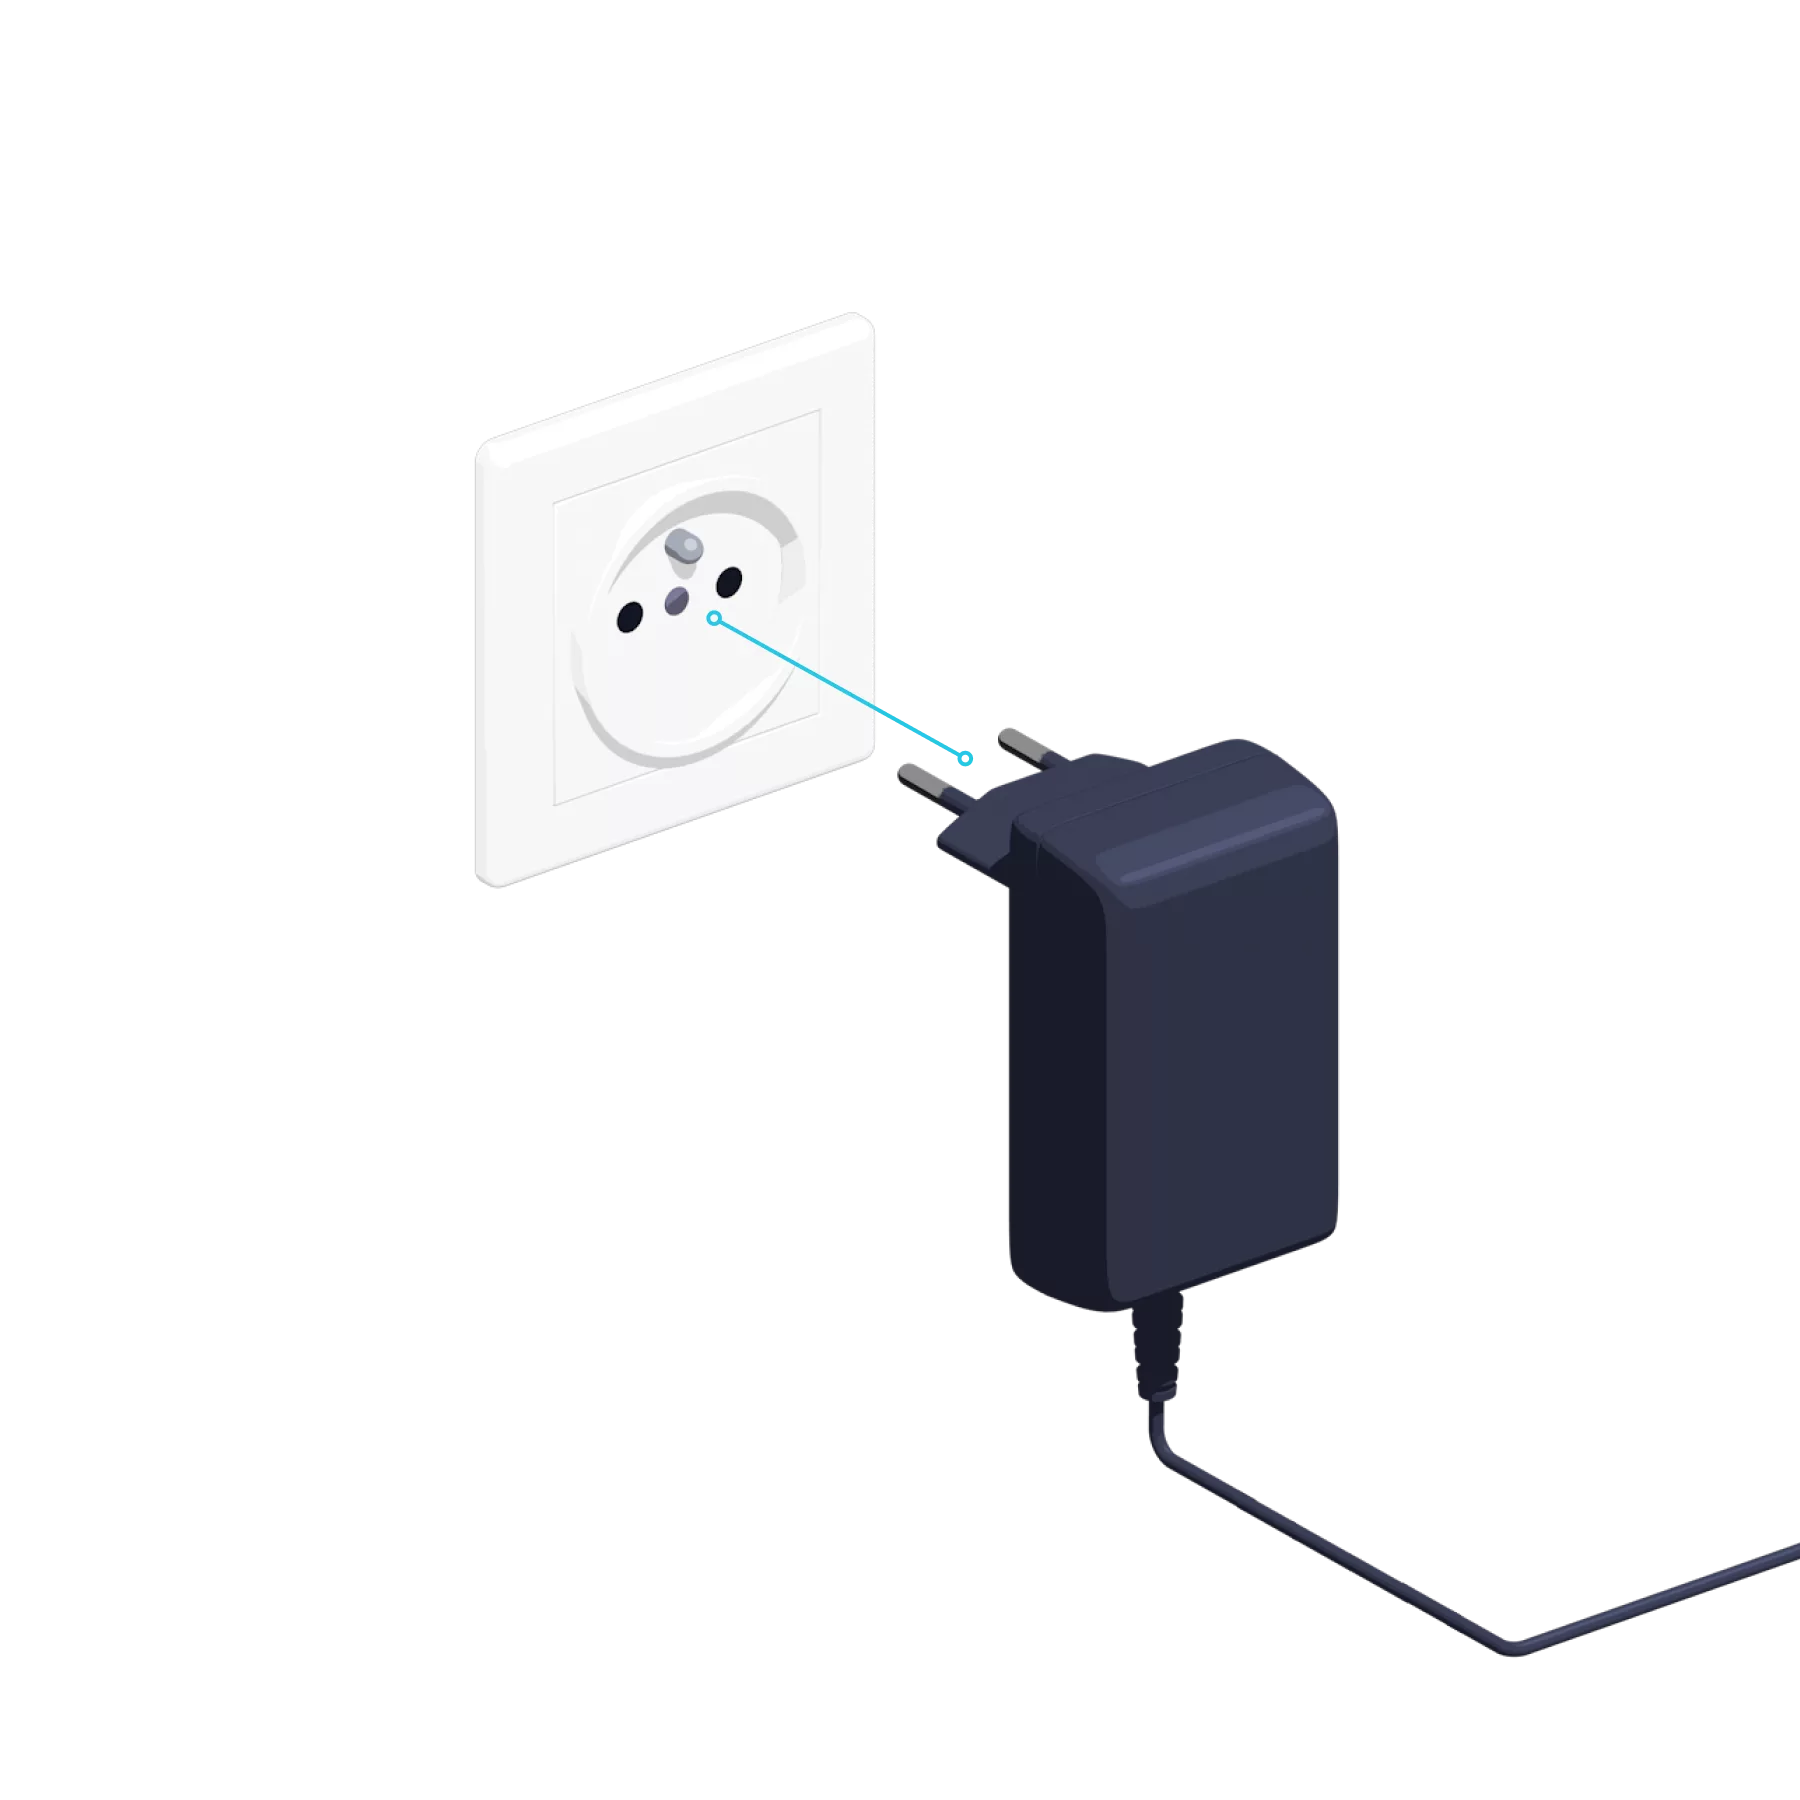
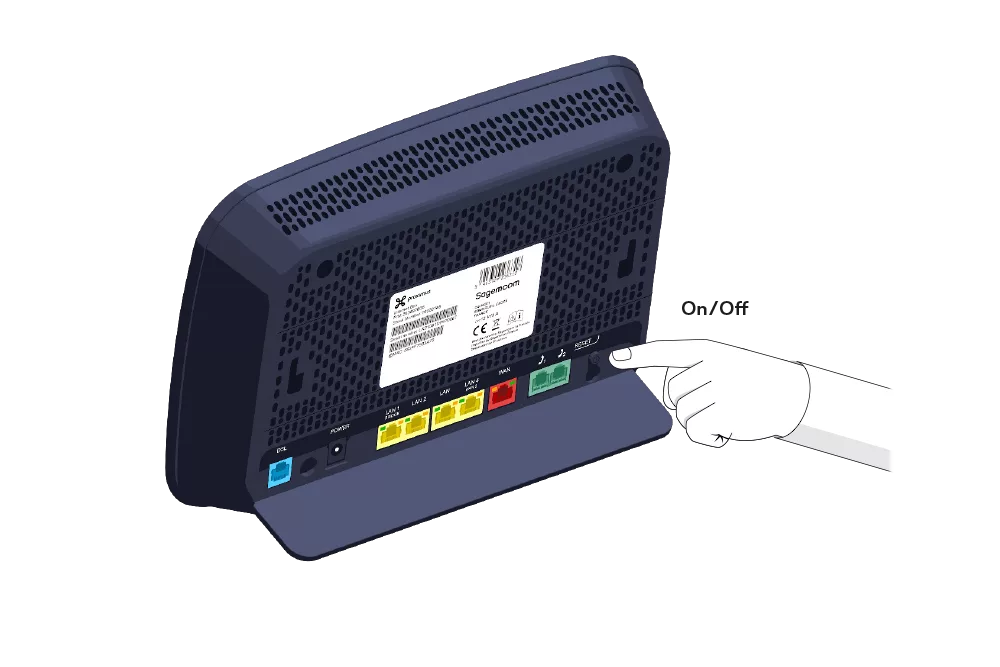
Switch on the Internet Box


-
- Screw the bracket to the wall.
- Then attach the Internet Box to it.
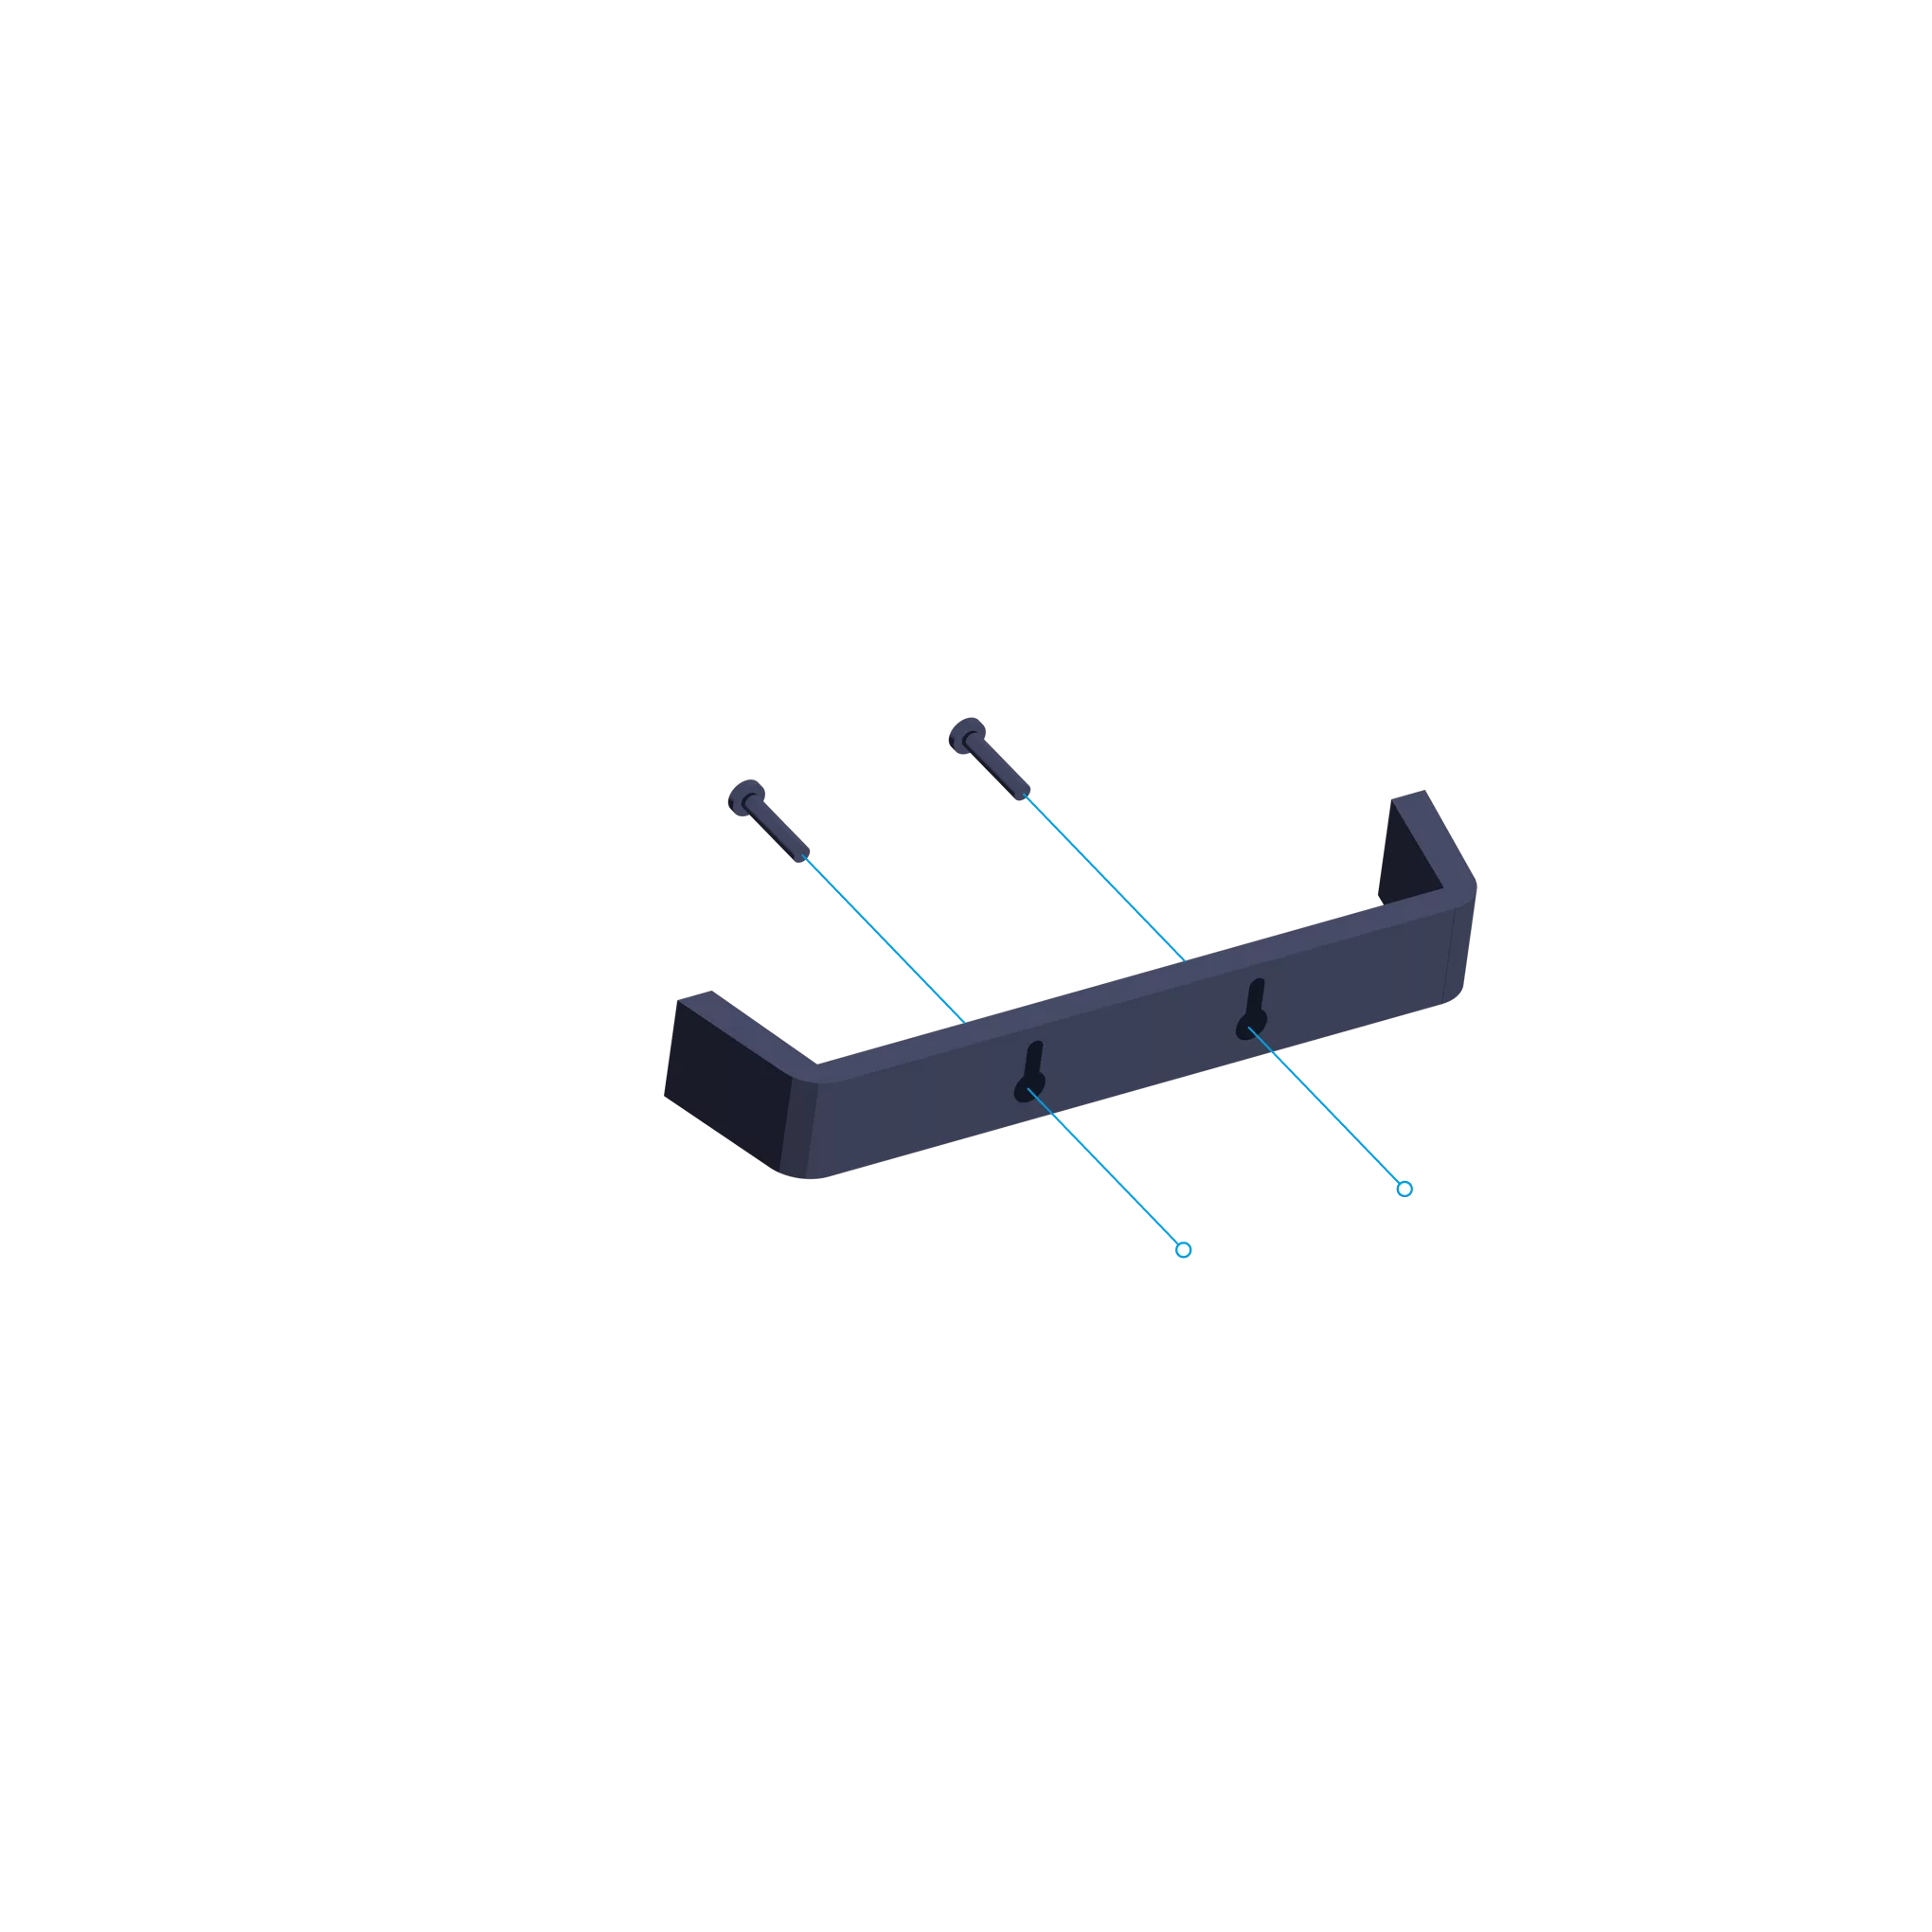
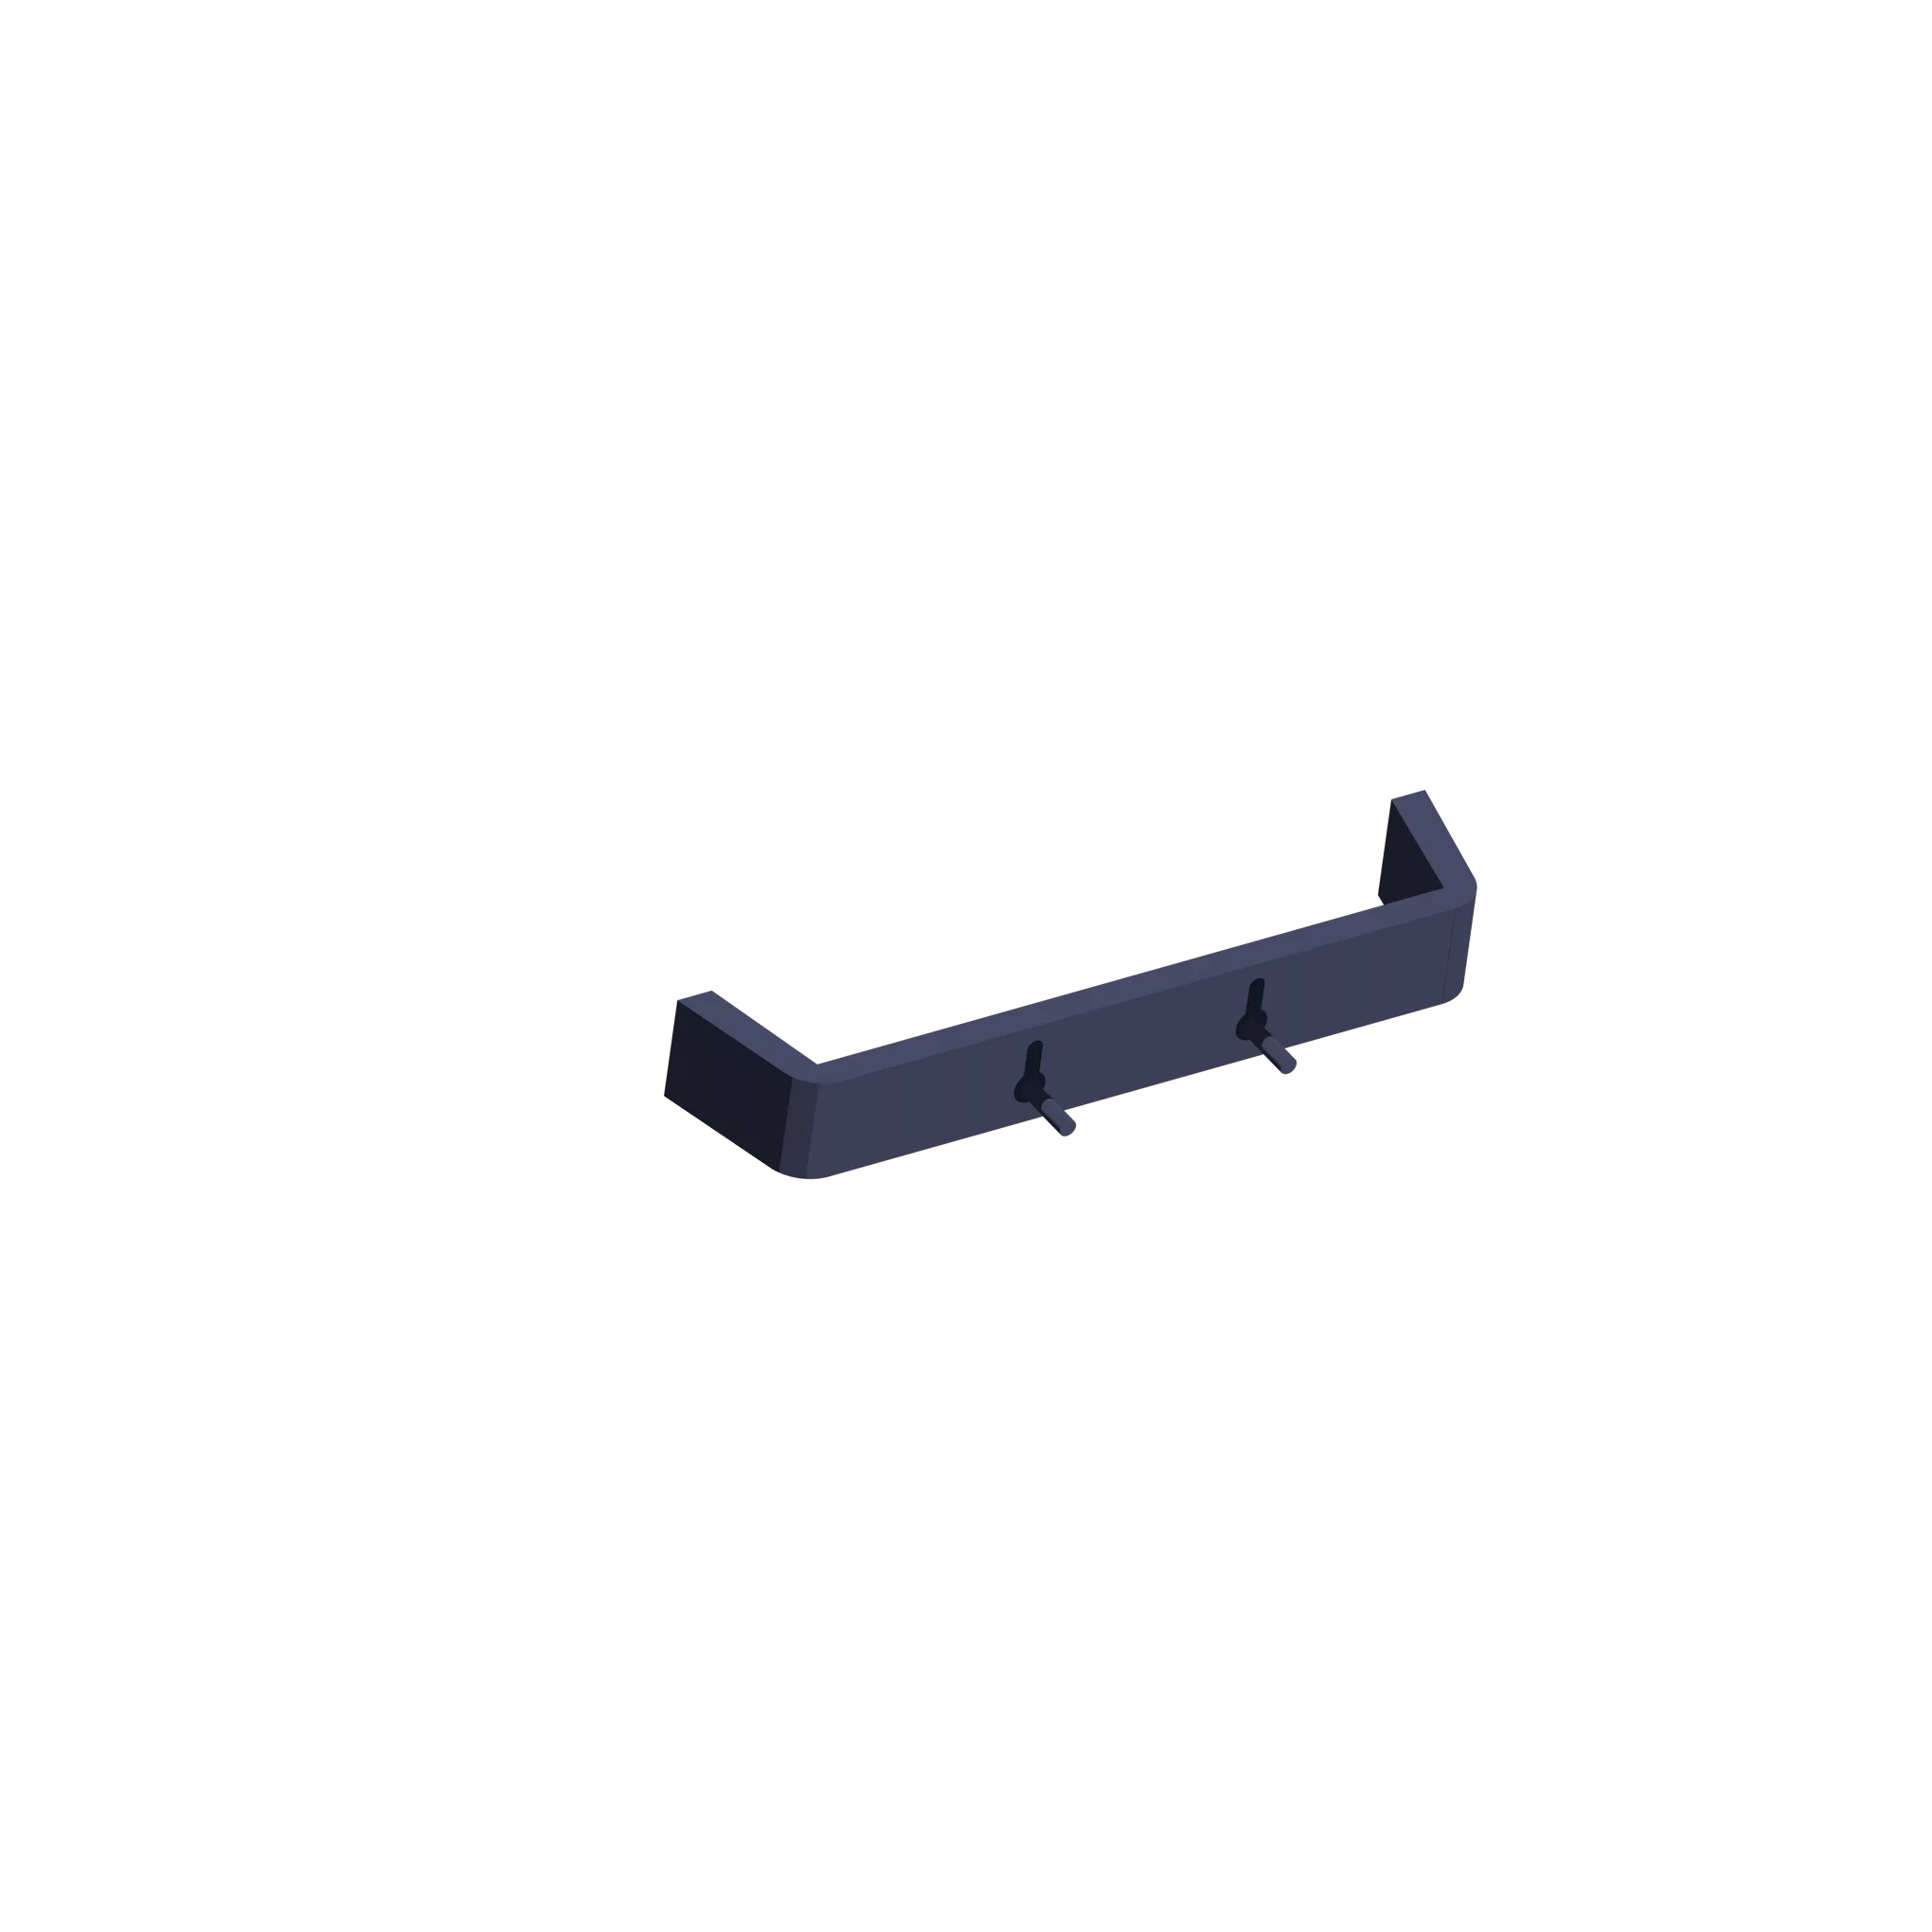
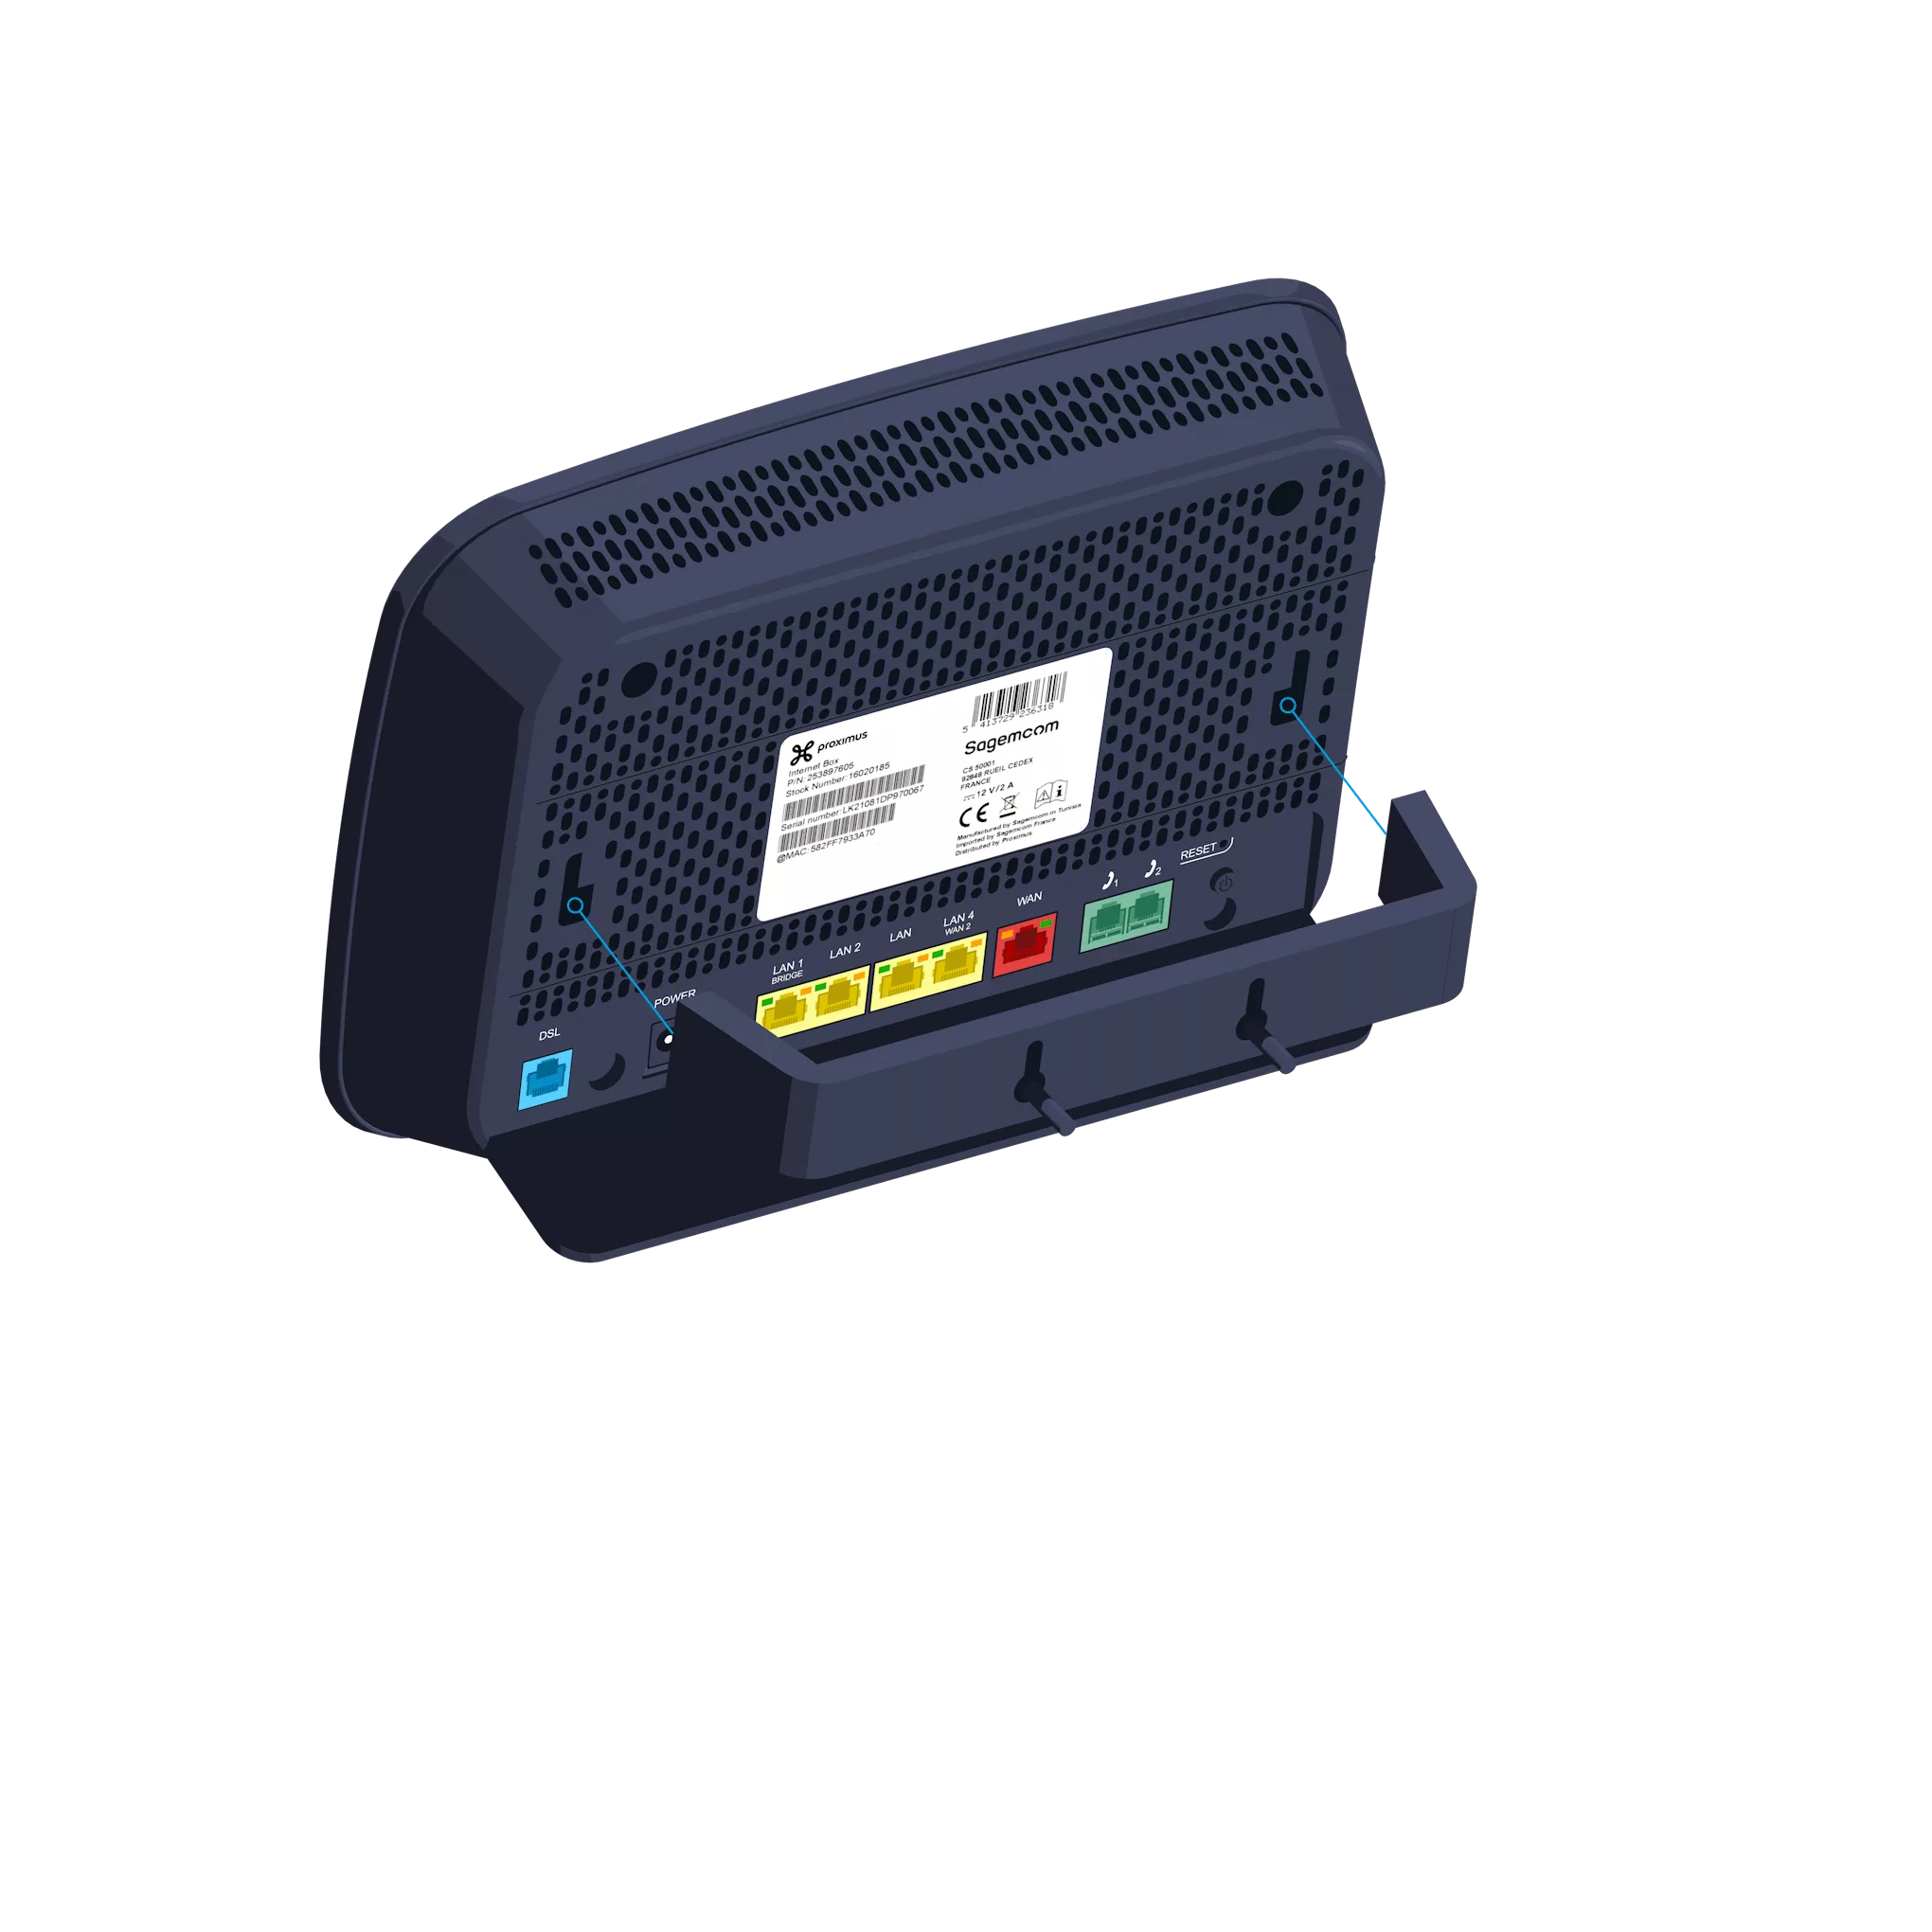
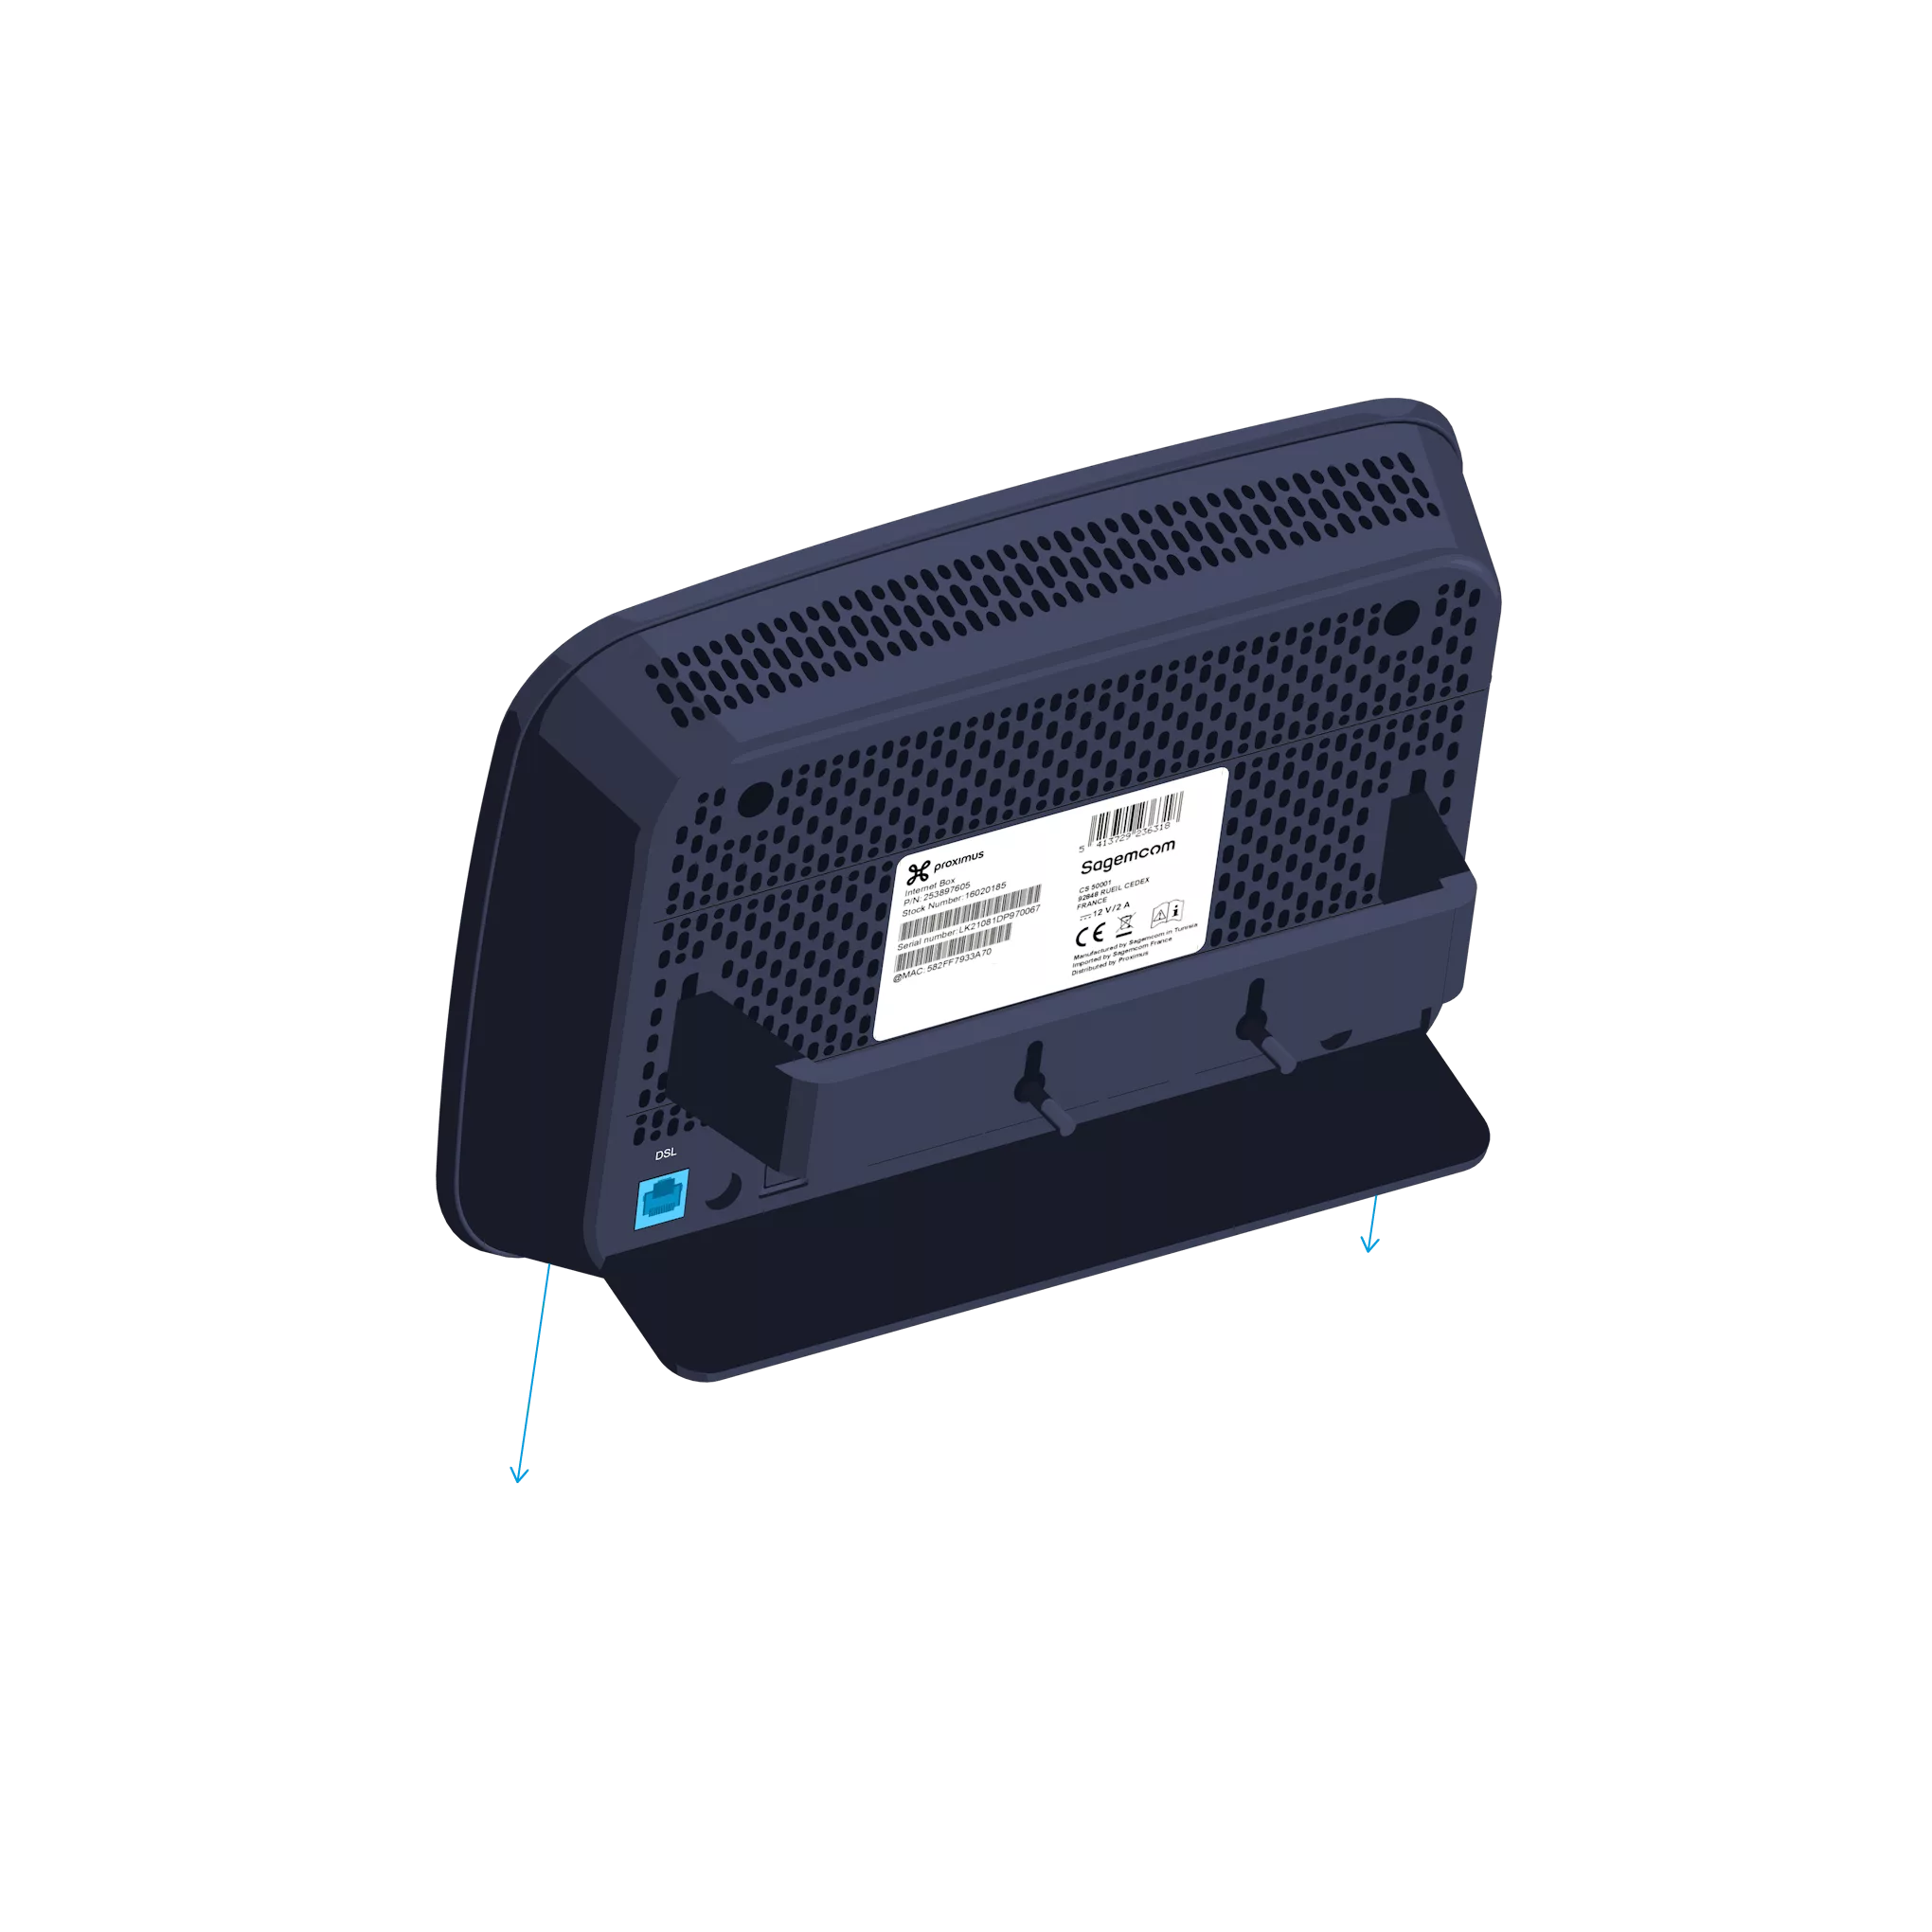
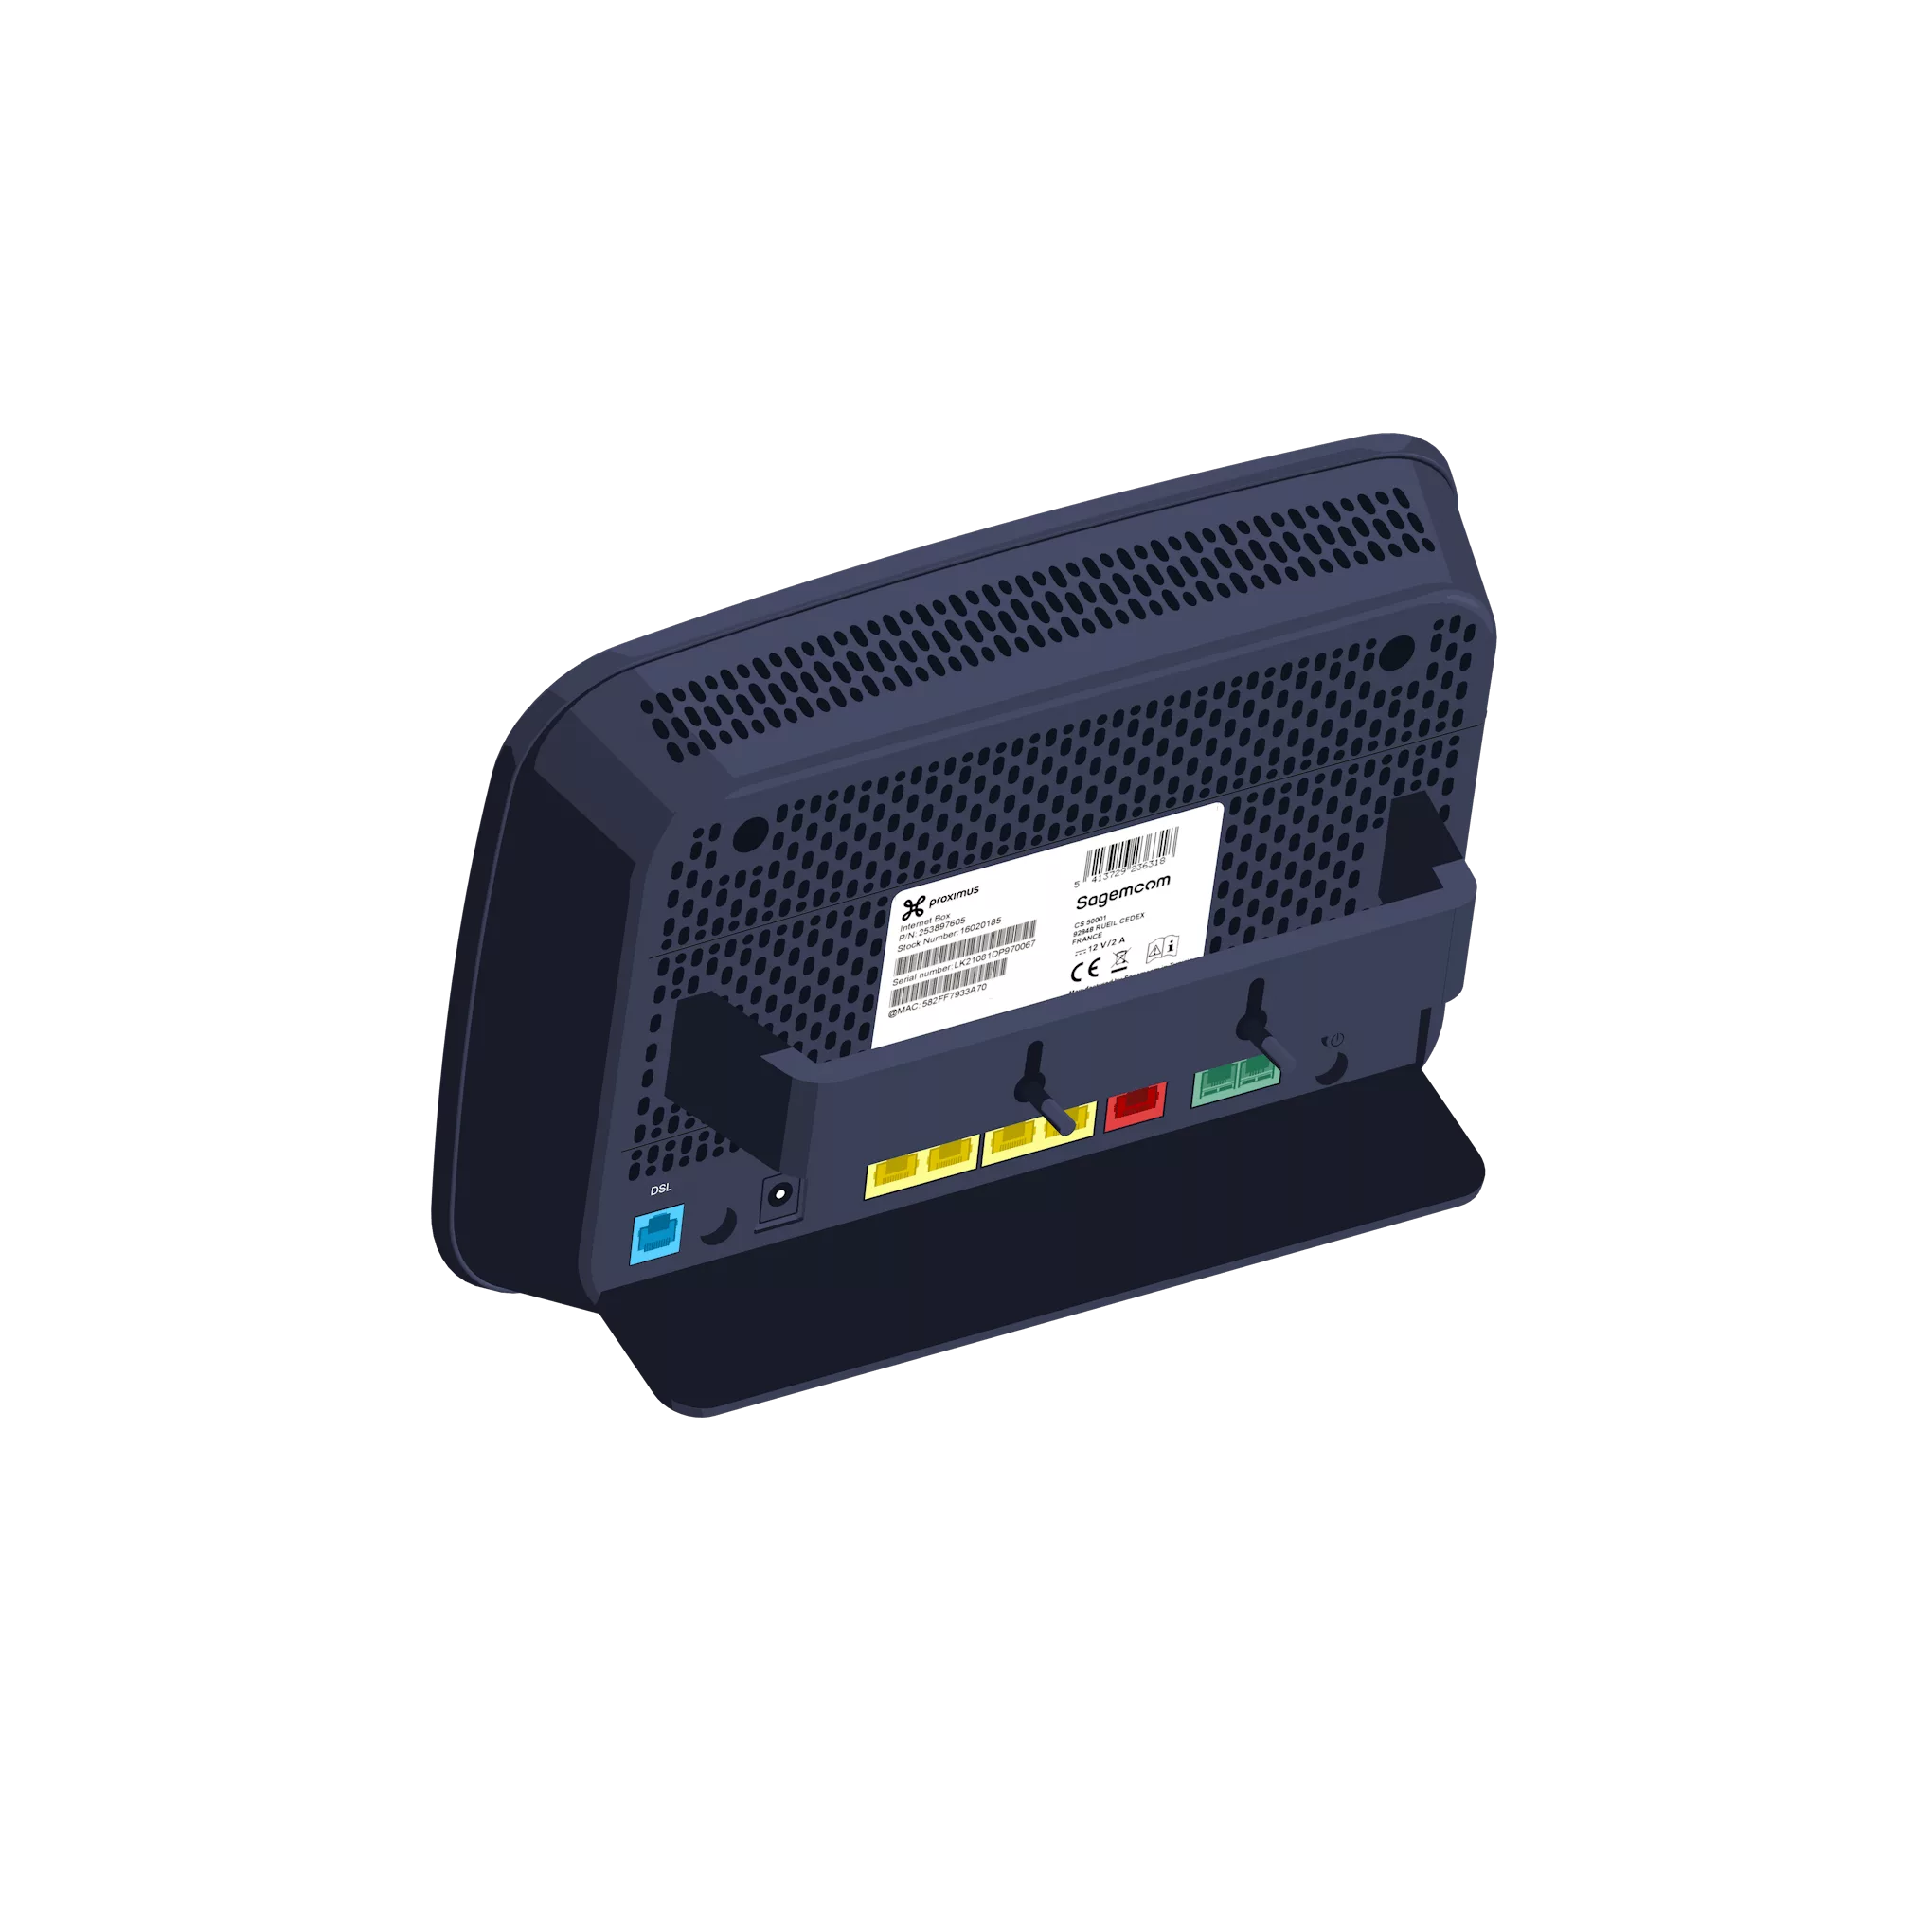 This wall mount is available free of charge via our customer service team on 0800 55 800.
-
- Change the Ethernet cable on the fiber modem from the yellow GE1 port to the GE2 port.
- Switch the Internet Box off and on again.
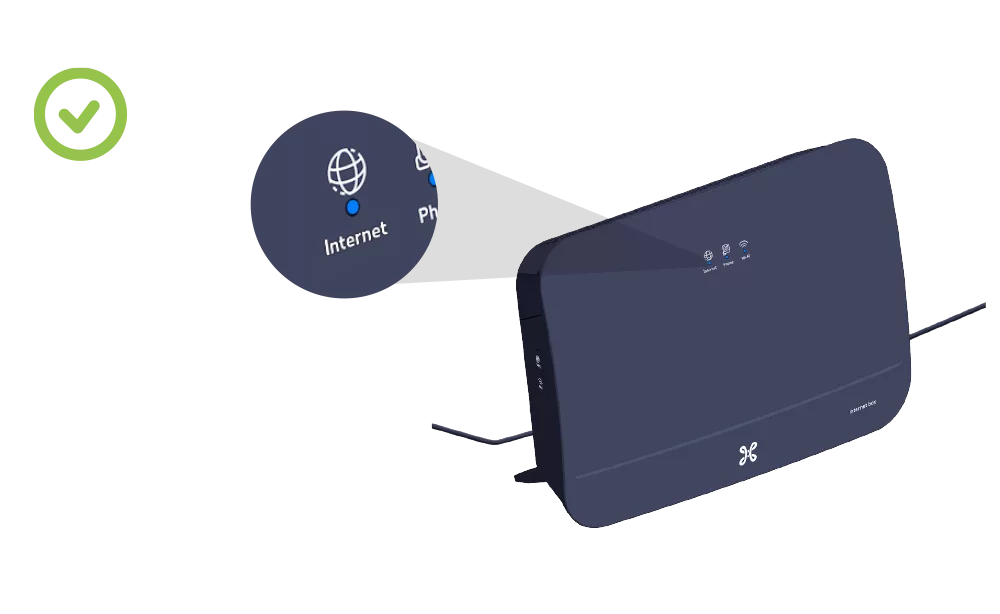
- The blue ‘Internet’ indicator light on the front will turn on. Proceed to step 4.
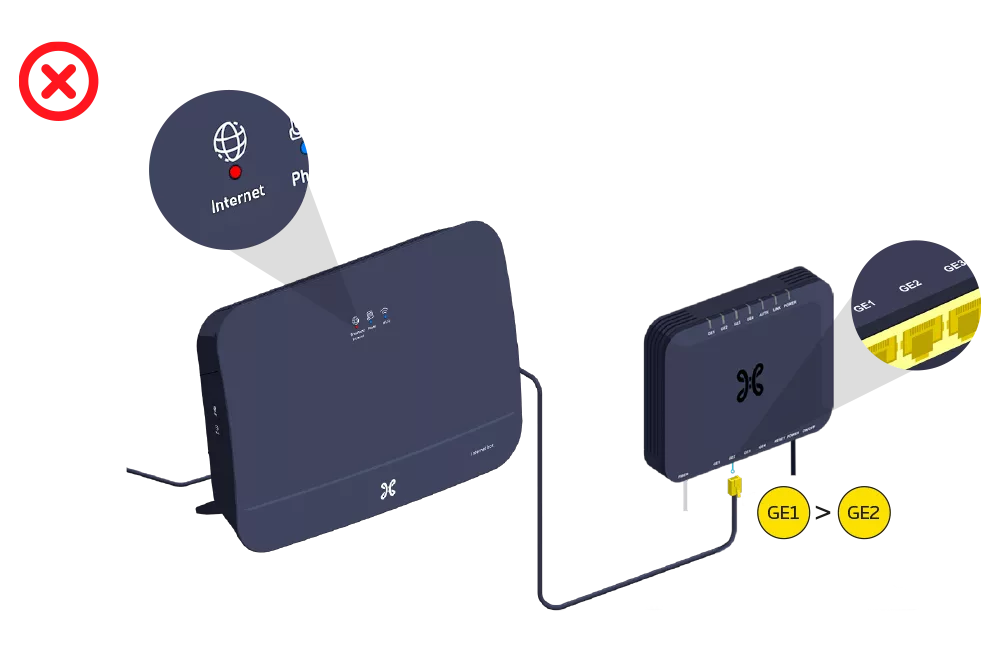
 If the Internet indicator light on the Internet Box remains red, repeat the procedure using a different port (GE3 or GE4) until the Internet indicator light turns blue.
Internet Box configuration and automatic updates

-
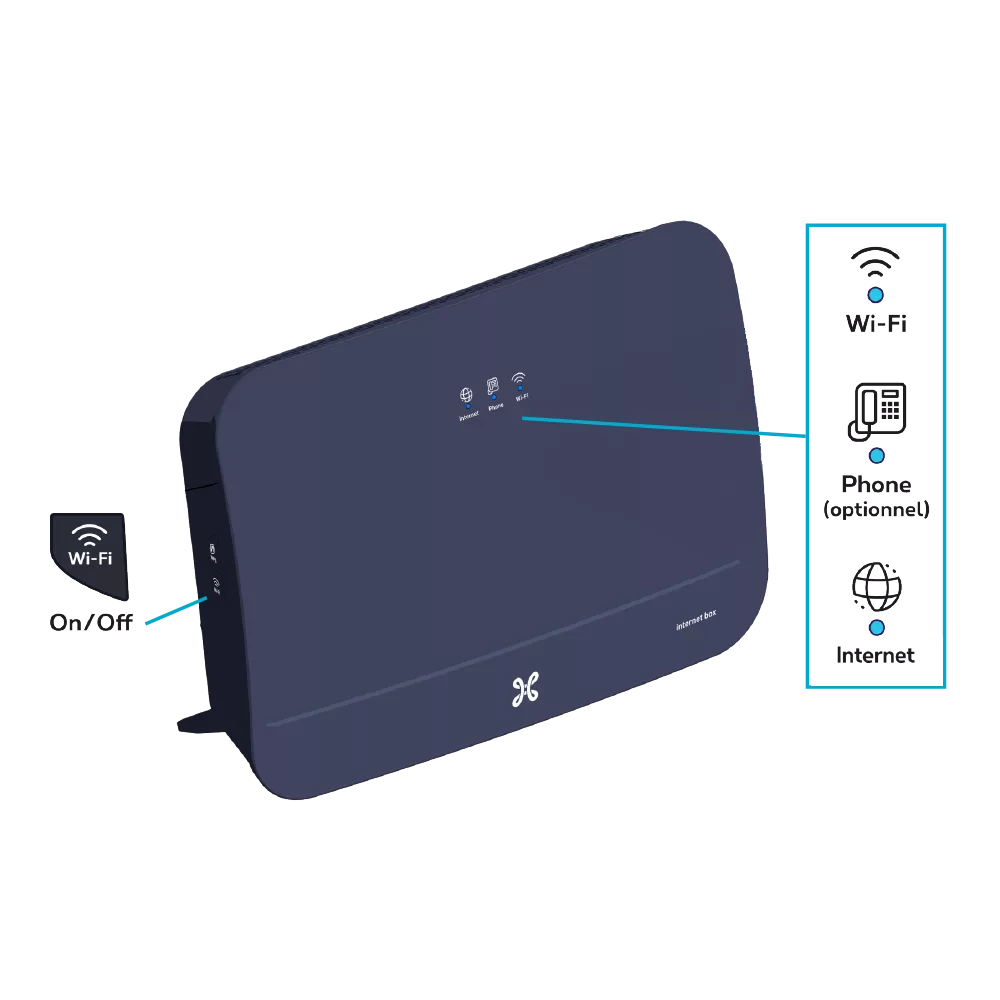
Solid blue: there is an Internet connection.
Off: the Internet Box is switched off.
Red: there is a fault. Please restart the Internet Box. Alternatively, plug the cable into another port on the Internet Box and restart it using the POWER (OFF/ON) button.

Solid blue: the telephone service is configured correctly.
Blinking white: the telephone service is temporarily unavailable.
Blinking turquoise: the handset is off the hook.
Solid turquoise: a call is in progress.
Off: no telephone service is configured on the Internet Box.
Red: the telephone service is not working properly. Please restart the Internet Box.
Solid blue: Wi-Fi connectivity is established.
Blinking white: indicates that WPS synchronisation is possible with another WPS-enabled Wi-Fi device (max. 2 minutes).
Solid white: the WPS configuration was successful.
Off: Wi-Fi is off.
Red: Wi-Fi is not working properly. Please restart the Internet Box.