Menu
View all guides

Internet Box

Installation Guide
Step 1

Before you begin

My Internet Box
Select the type of Internet Box you wish to install.
Installation type
Check which type of installation you have at home. It may consist of a single 5-pole socket, a DSL connection socket or a fibre-optic connection.
My Fiber Modem

Required components for the installation

The model of the devices/accessories may differ from the illustrations. If you have received this product as part of an exchange or following installation by a technician, you will already have the Internet Box or the accessories required for it to work. Do you need additional equipment for the installation (cables, etc.)? Visit a Proximus point-of-sale outlet.

Step 2

Connect the Internet Box to the Fiber modem
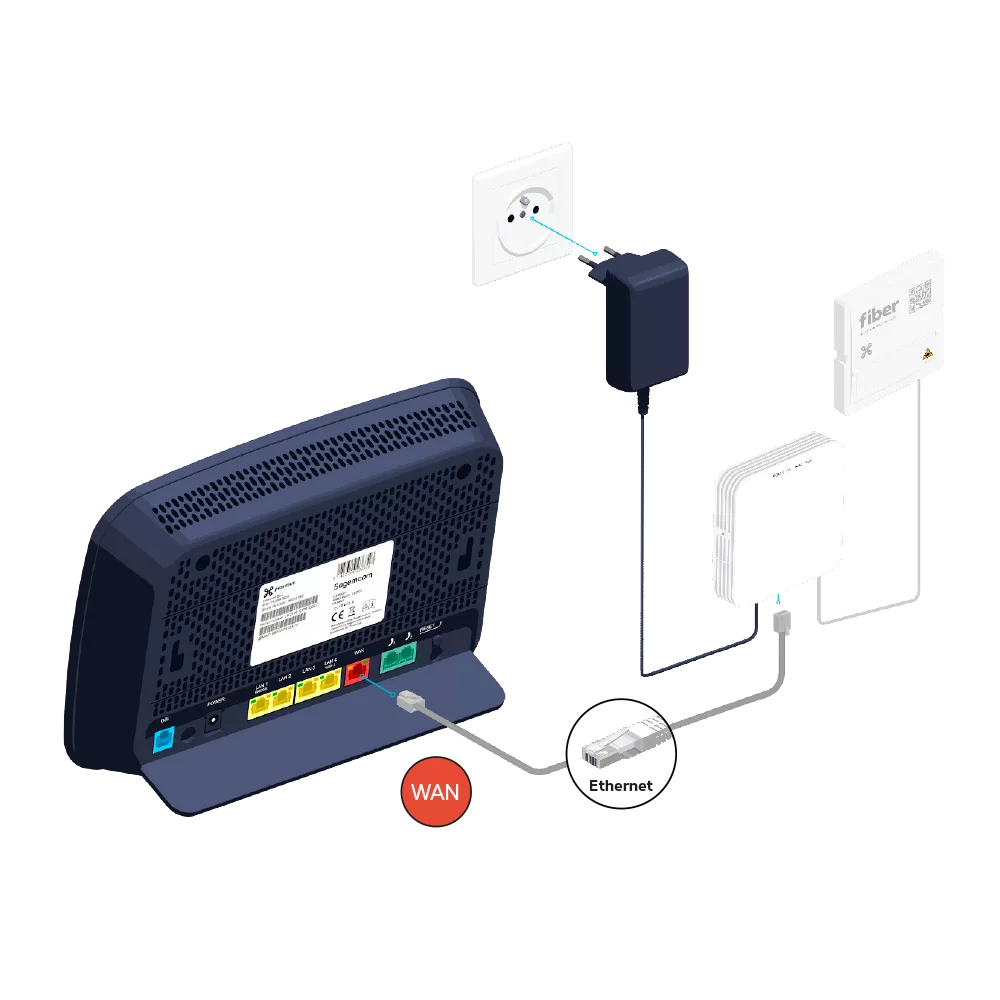
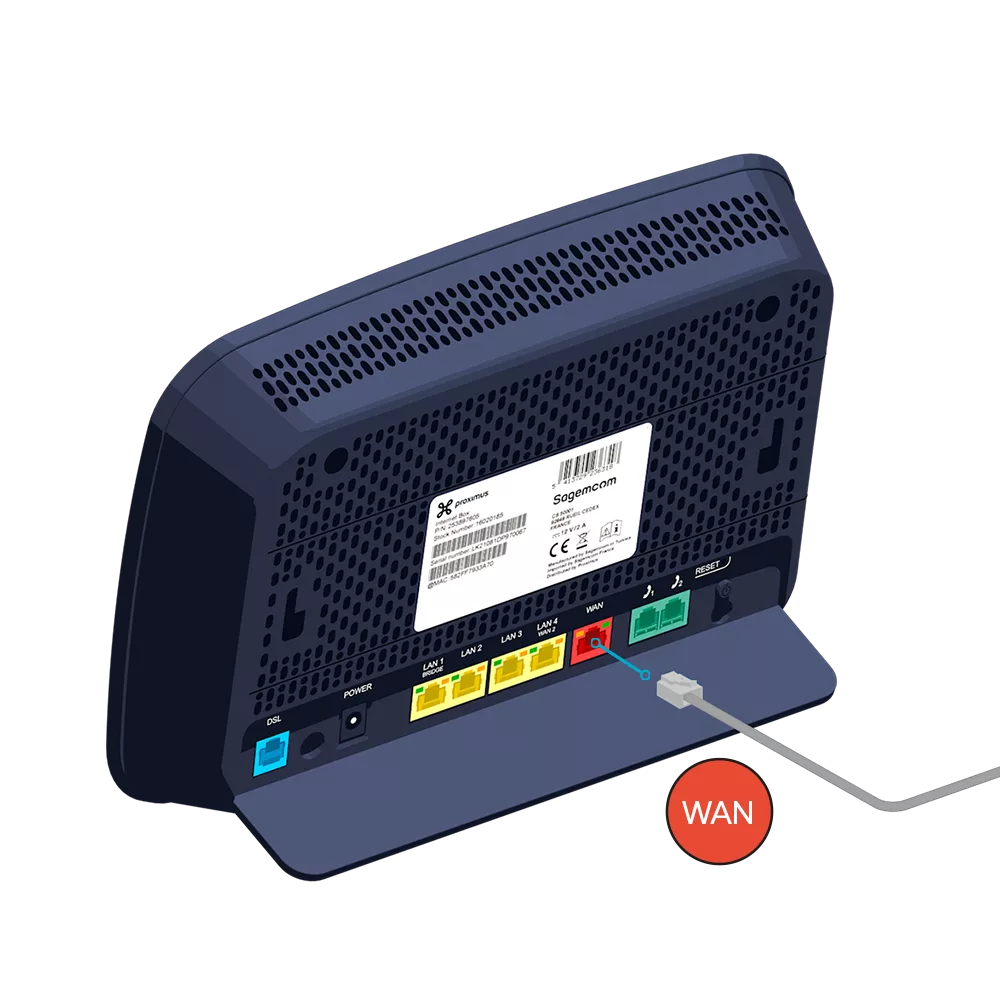
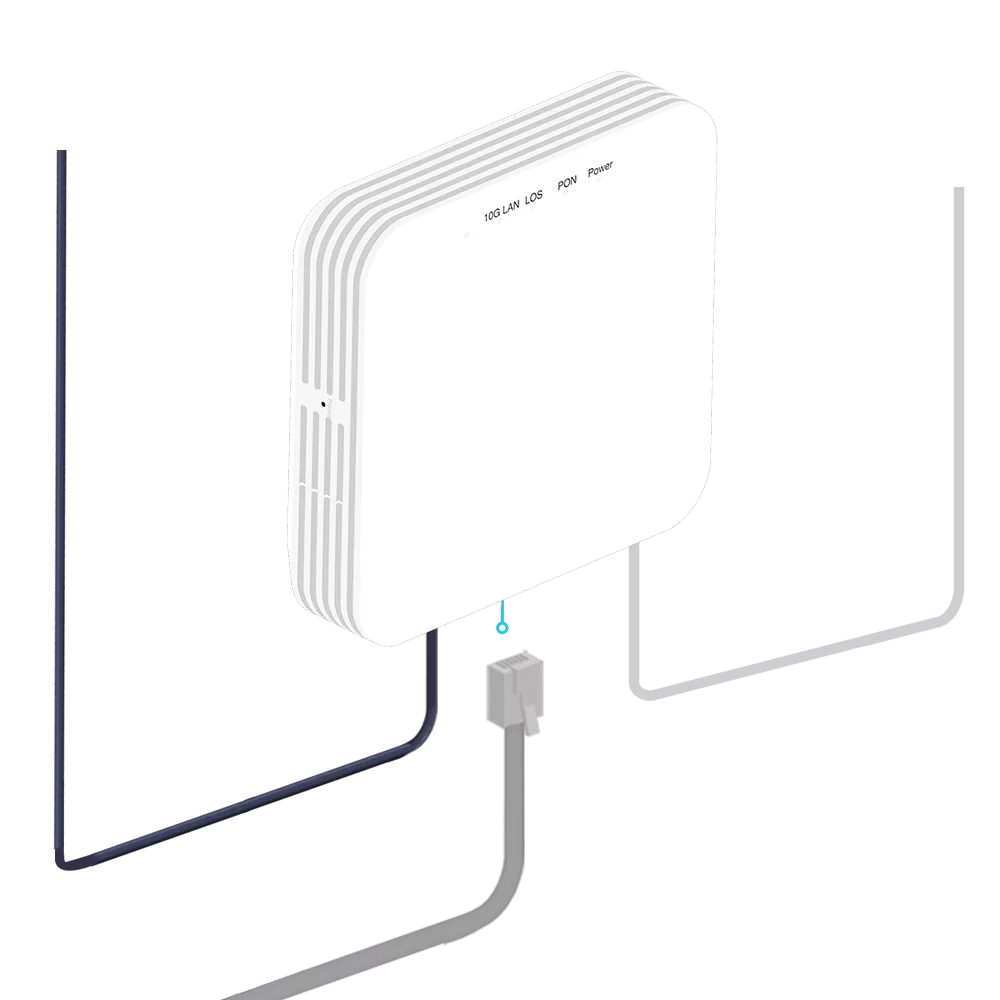
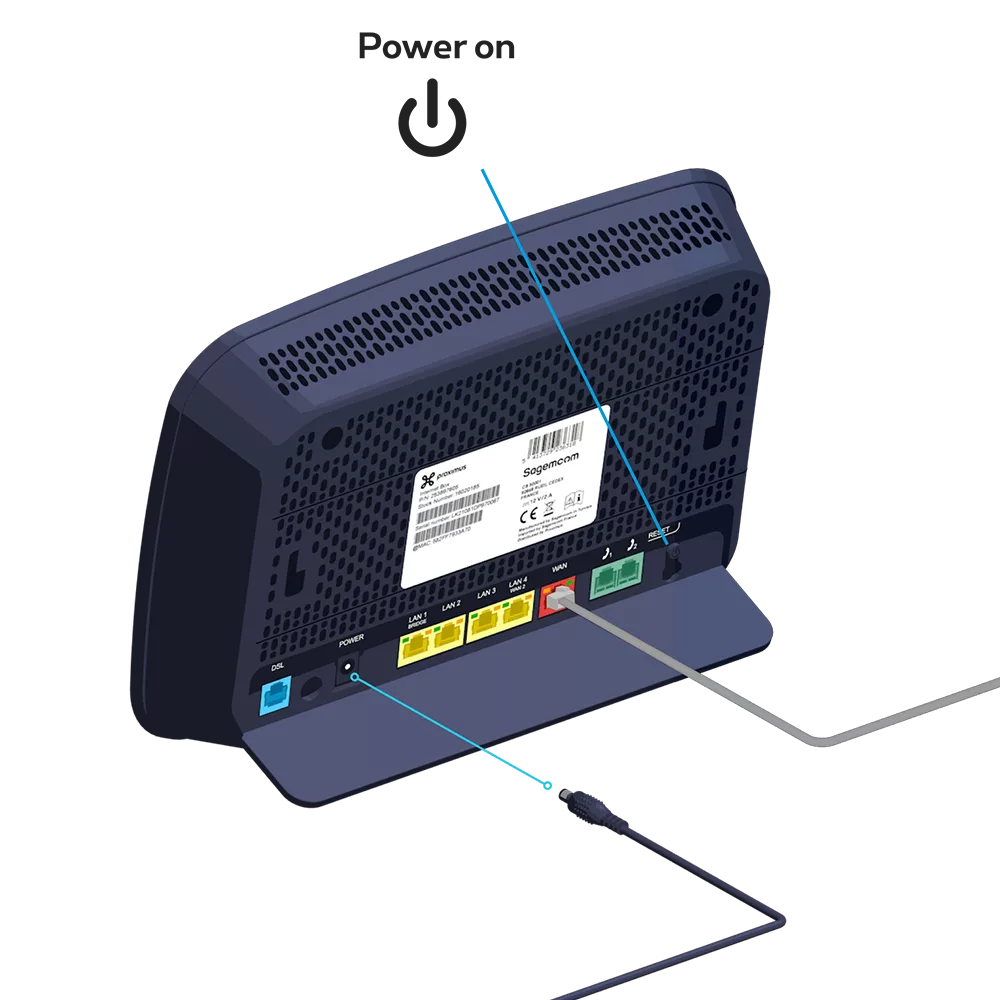
Use the grey Ethernet cable supplied with the fiber modem. Connect it to the red WAN port on the back of the Internet Box.
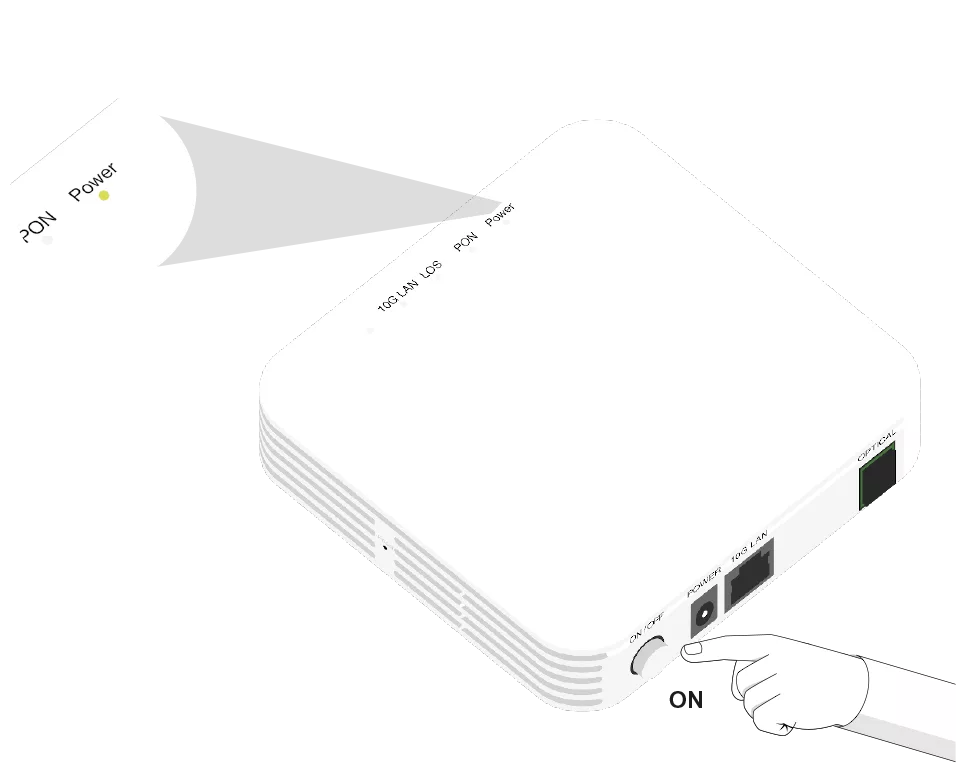
Check whether the Power indicator light is lit. If it isn’t, press the ON button to turn it on.

Step 3

Switch on the Internet Box

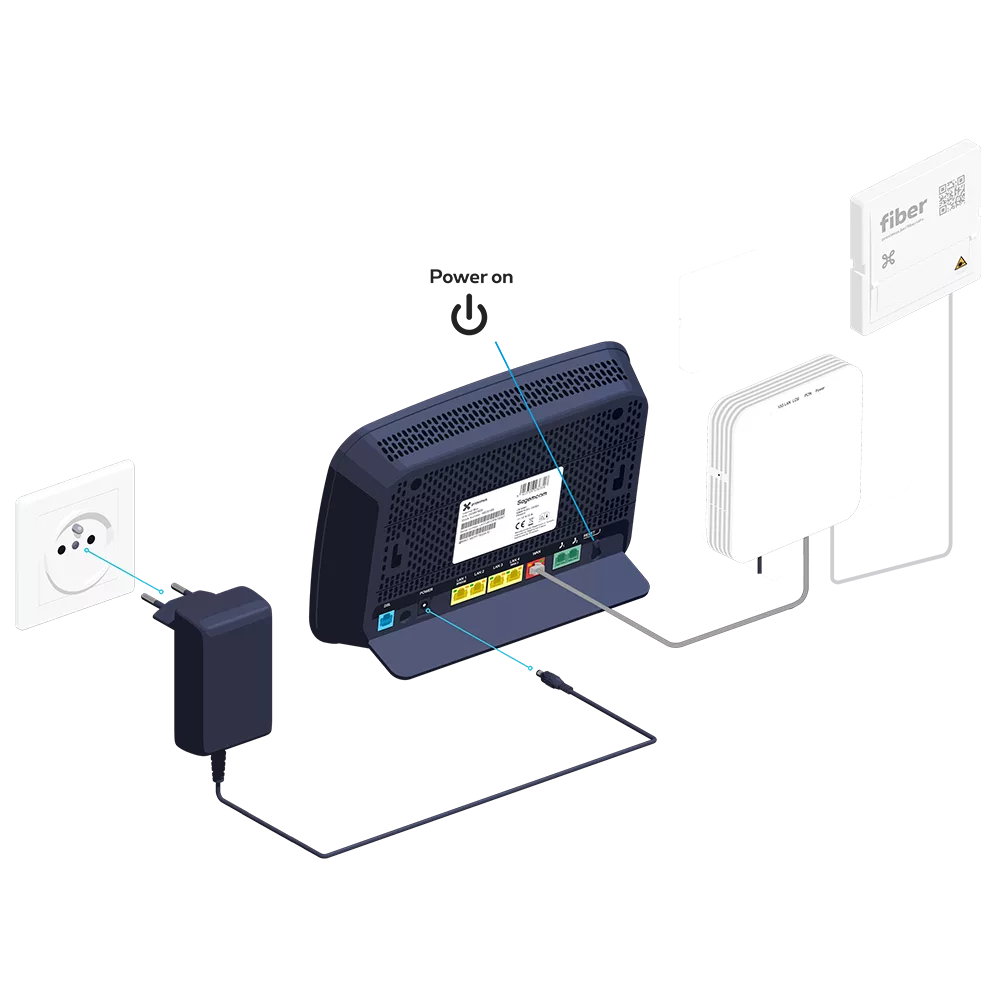
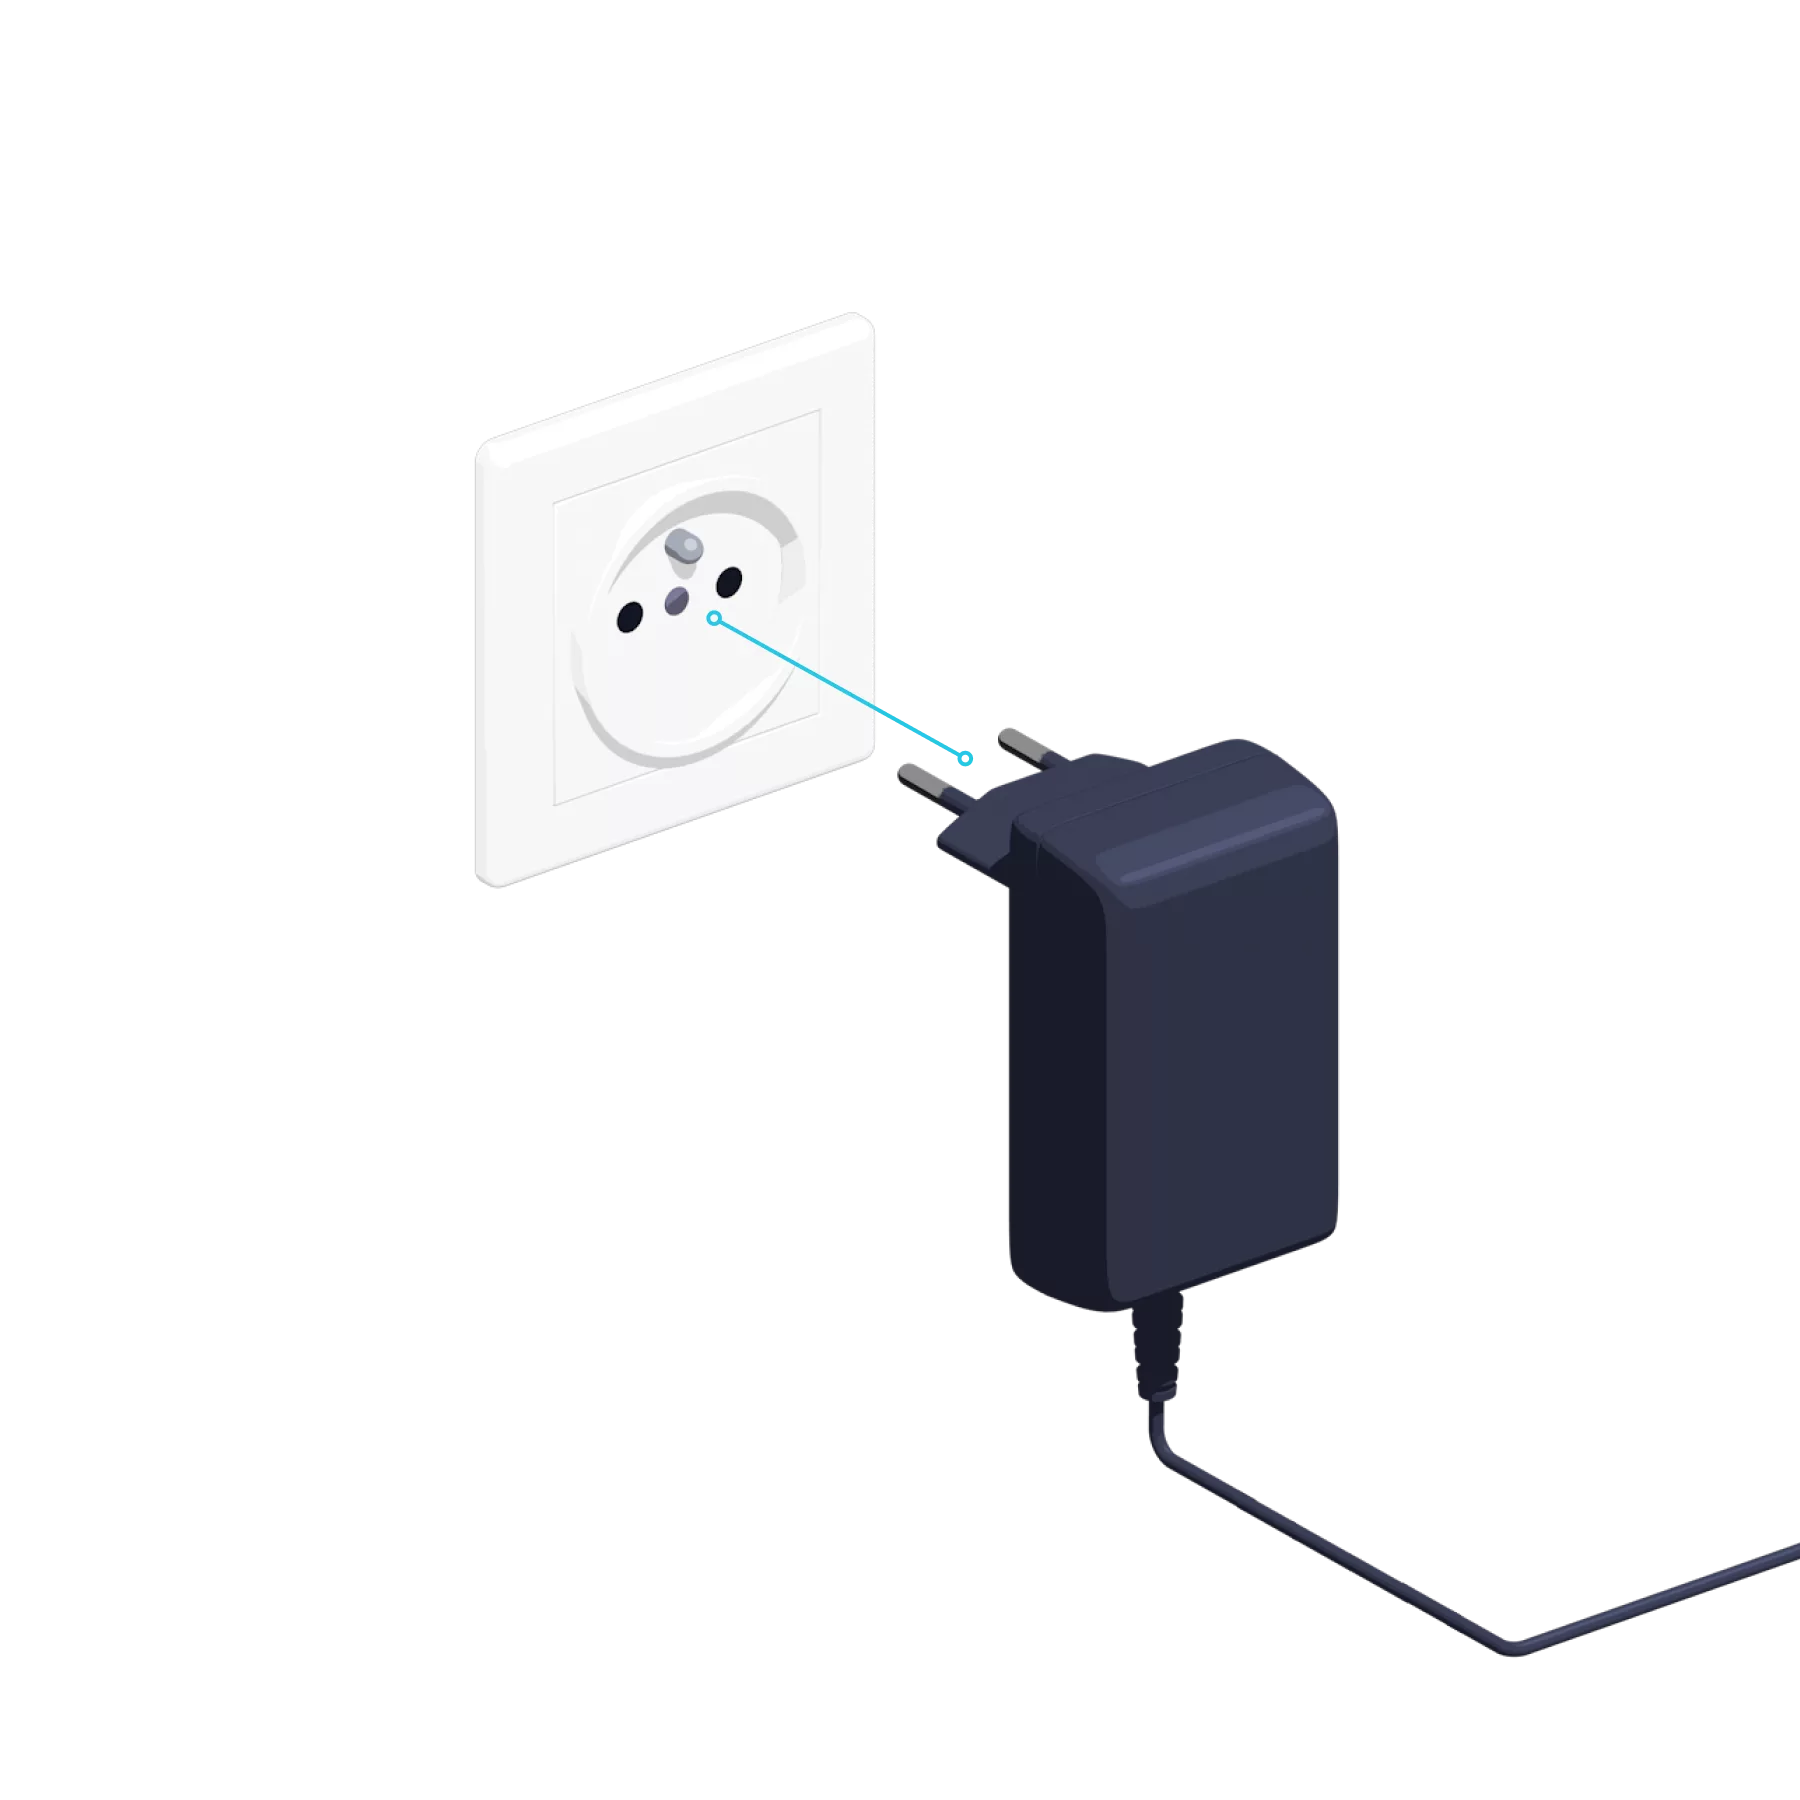
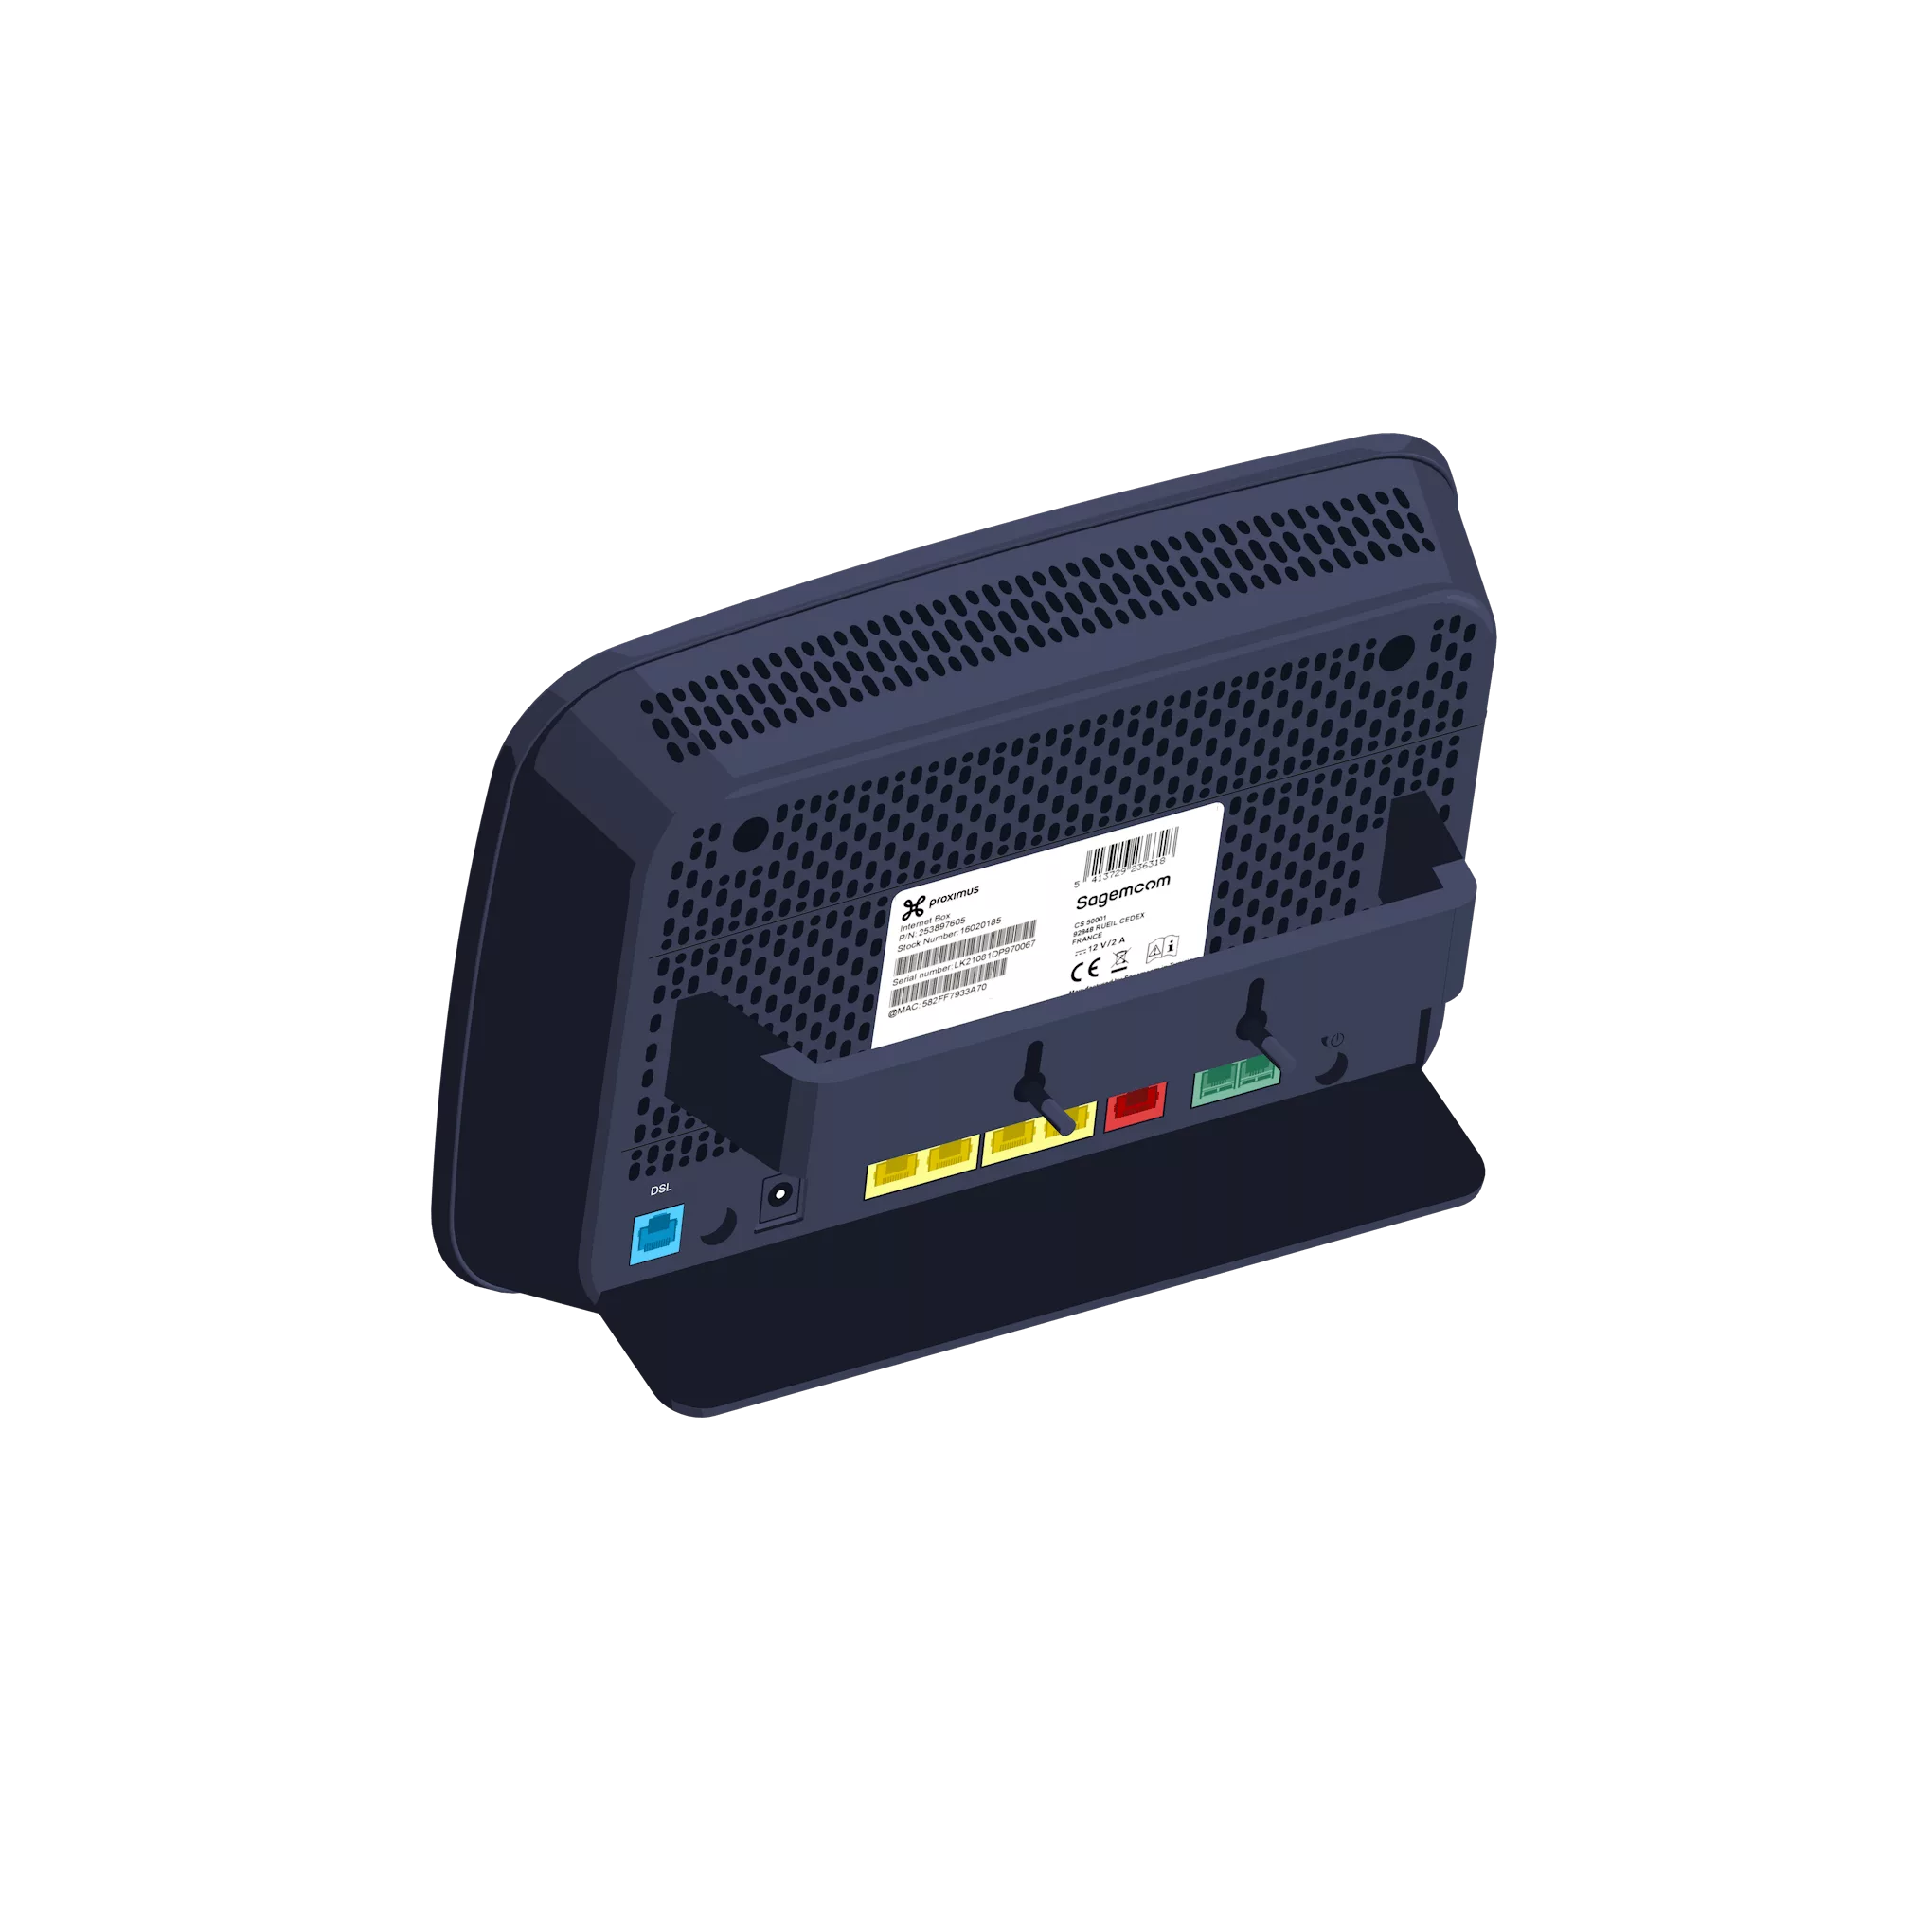
Connect the power cable to your Internet Box and to a power socket.
The switch is in the pressed-in position.
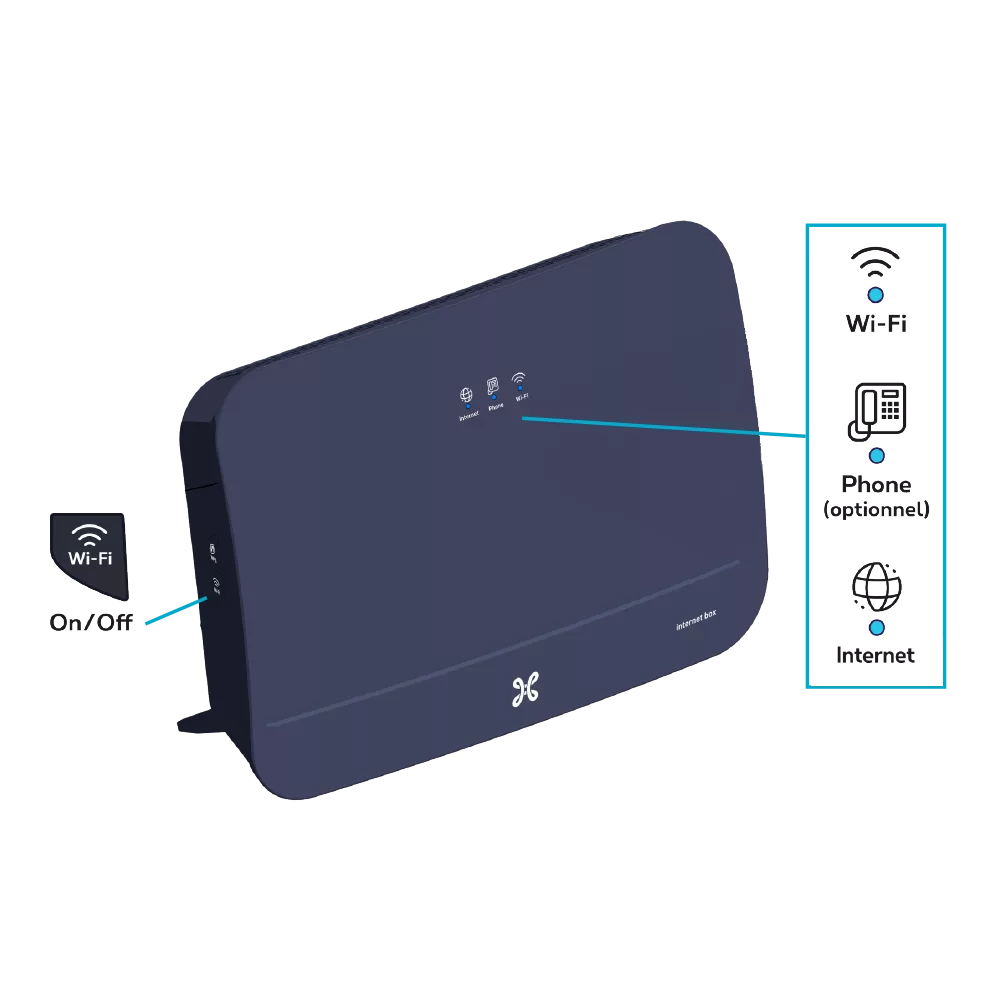
The blue Internet indicator light on the front turns on.
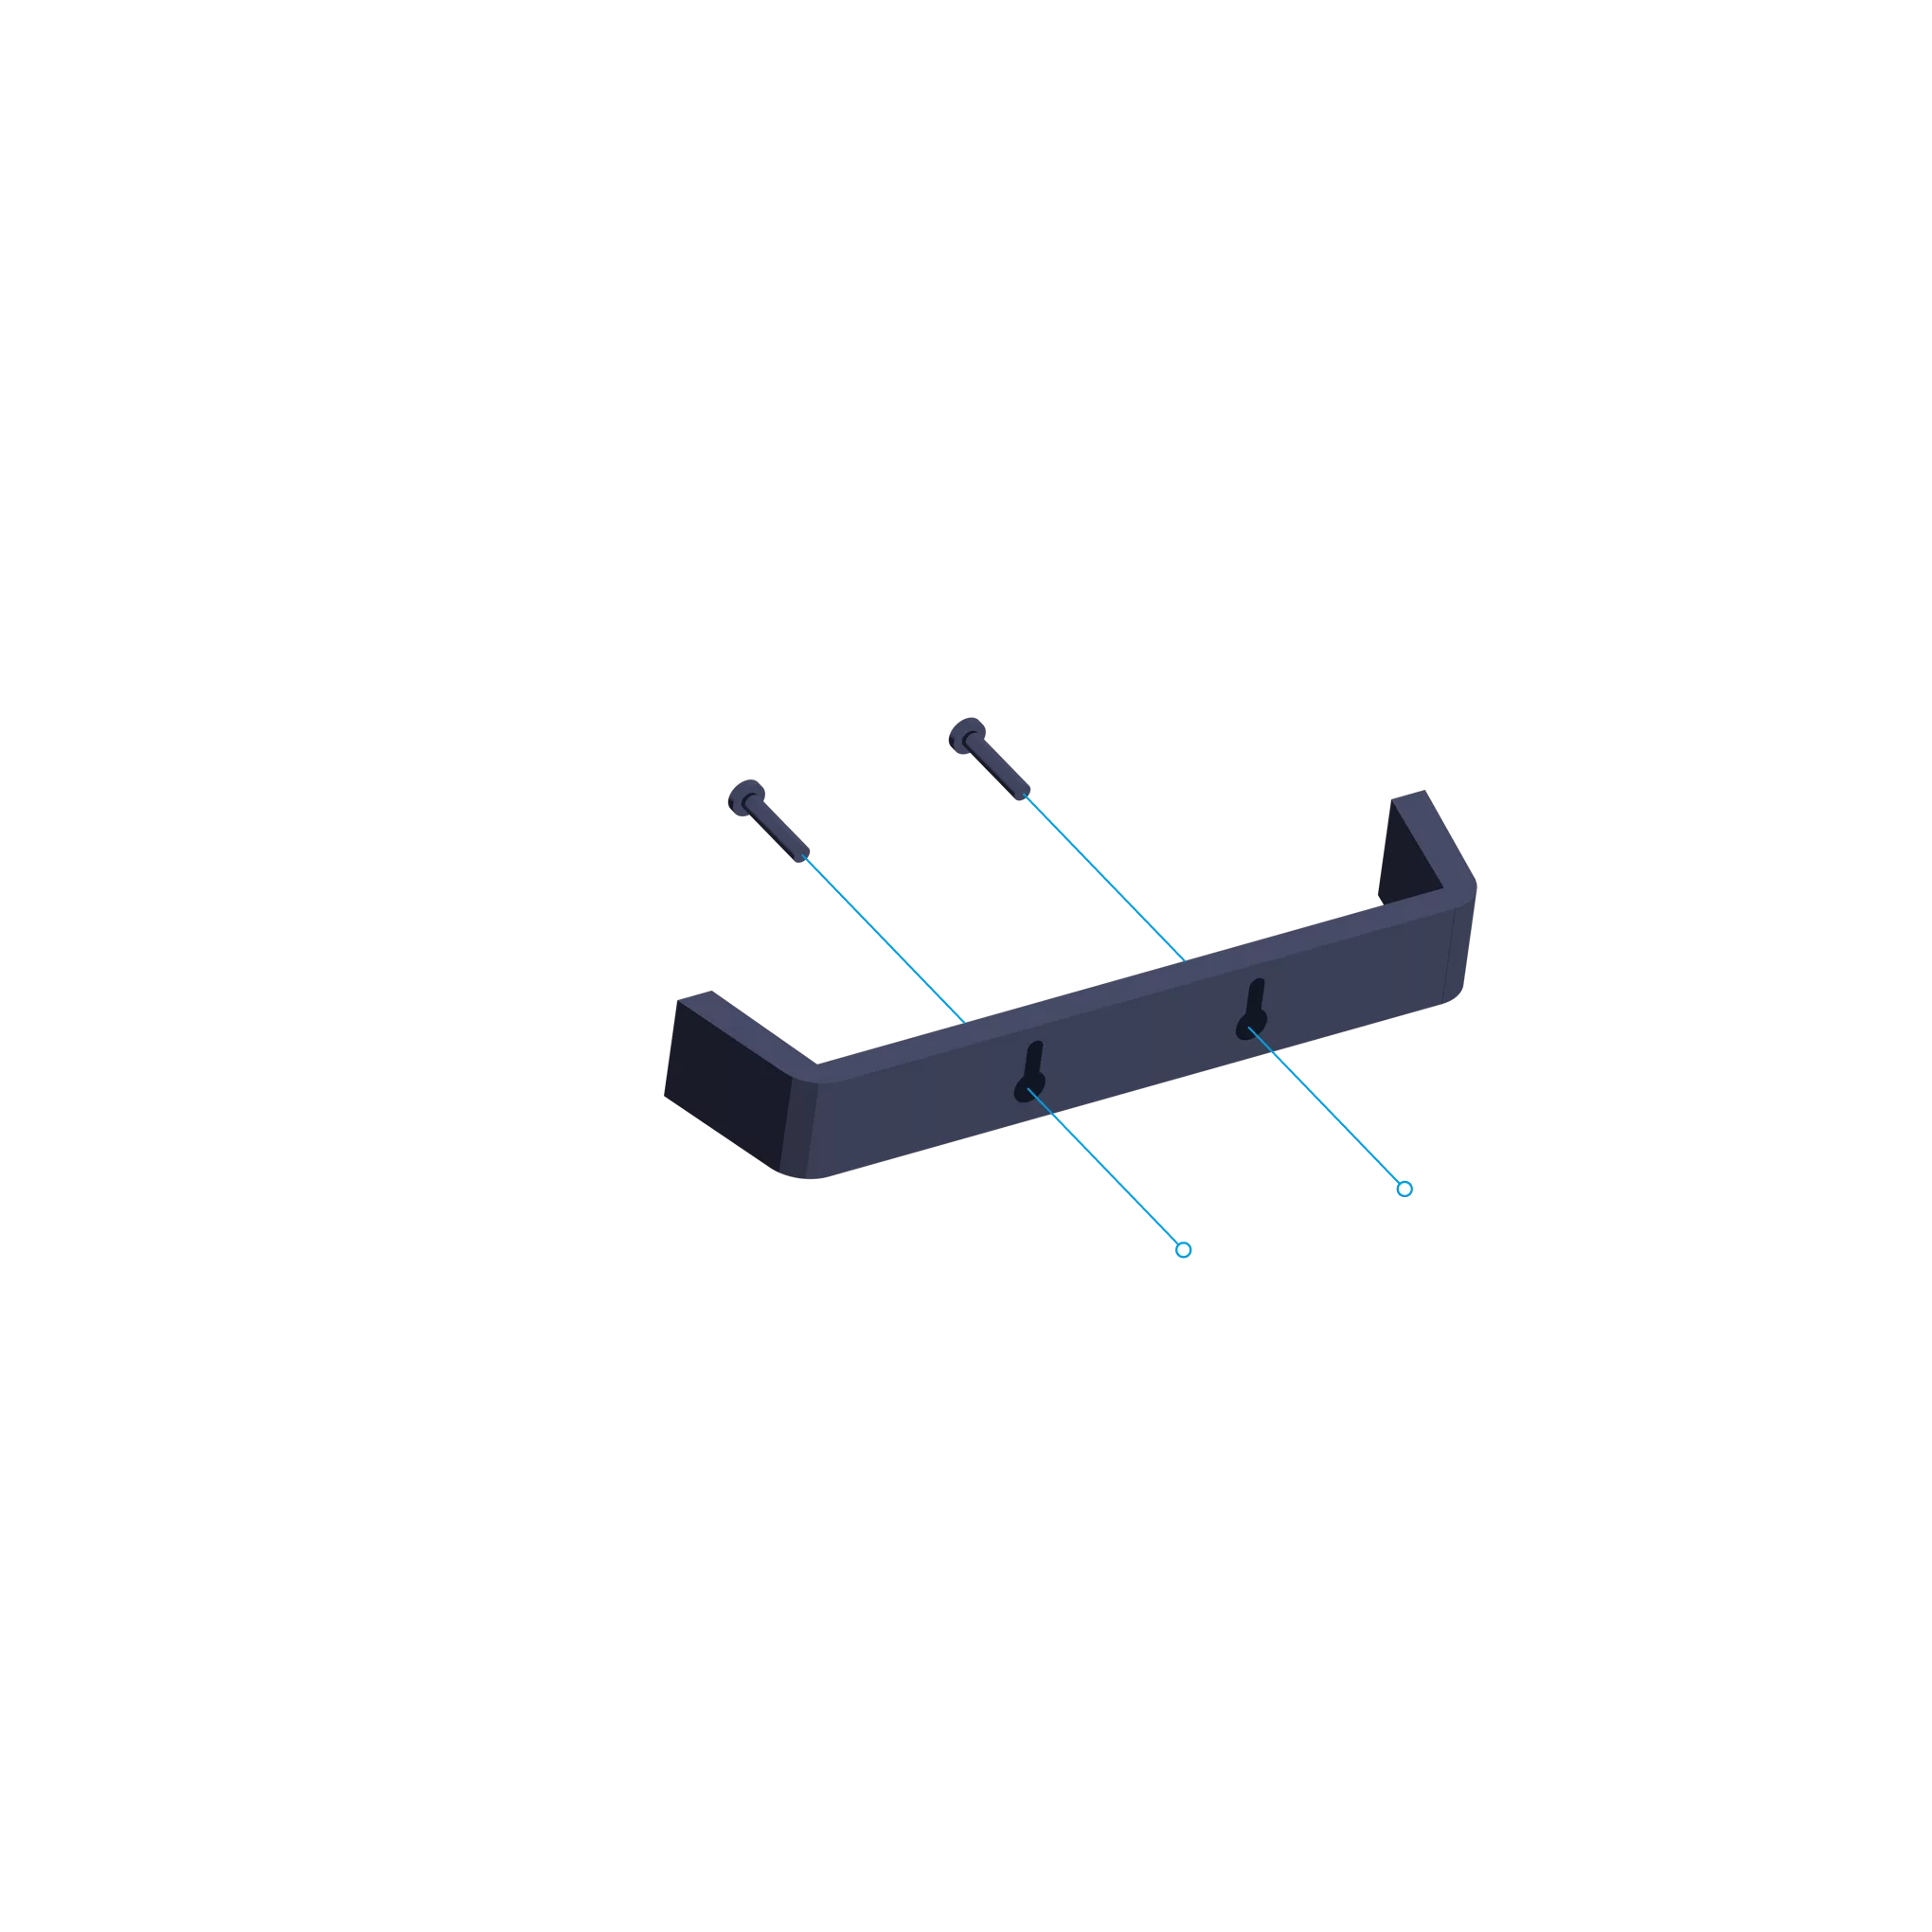
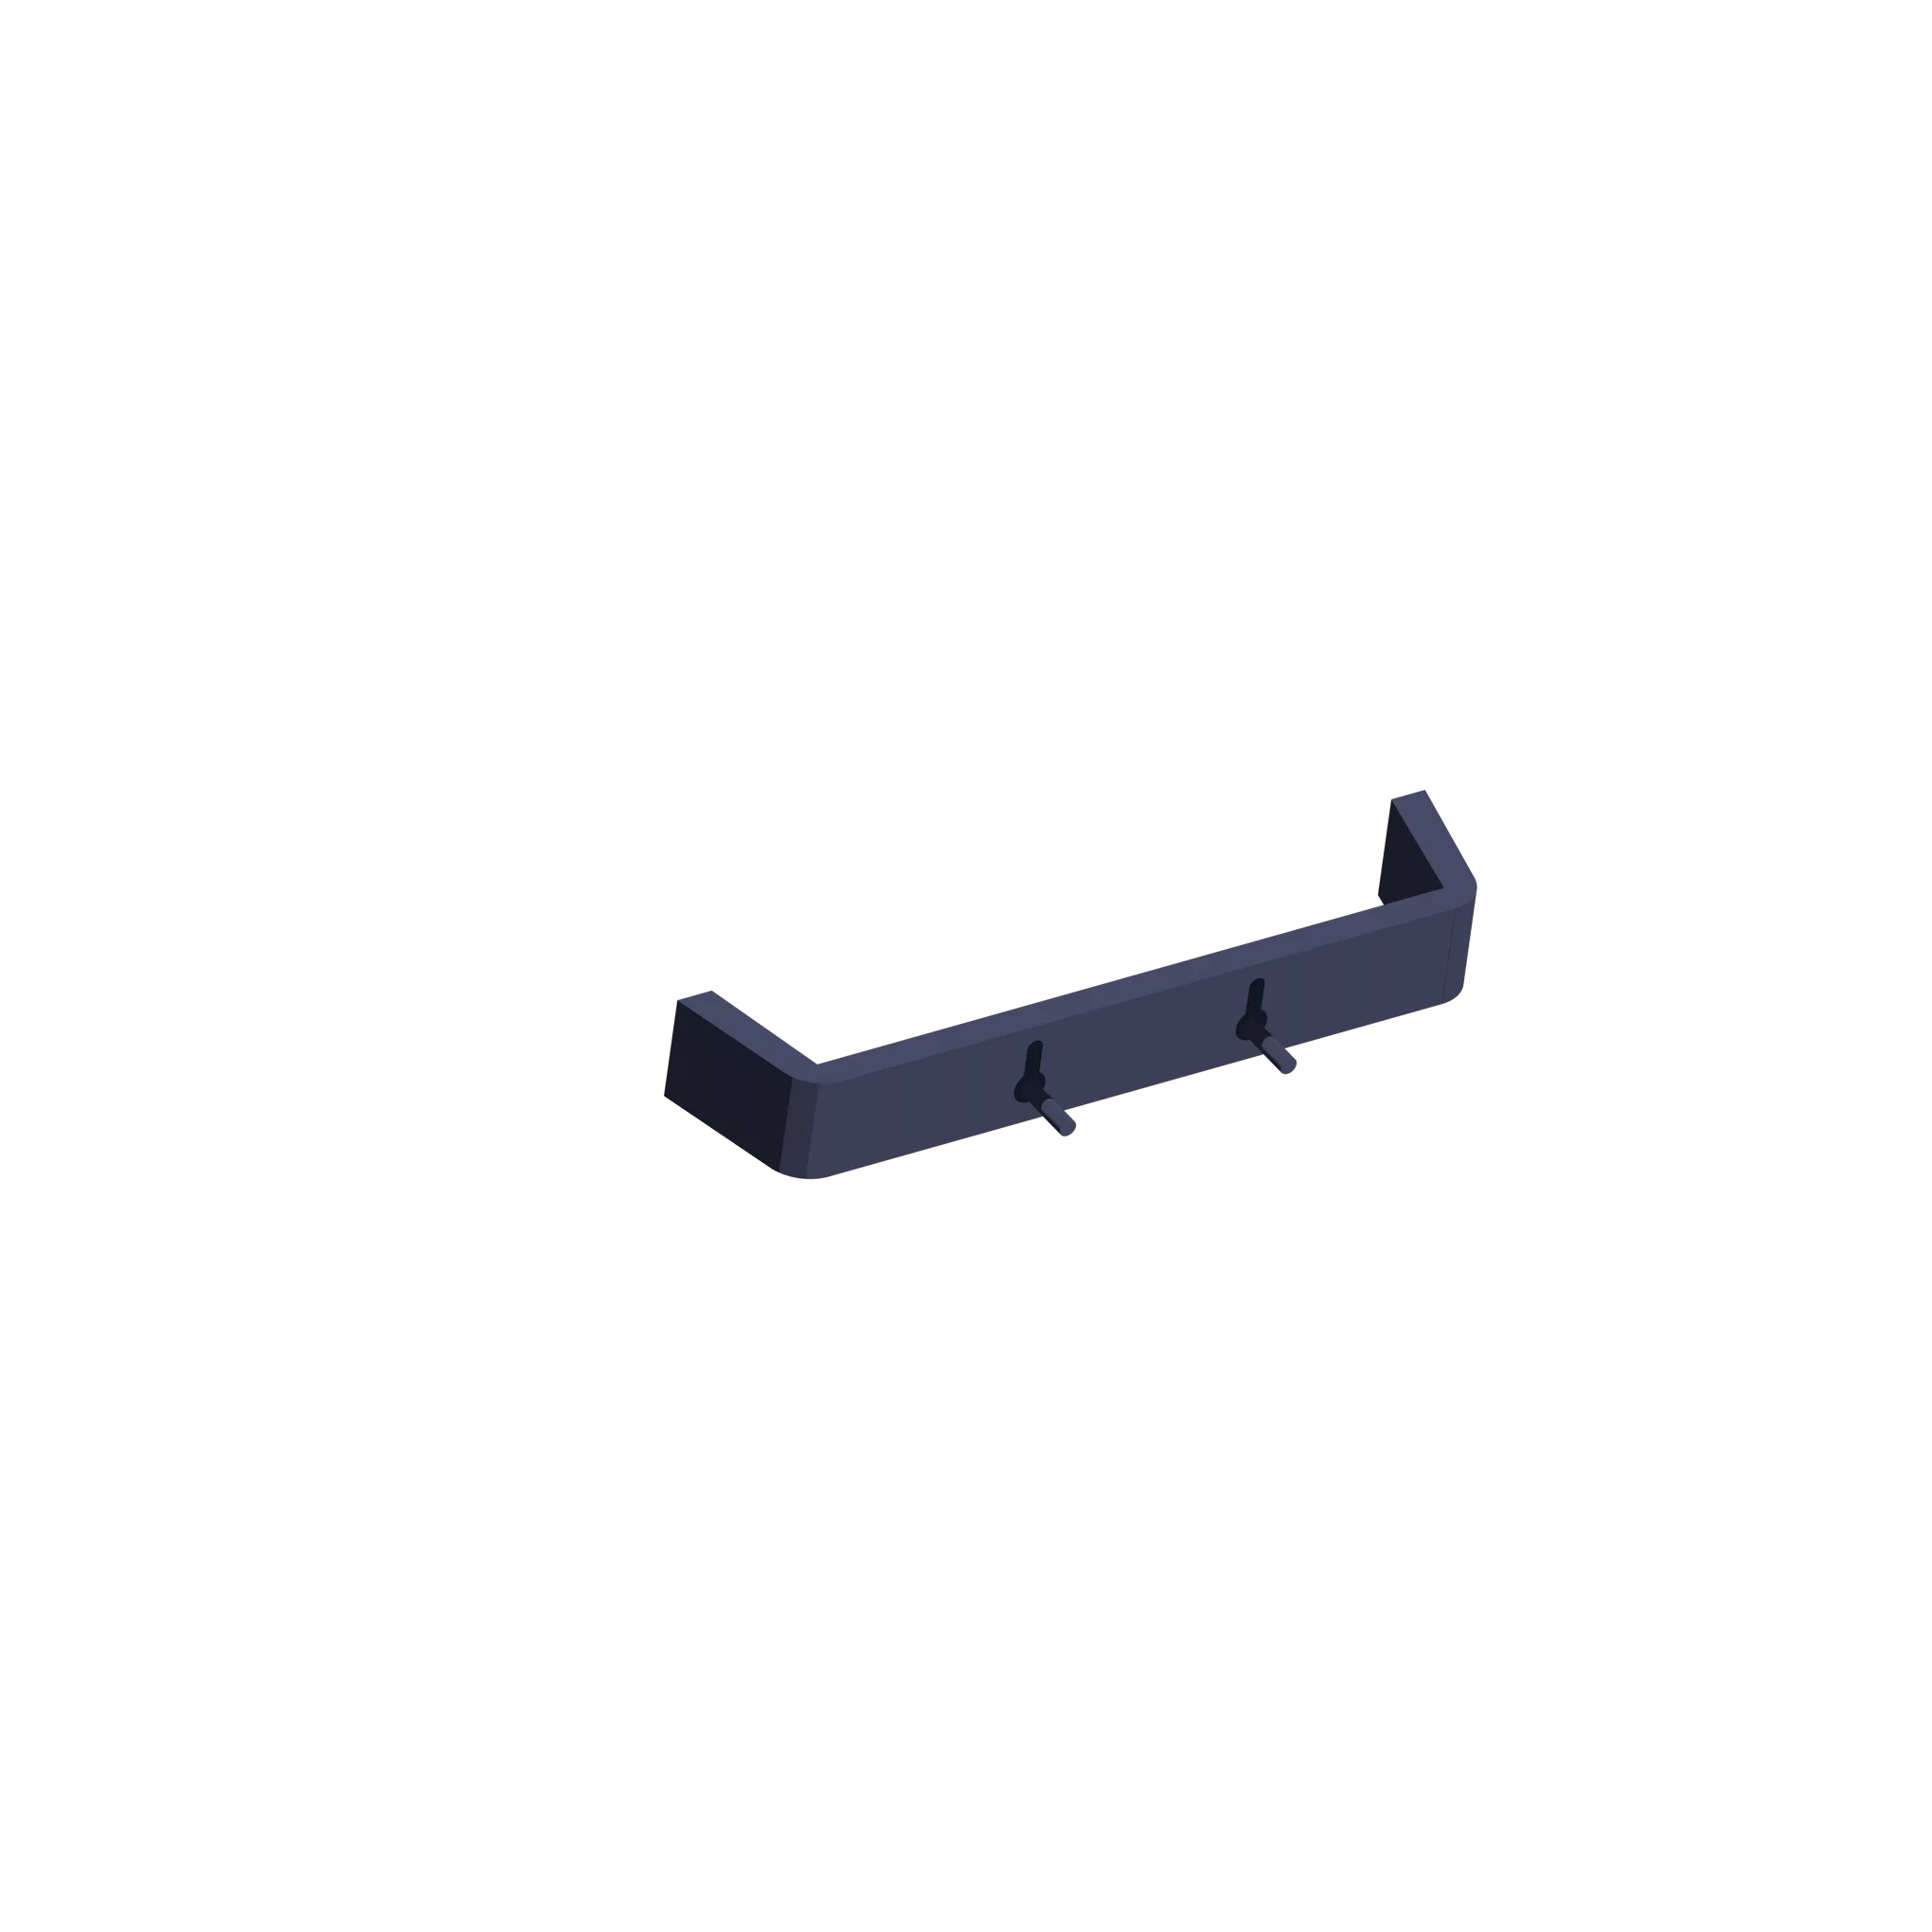
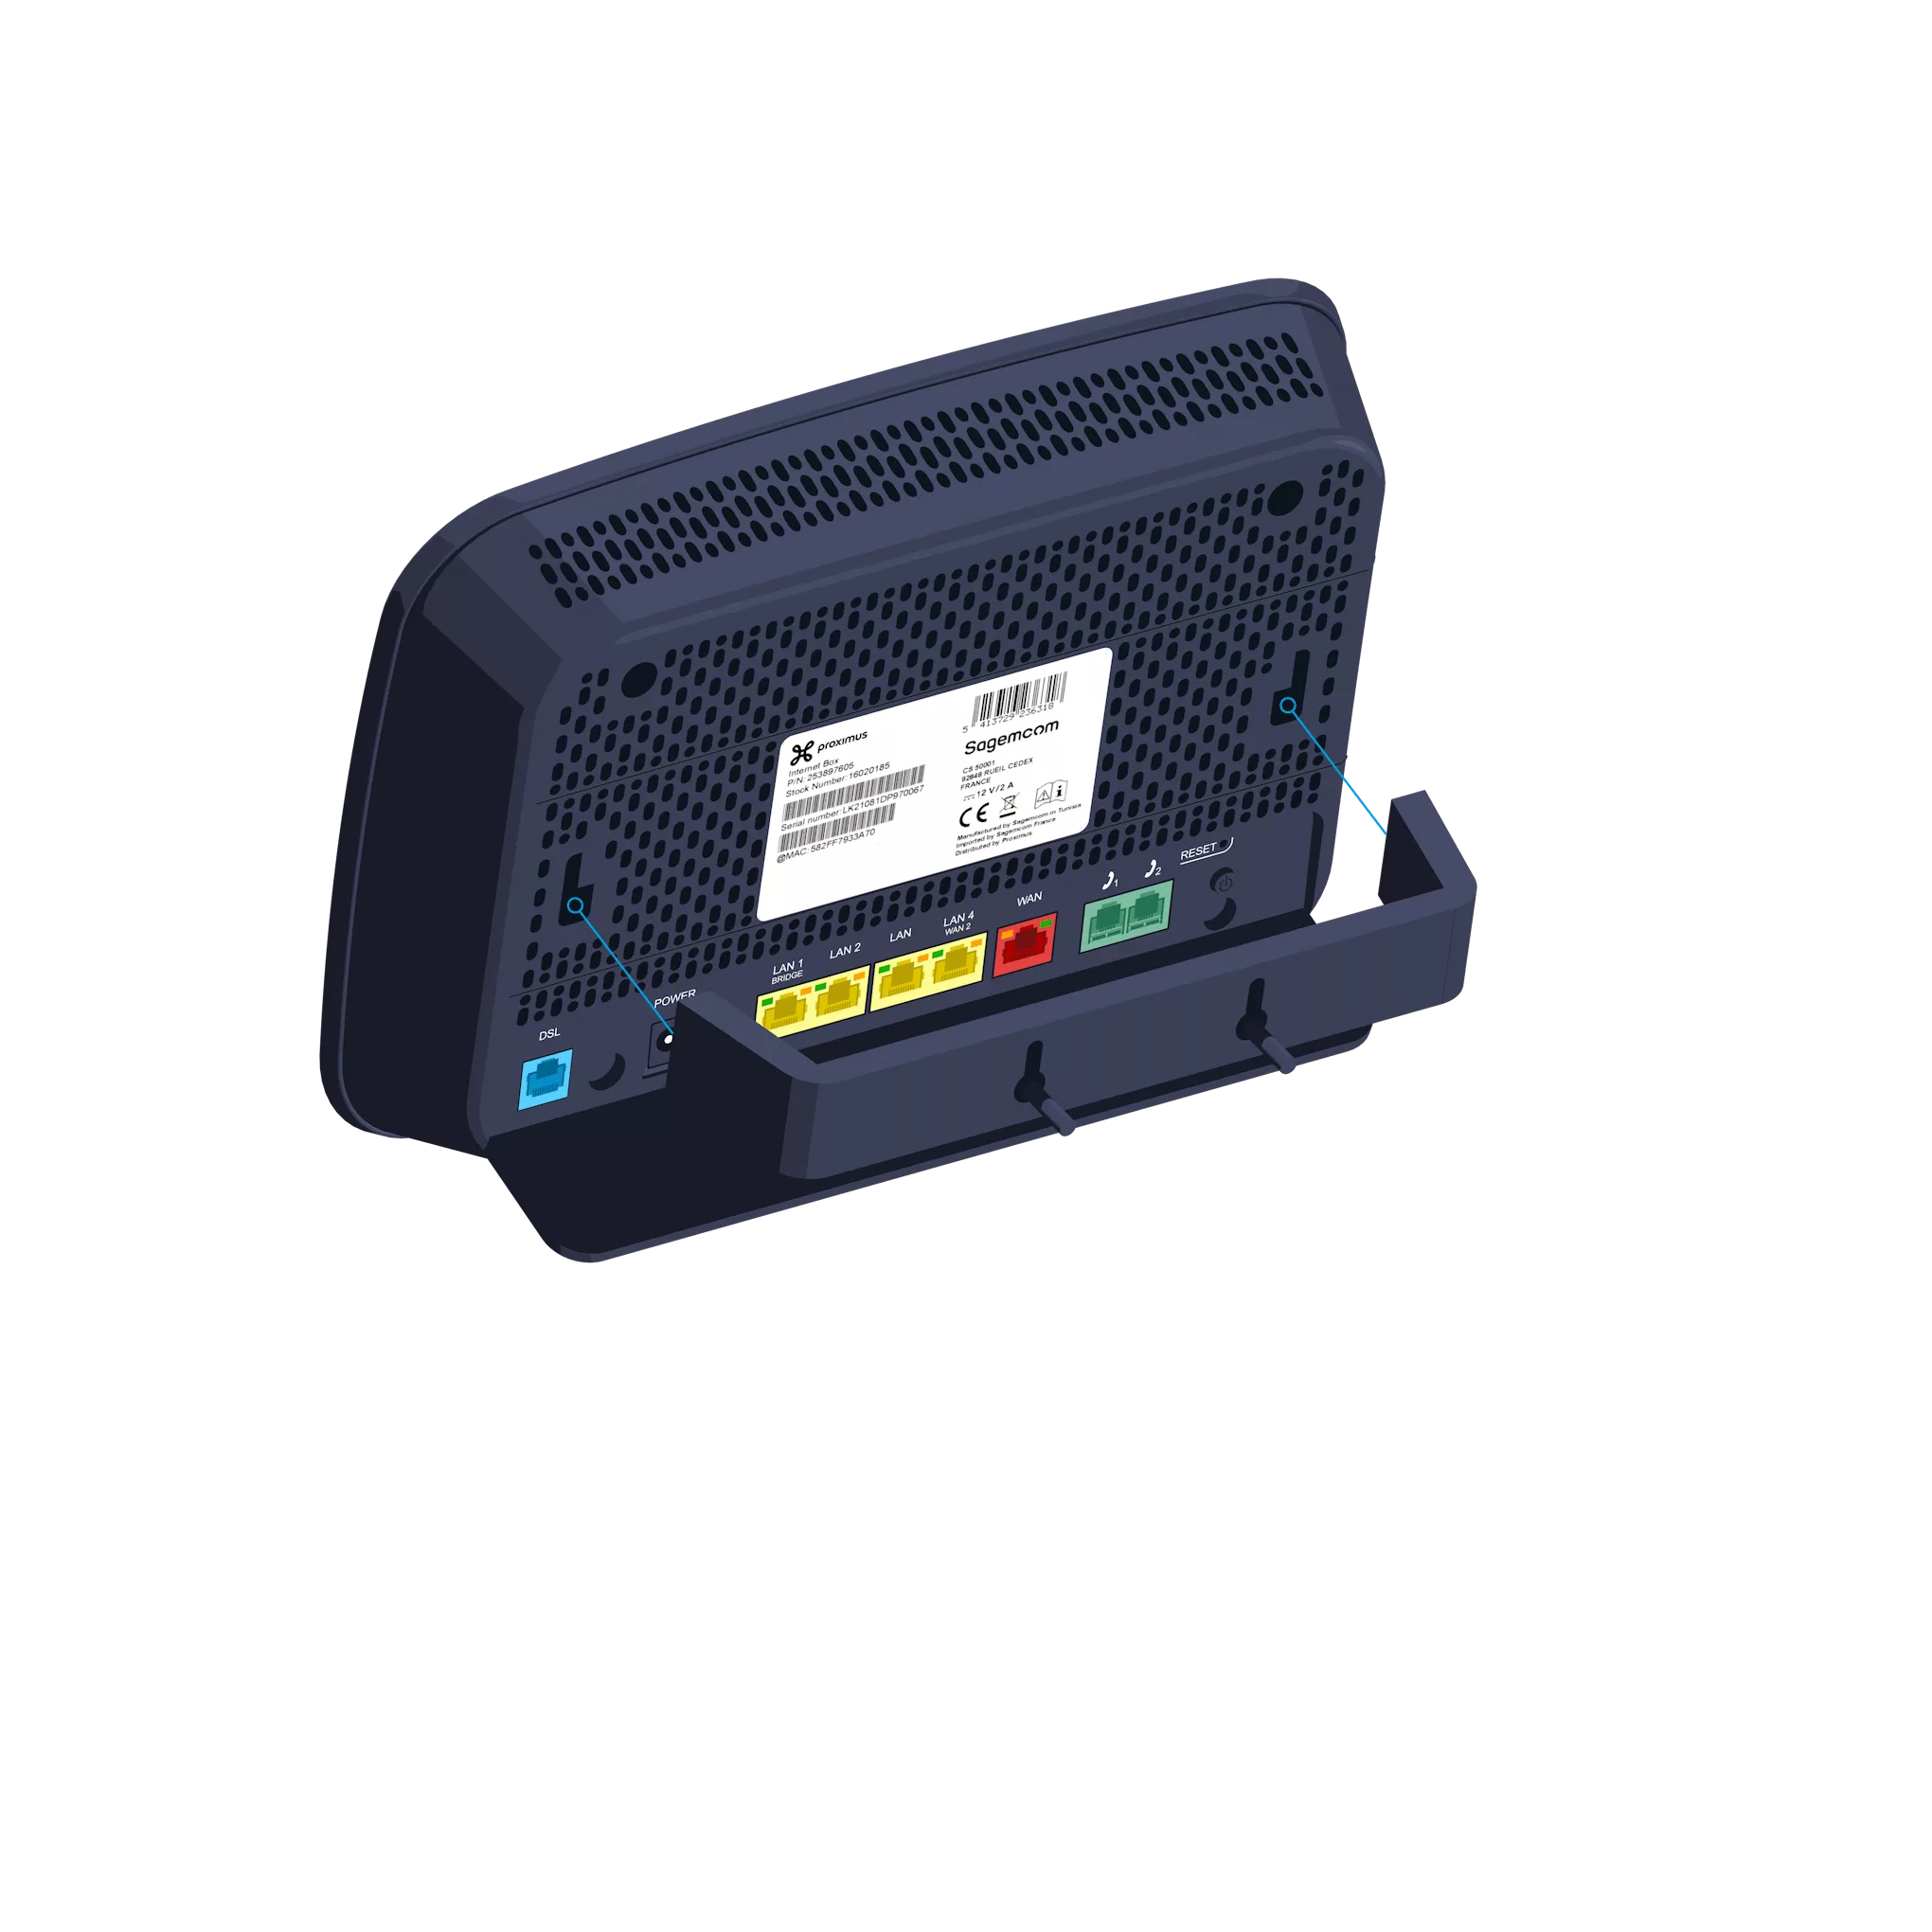
  • Screw the bracket to the wall.
  • Then attach the Internet Box to it.
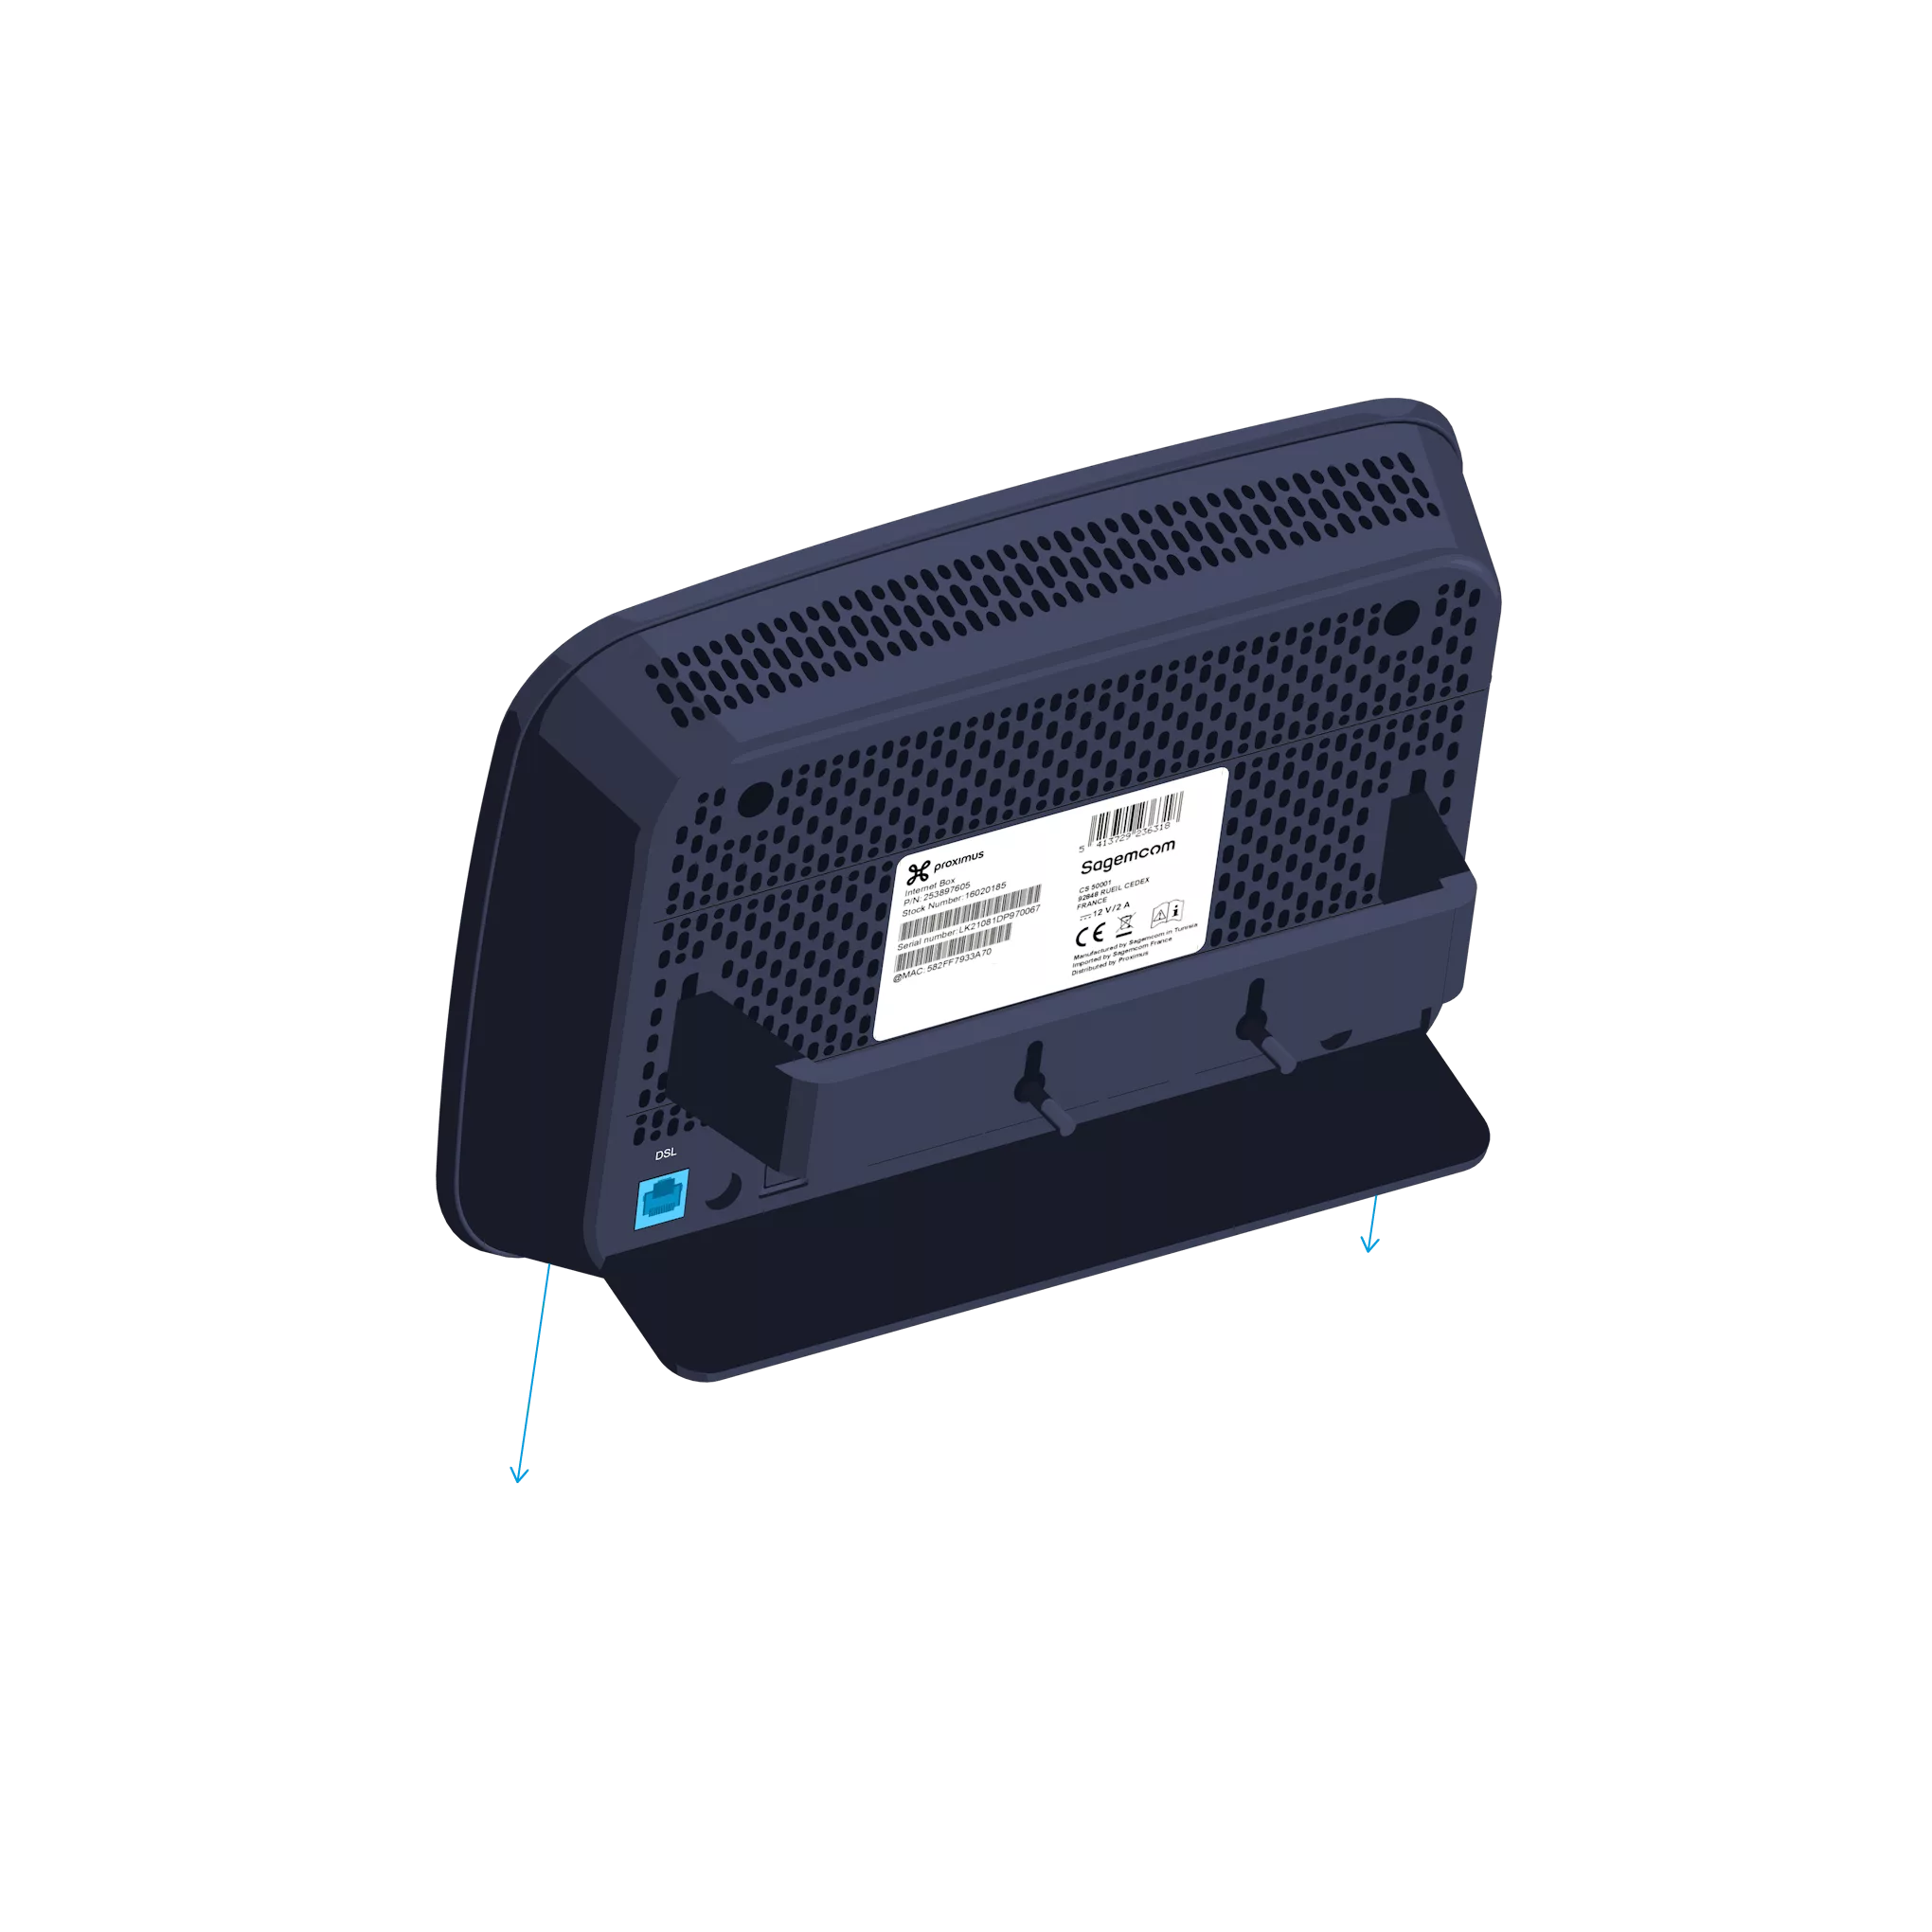
This wall mount is available free of charge via our customer service team on 0800 55 800.

Step 4

Internet Box configuration and automatic updates

Configuration may take a few minutes.
Once the indicator lights below are turned on, you can proceed with setting up your TV Box, computer or other devices.
The ‘Phone’ and ‘Wi-Fi’ indicator lights will turn on if you have these services.
  • Solid blue: there is an Internet connection.

  • Off: the Internet Box is switched off.

  • Red: there is a fault. Please restart the Internet Box. Alternatively, connect the cable to another port on the Internet Box and restart it using the POWER (OFF/ON) button.

  • Solid blue: the telephone service is configured correctly.

  • Blinking white: the telephone service is temporarily unavailable.

  • Blinking turquoise: the handset is off the hook.

  • Solid turquoise: a call is in progress.

  • Off: no telephone service is configured on the Internet Box.

  • Red: the telephone service is not working correctly. Please restart the Internet Box.
  • Solid blue: Wi-Fi is connected.

  • Blinking white: indicates that WPS synchronisation is possible with another WPS-enabled Wi-Fi device (max. 2 minutes).

  • Solid white: The WPS configuration was successful.

  • Off: Wi-Fi is off.

  • Red: Wi-Fi is not working properly. Please restart the Internet Box.


Was this guide helpful?

Thank you for your feedback!

Do you have any suggestions for us? What did you like?

We are sorry to hear that!
Your feedback matters to us!

What are you looking for?

Your feedback has been sent to our teams.