View all guides
TV Box Android Wi-Fi 7
Installation GuideBefore you begin
Please make sure you have a b-box / Internet Box installed.
If you are replacing a TV Box
- Call 0800 99 696 free of charge and follow the instructions. Please make sure you have a Proximus payment statement or letter to hand, showing your customer number and line number.
- Please make sure you use the new remote control and all the cables provided.
- If a technician replaces your TV Box, they will, of course, bring the necessary equipment with them.
Required components for the installation
- The TV Box Android Wi-Fi (4K Ultra HD/HDR)
- The remote control and its batteries
- The power supply cable (in 2 parts)
- The Ethernet cable
- The HDMI cable
Connect the TV Box to the Internet Box+
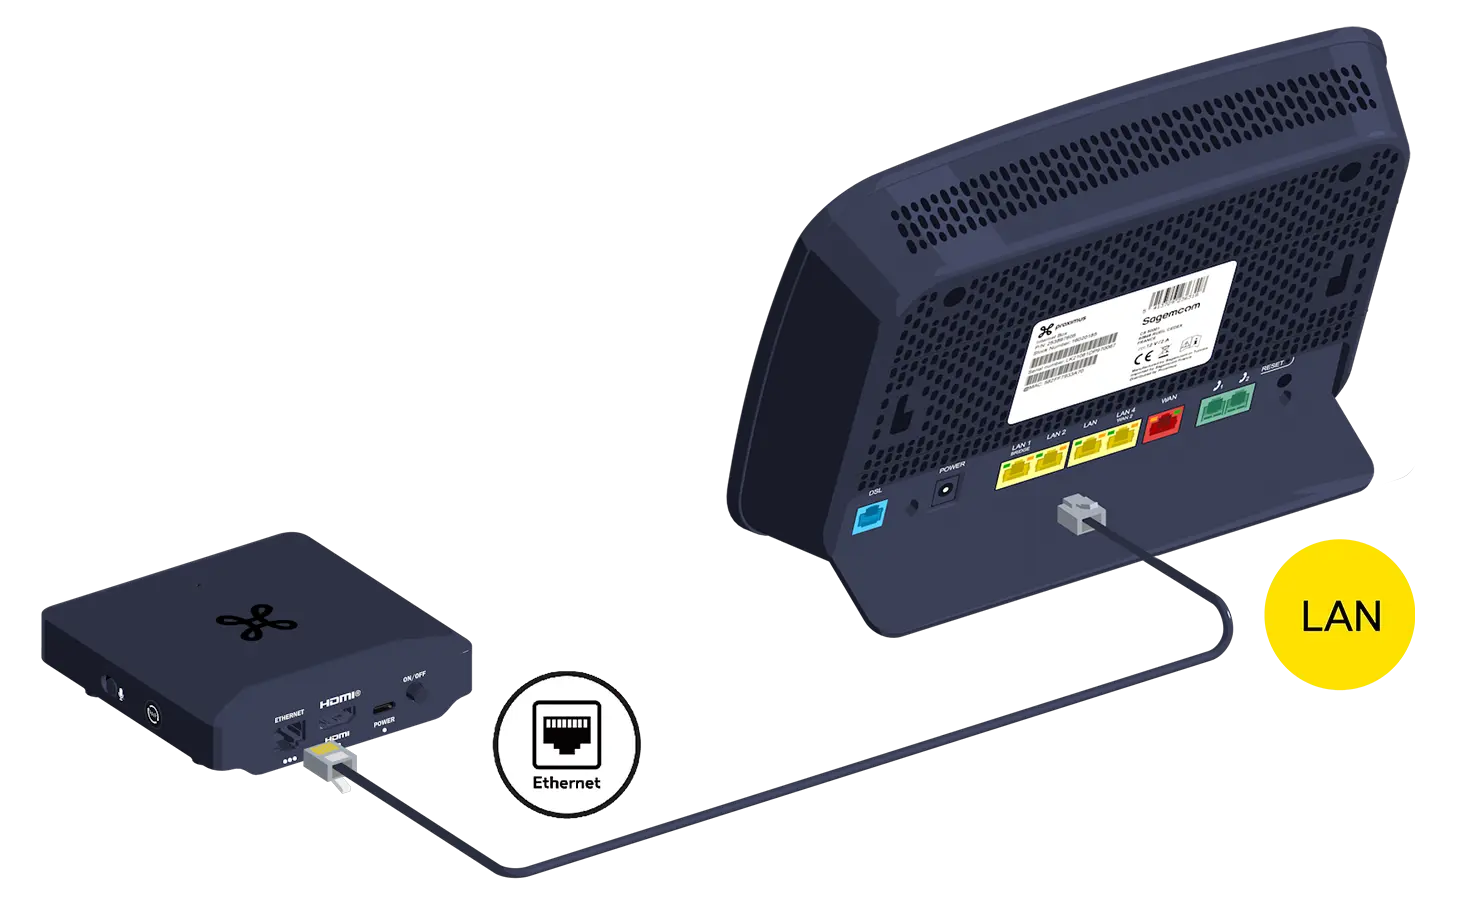
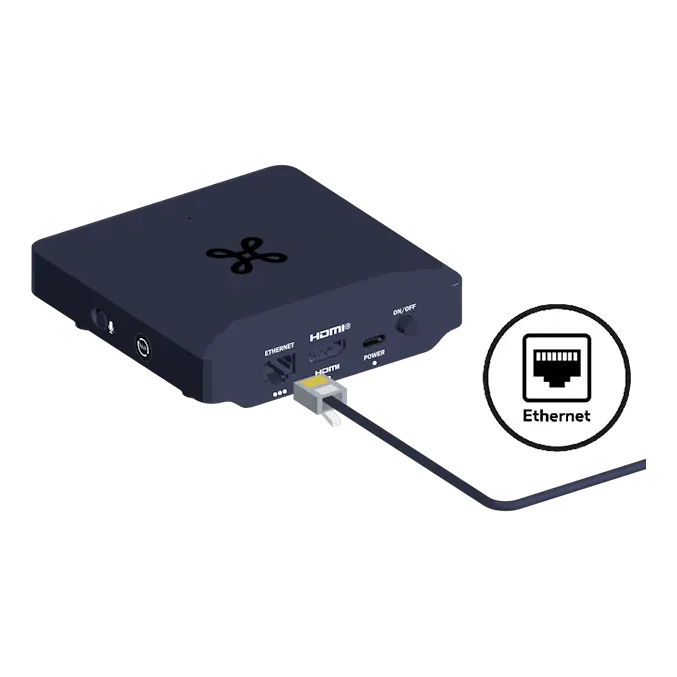
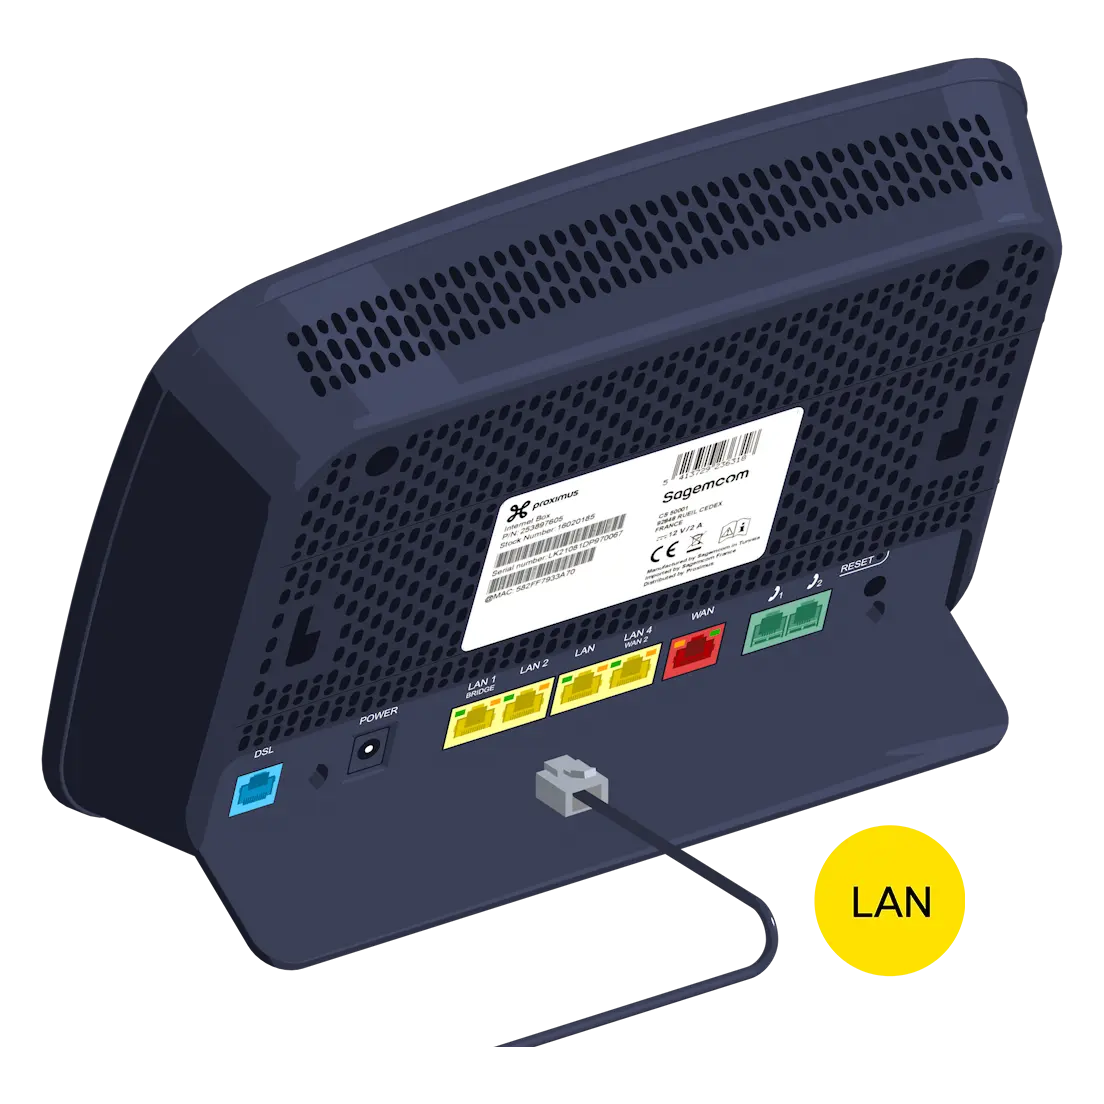
Use the Ethernet cable and connect it to one of the yellow LAN ports at the back of the Internet Box+.
Switch on the TV Box
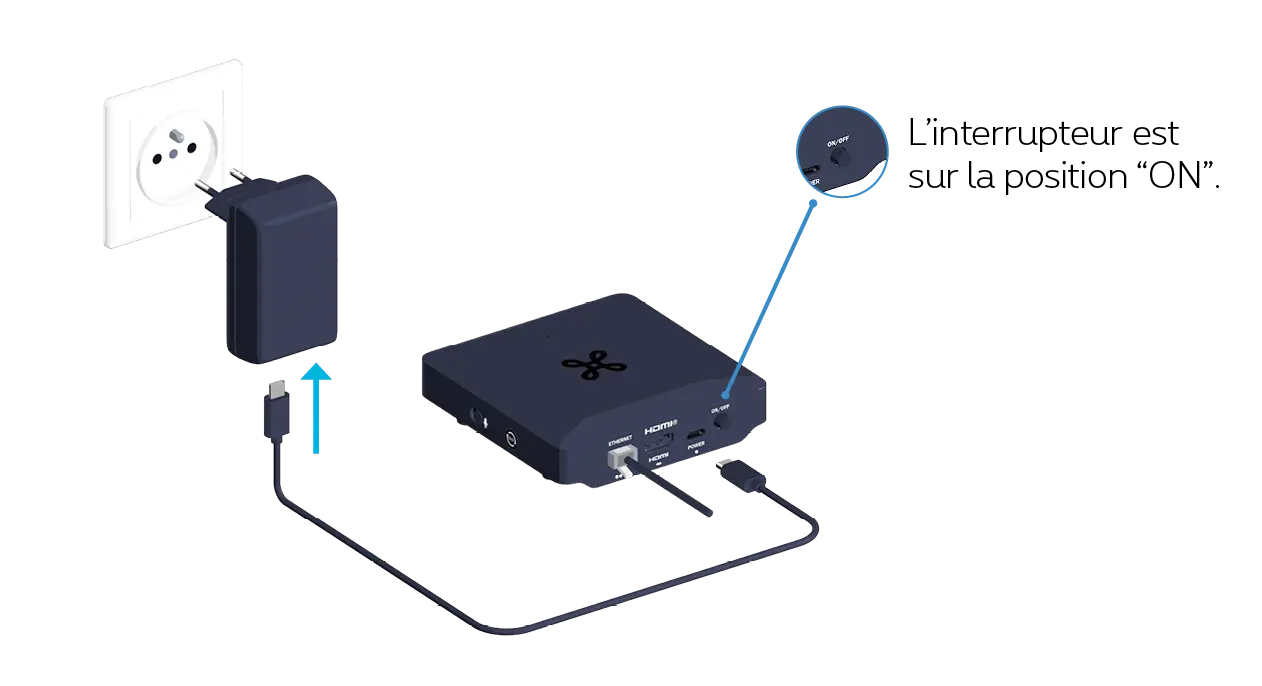
Connect the power supply cable to your TV Box and to a power socket.
-
The solution is to switch it off and on again using the switch on the back of the TV Box. This will restart it.
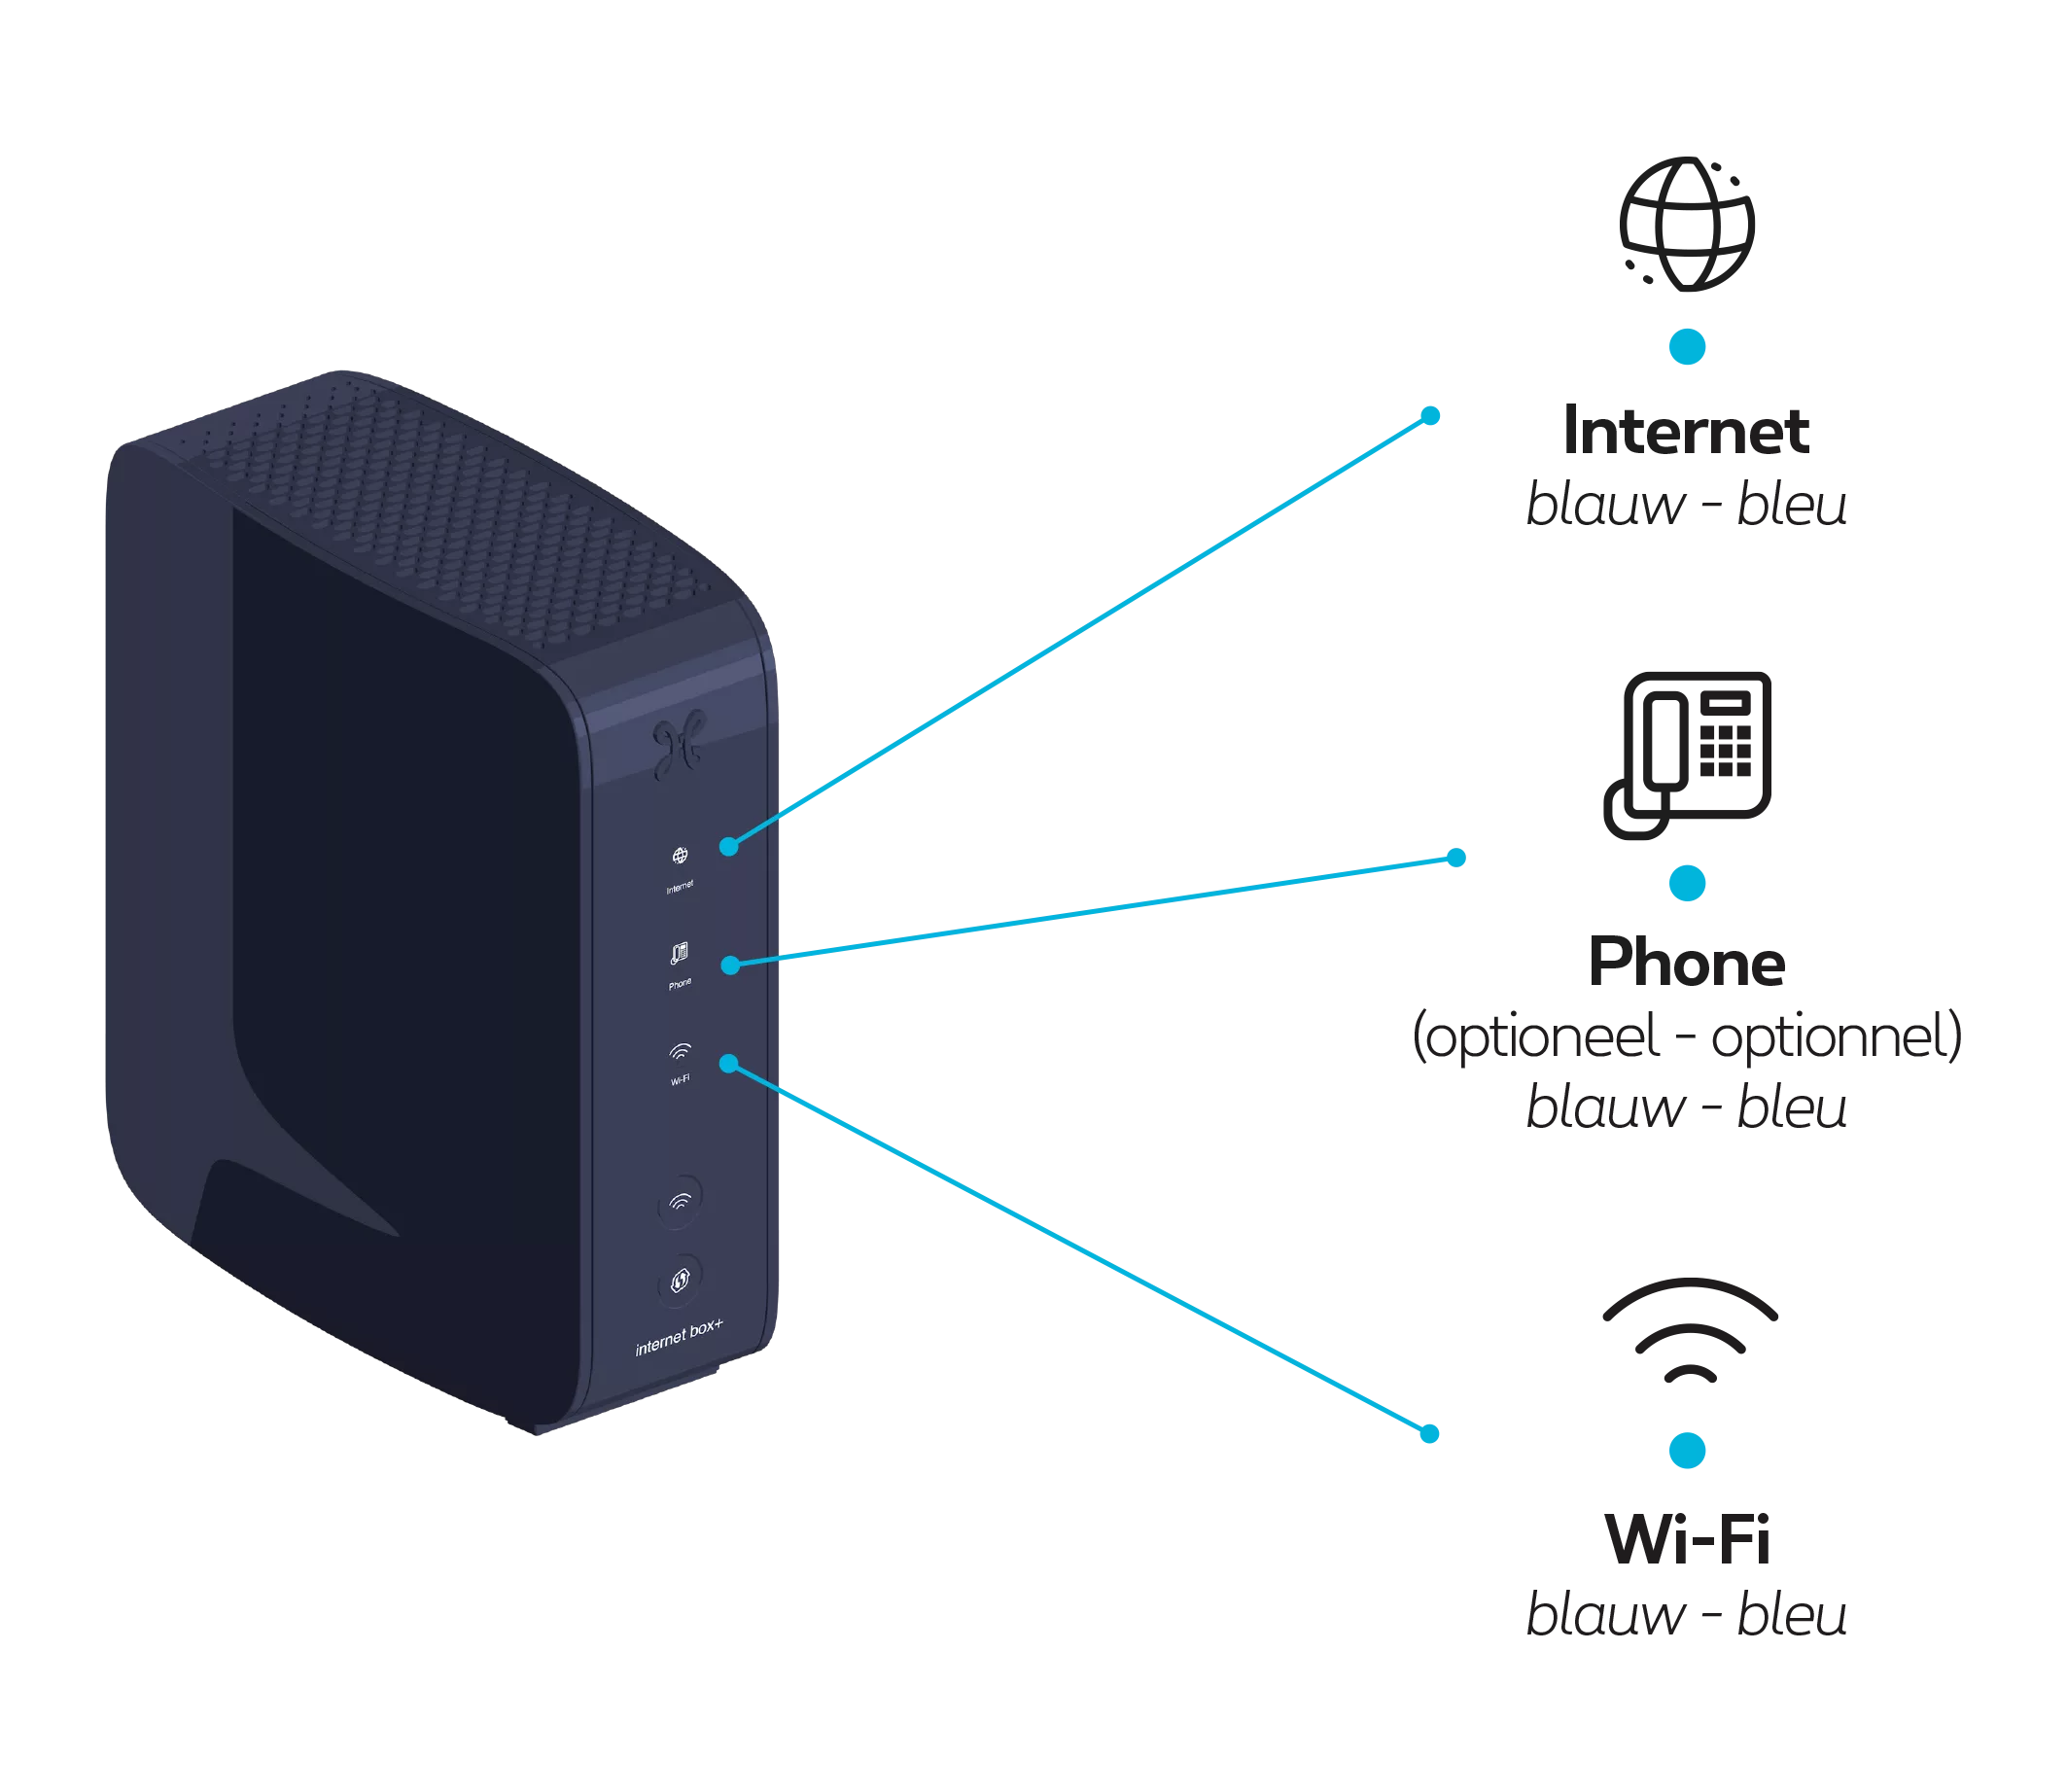
Check the indicator lights on the Internet Box+
The indicator lights on the front should turn blue.
Connecting the TV Box to the TV
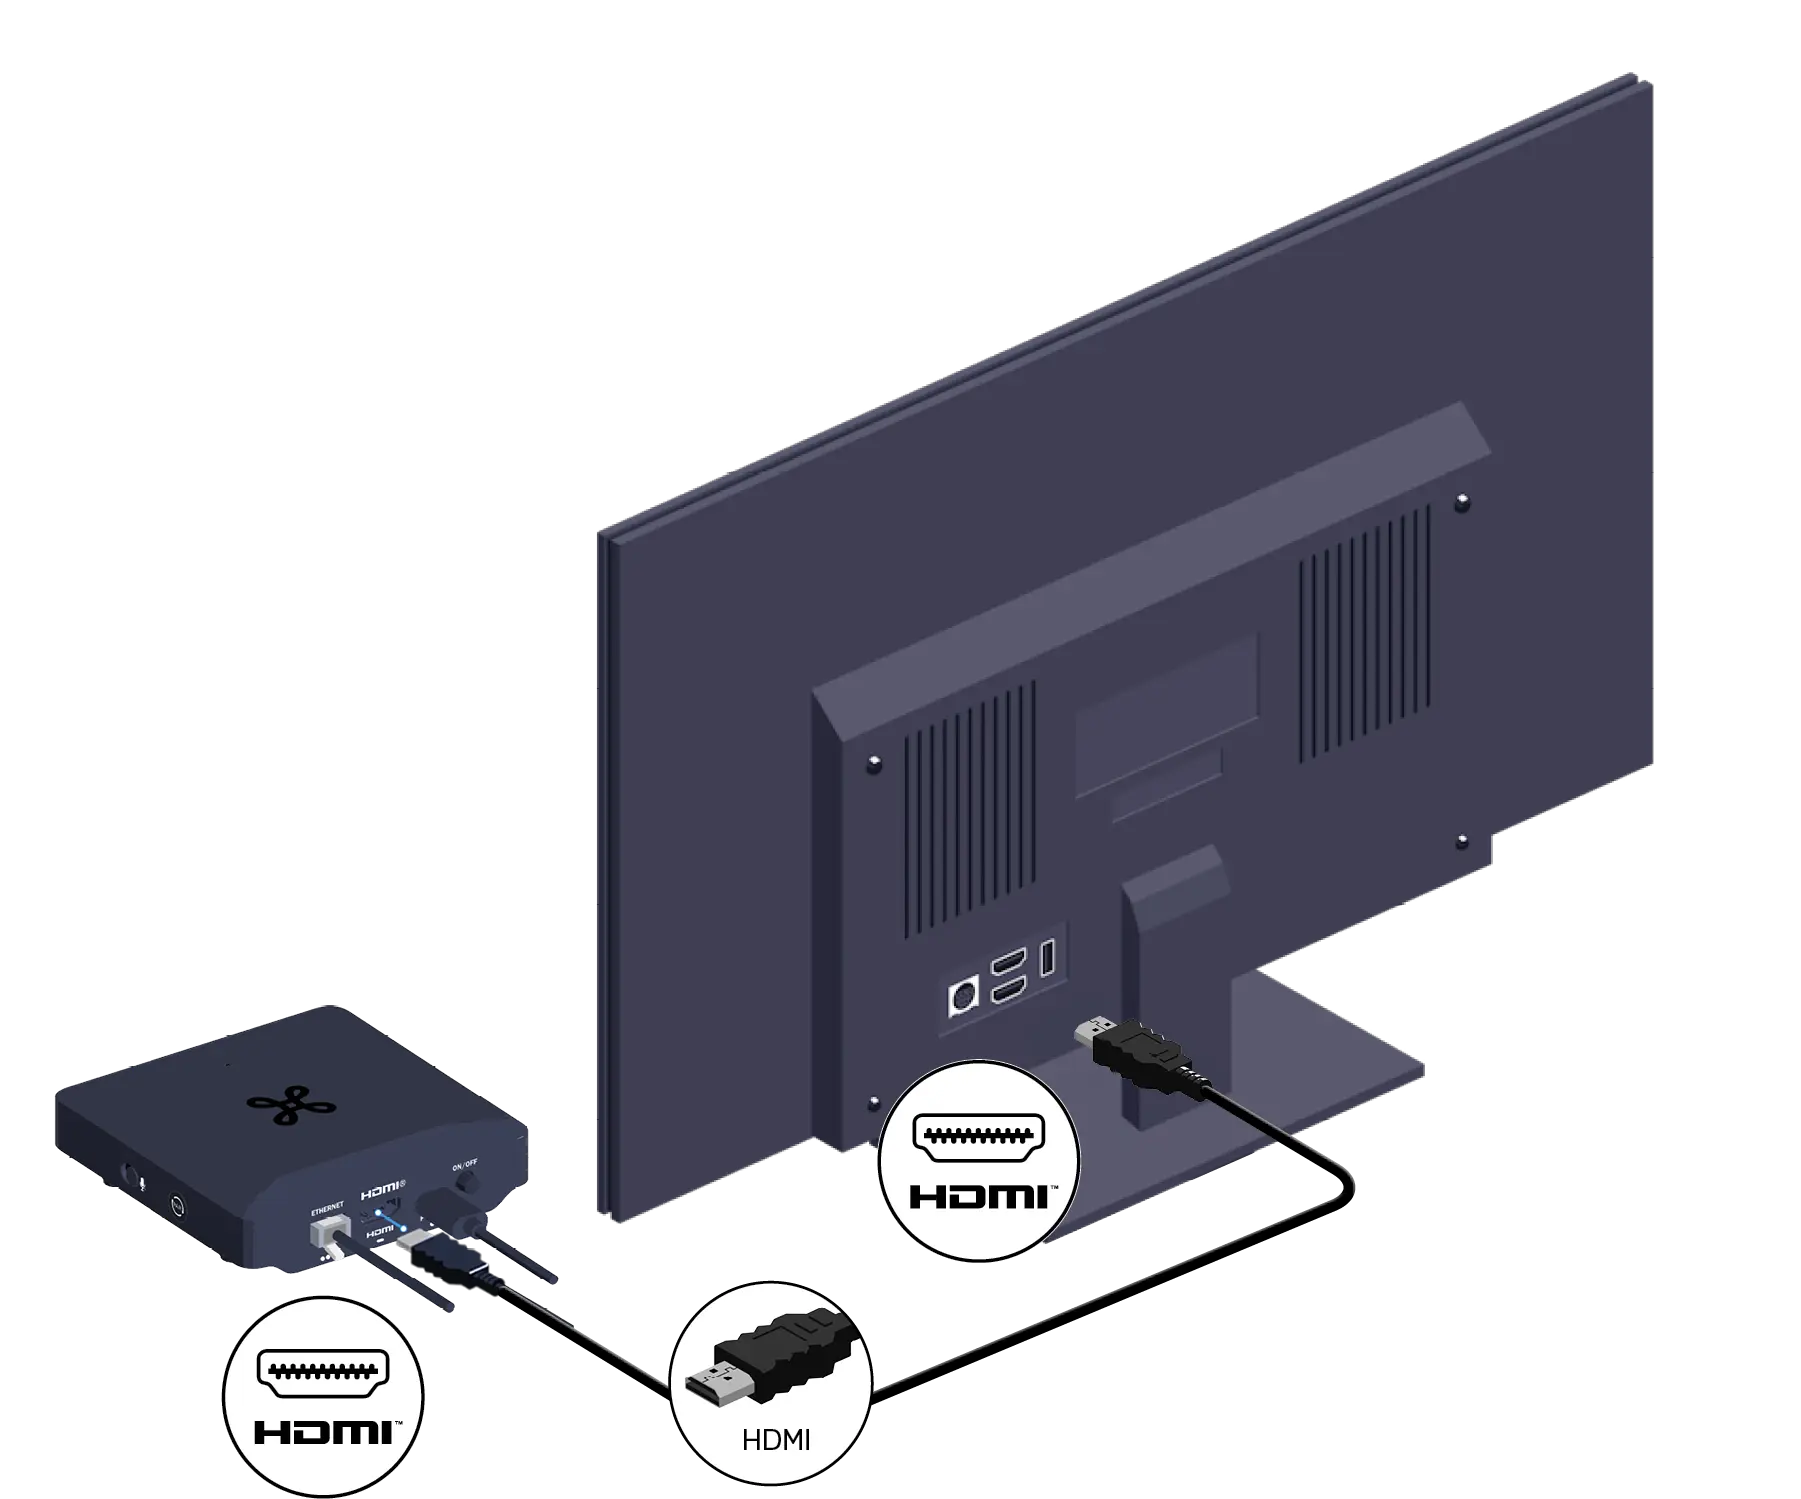
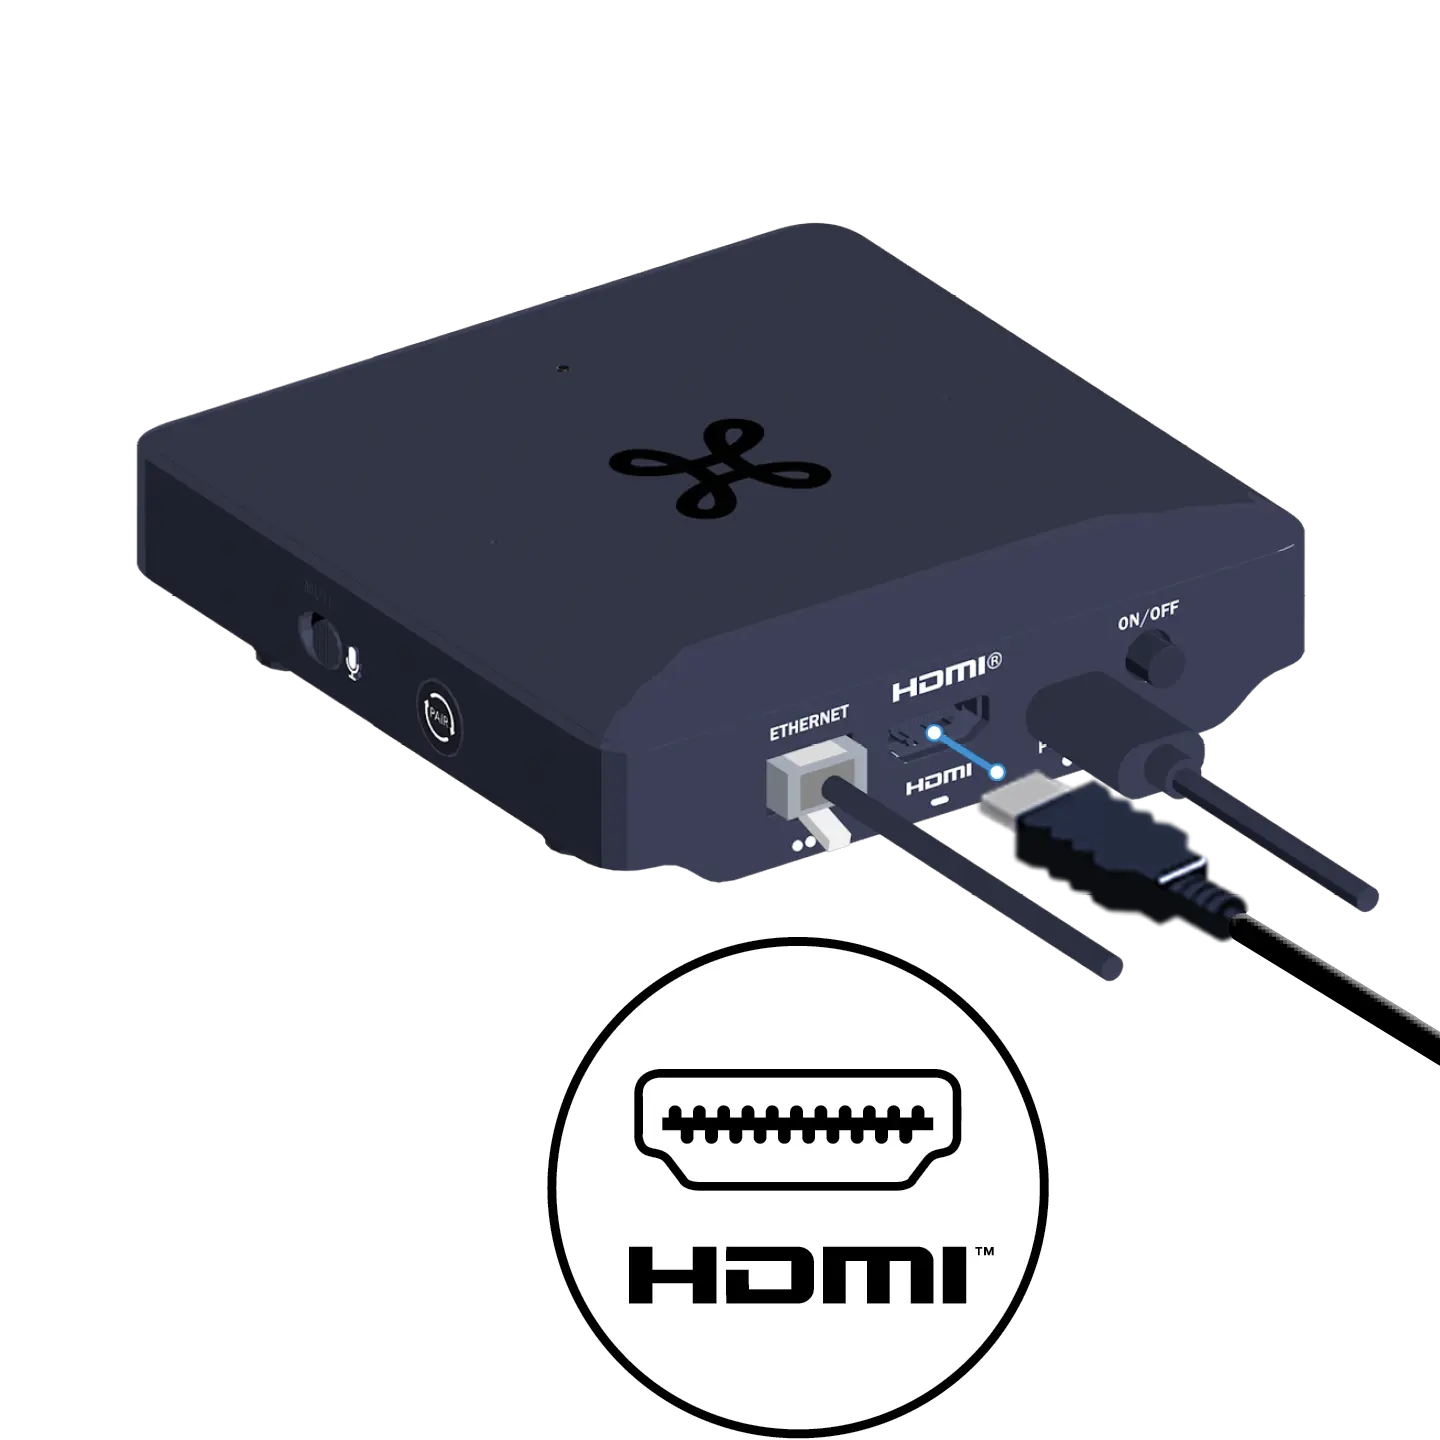
We’re almost done! Now connect your TV Box to your TV using the HDMI cable.
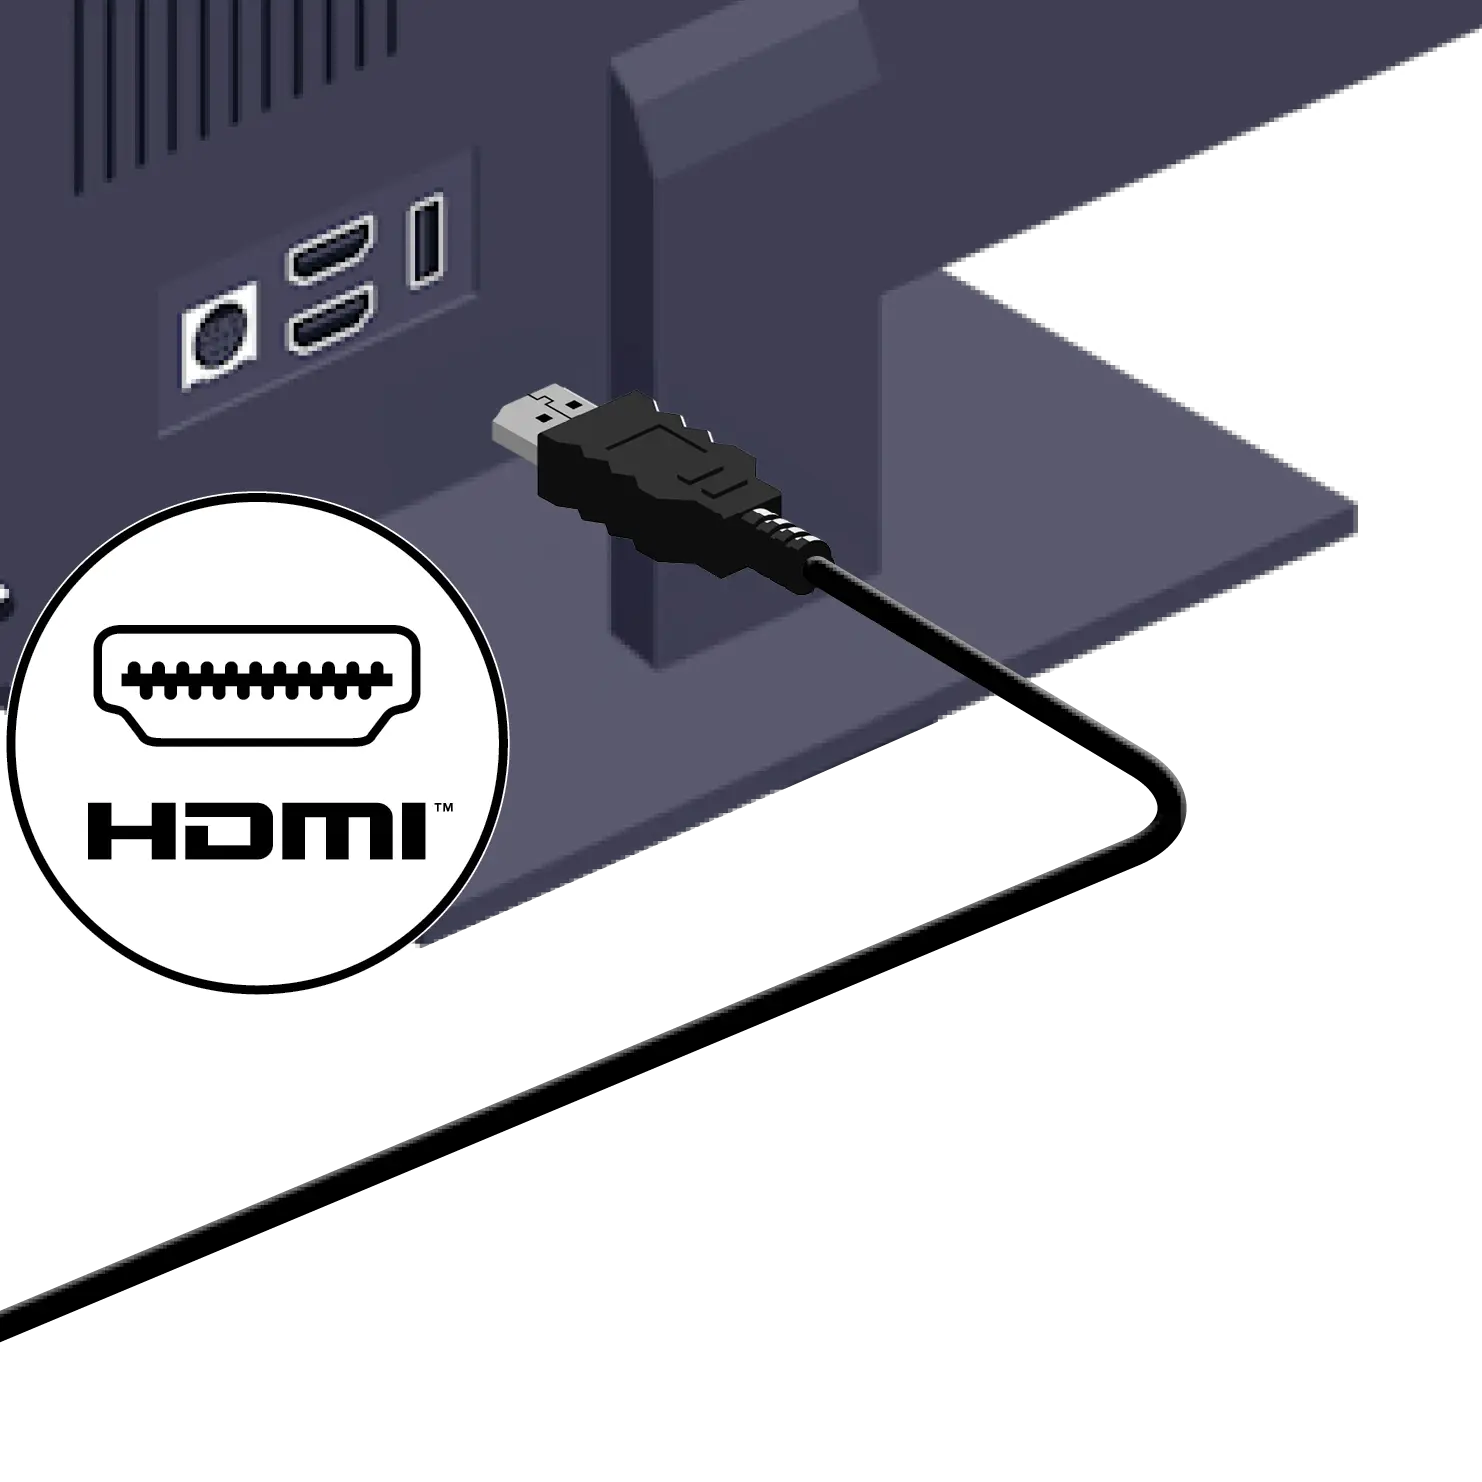
-
Connect them using an HDMI cable to an HDMI input on your TV. Please refer to your audio system’s manual for further information.
Configure the TV Box
Turn on your TV; the start-up screen will appear.
If this does not happen, use your TV’s remote control to select the external source to which your TV Box is connected (HDMI1, HDMI2, HDMI3, etc.).
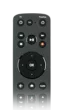
Then take the Proximus remote control, remove the protective tab from the batteries and enter the details shown on the screen.
If this does not happen, use your TV’s remote control to select the external source to which your TV Box is connected (HDMI1, HDMI2, HDMI3, etc.).
Then take the Proximus remote control, remove the protective tab from the batteries and enter the details shown on the screen.
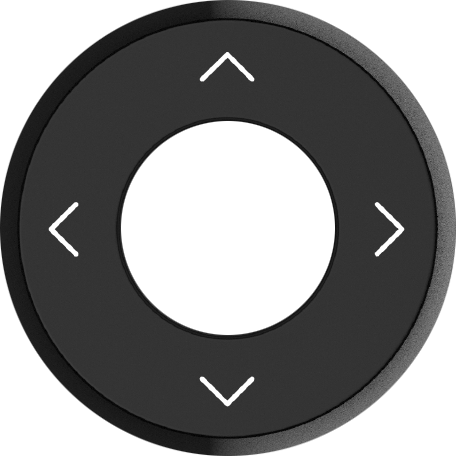
These arrow keys allow you to navigate through the menu.

To confirm your choice.
This remote control only works with this TV Box.
Below is an overview of the main configuration screens. During installation, you will be asked to carry out further configuration steps, such as setting up Bluetooth. Simply follow the on-screen instructions.
Below is an overview of the main configuration screens. During installation, you will be asked to carry out further configuration steps, such as setting up Bluetooth. Simply follow the on-screen instructions.
Select your language
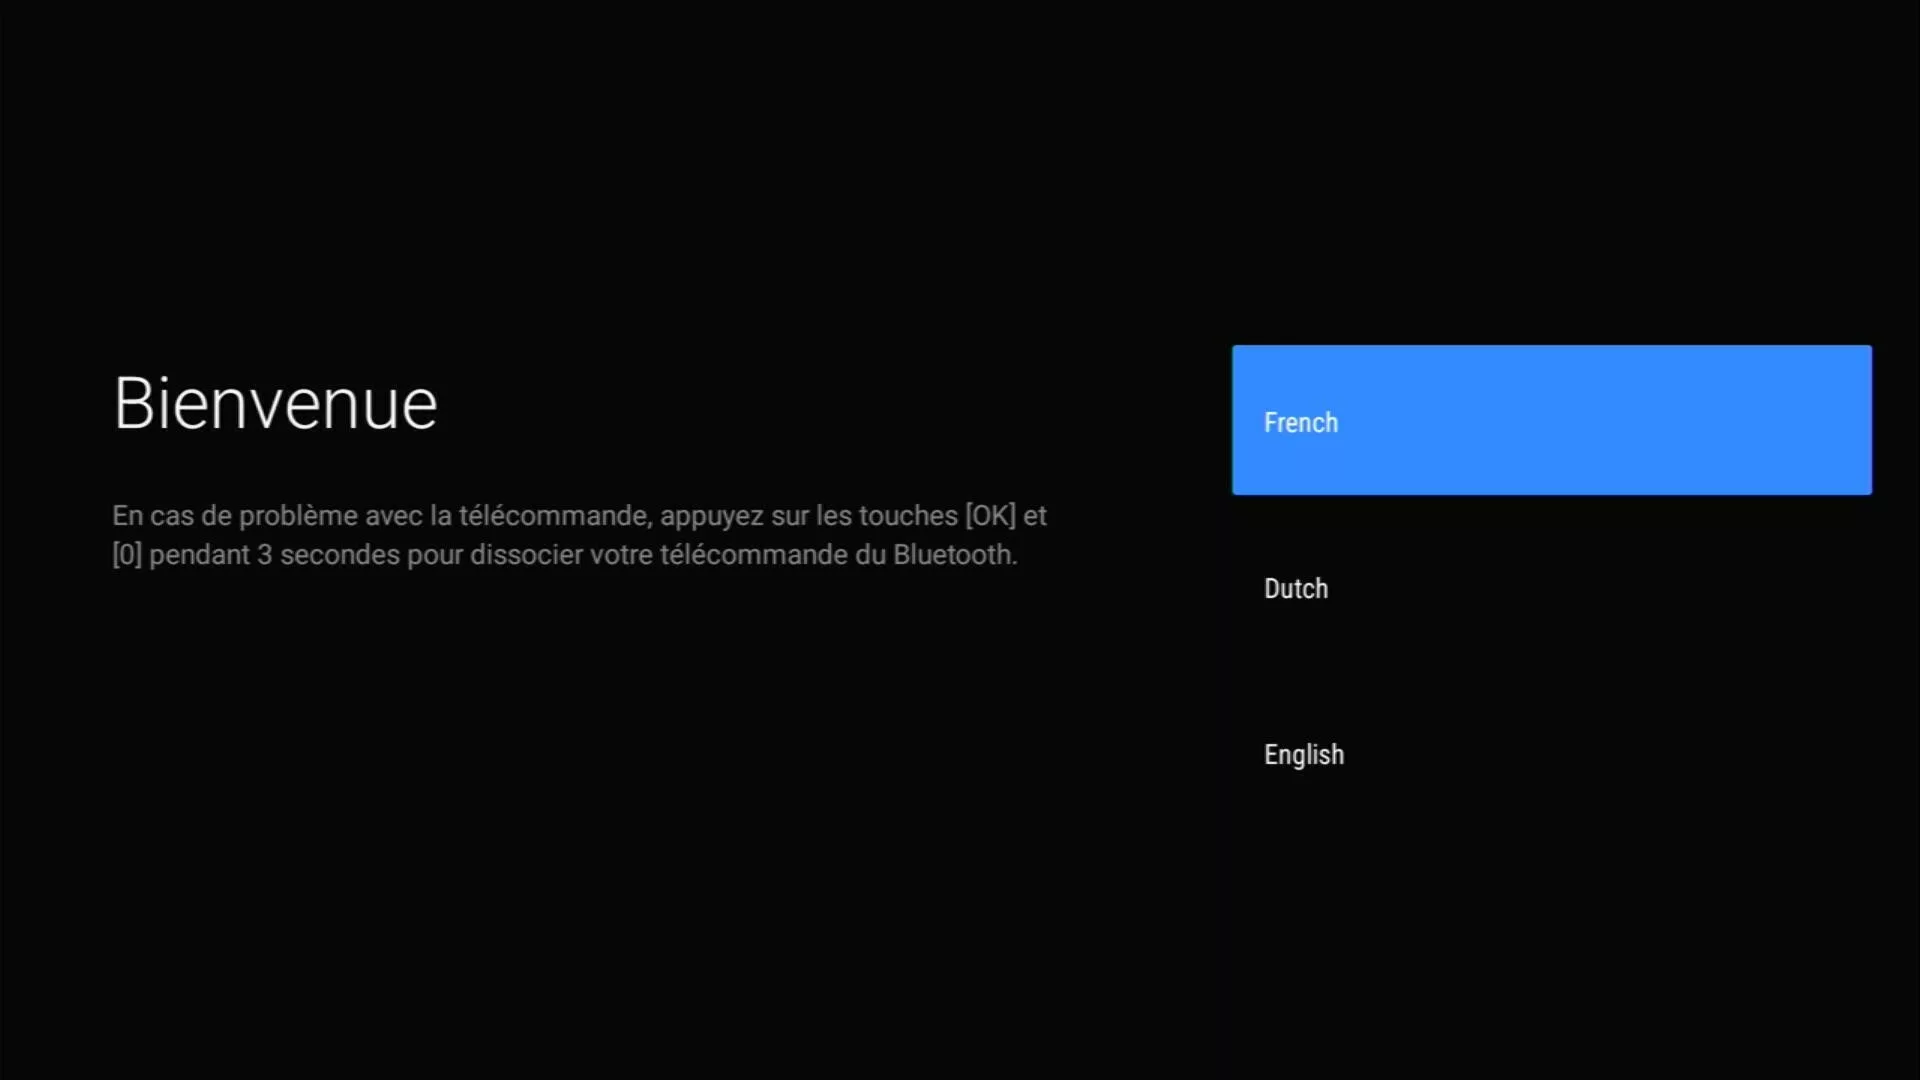
Activate the remote control for your TV Box
This will also allow you to control your TV.
Turn on your TV or turn it off

Select an external source on your TV
Adjust the volume on your TV

Mute your TV
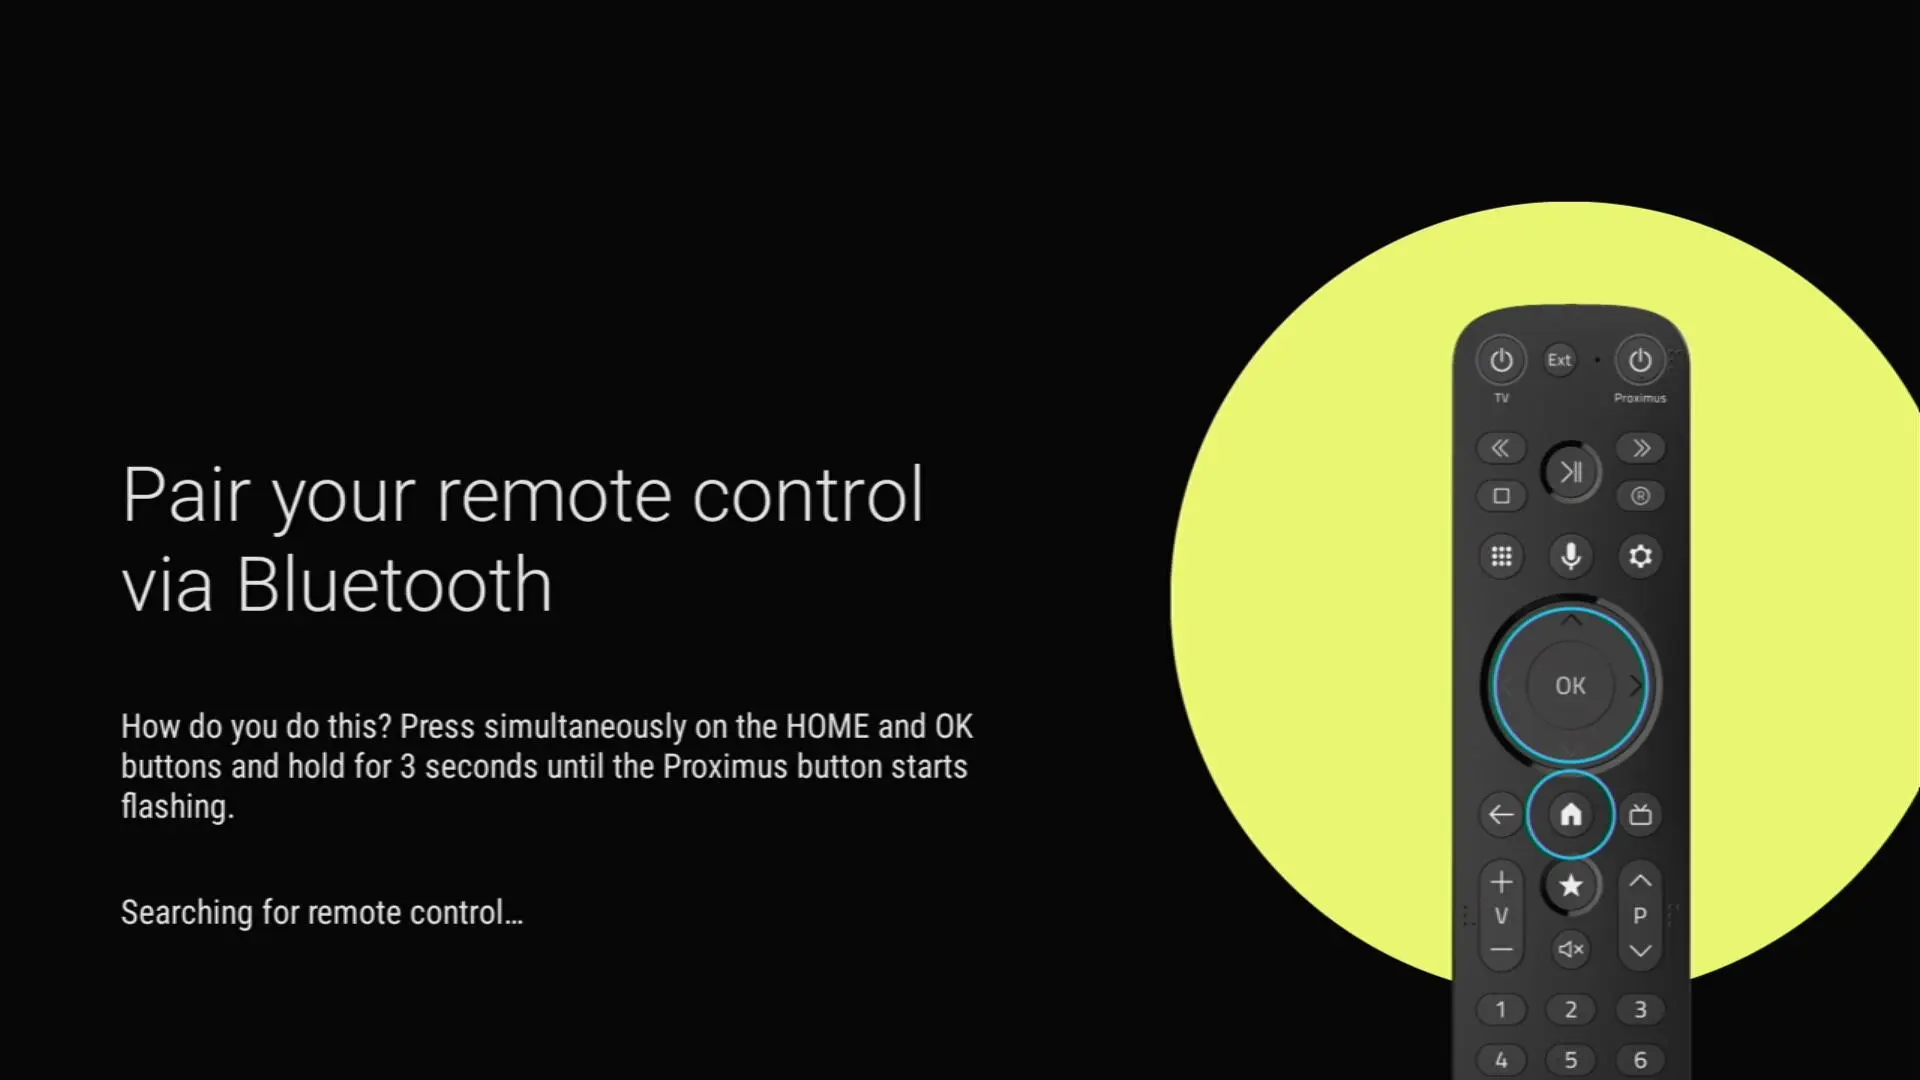
The Google screens
A series of screens will appear to help you configure Google services (terms and conditions, Google Assistant, your TV Box name, etc.).If you skip one or more of these screens, this will not affect your Pickx experience.
You can return to them later via


Pickx screen

-
If you’d like to connect an extra TV to Pickx, you’ll need a second TV Box. Check first whether this is possible in your home!

Configuration may take a few minutes.
There you go, your TV Box is now configured!
Other useful guides